-
kohei21382025年4月16日 6:17に質問
-
Myla Jotform Support2025年4月16日 6:35に返信
Hi kohei2138,
You can easily set up an Autoresponder Email, enabling people to edit their submission later. It's easy, let's do it:
1. In Form Builder, in the orange navigation bar at the top of the page, click on Settings.
2. In the menu on the left side of the page, click on Emails.
3. Hover your mouse over your Autoresponder and click on the Pencil icon to customize it.

4. Click on the Email Content window, then click on Form Fields, and select Edit Link.
5. Customize the Edit Link the way you want, and when you're finished, click on Save on the bottom-right side of the Email Content window.
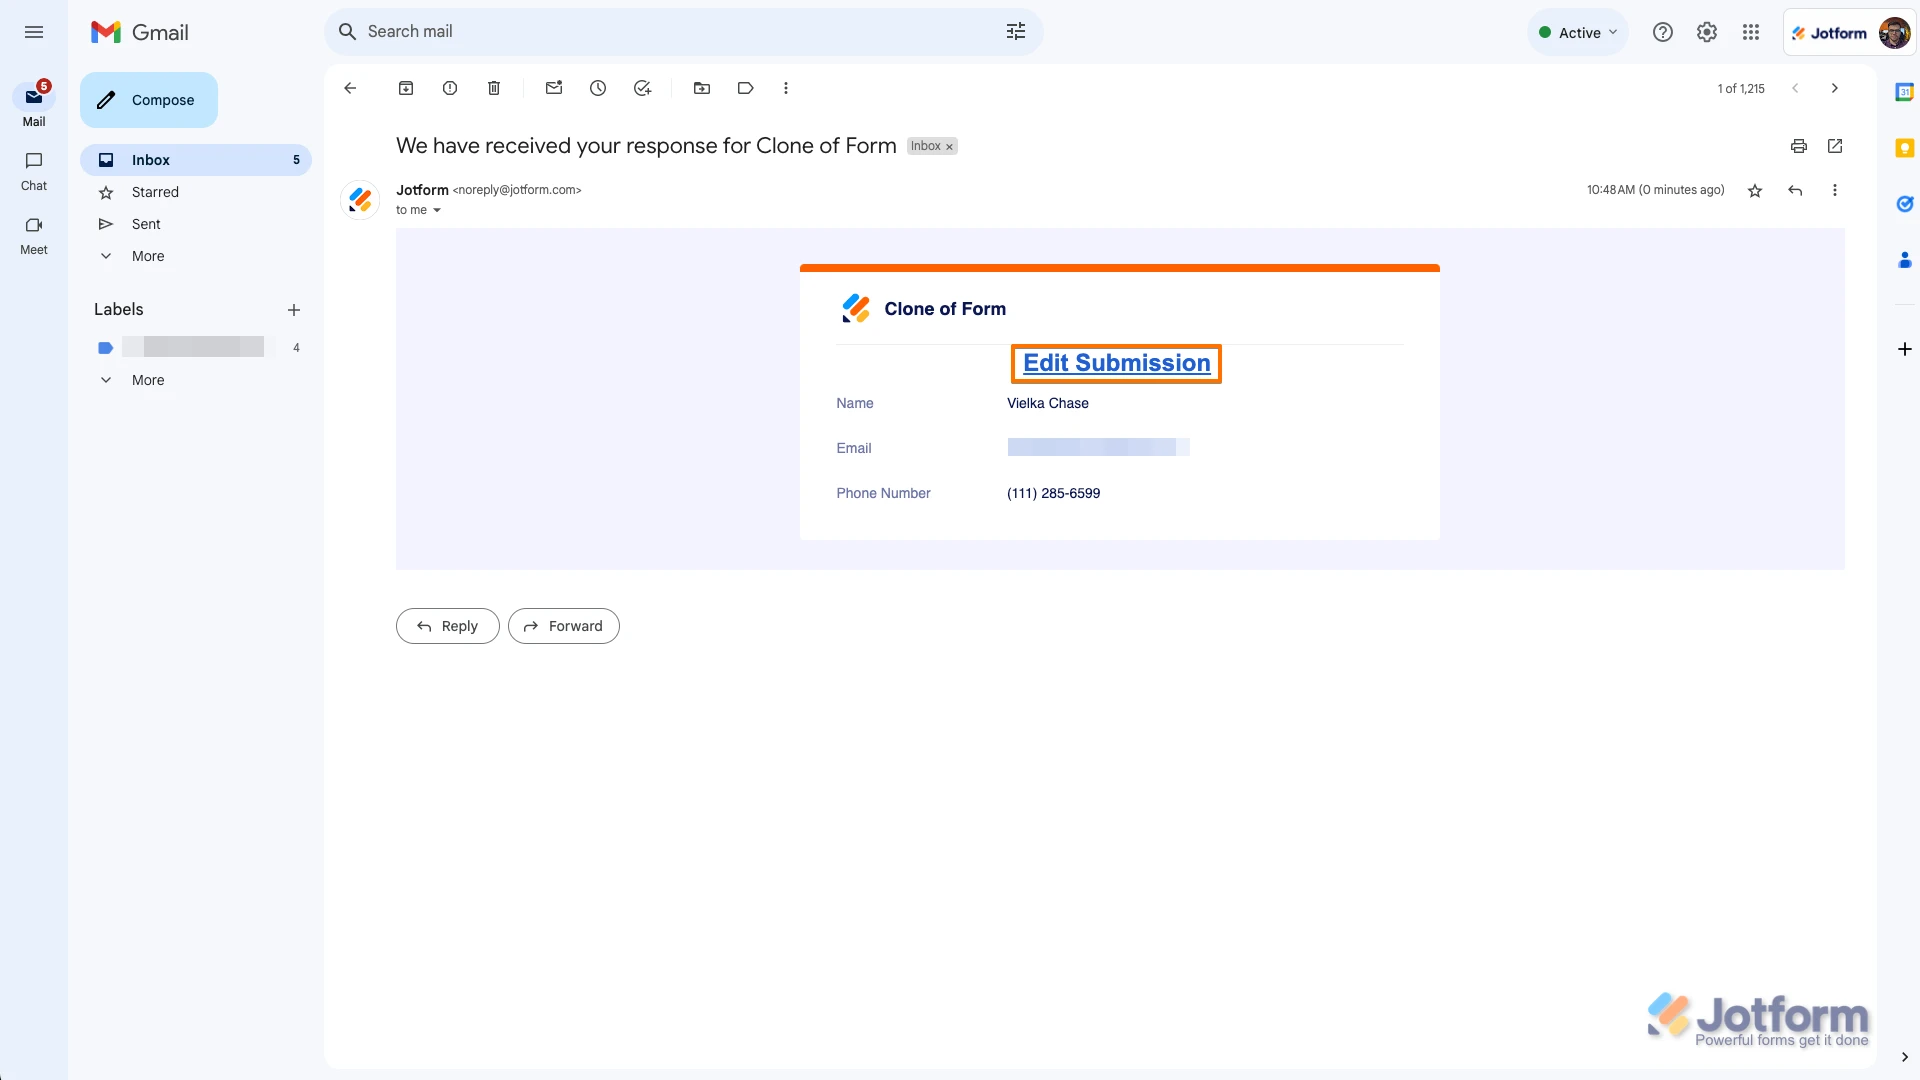
After submitting the form, submitters will receive an email like the one below. Once they click on it, they'll be able to edit their submission:
Reach out again if you have any more questions. -
KOHEI2025年4月17日 0:32に返信
Sorry, there was a small mistake in my question.
Our clients would like to have a personal page (or a confirmation link) where they can review their form responses and uploaded files at a later time.
By being able to check these, they want to confirm which information or documents are still missing.
-
Danilo Jotform Support2025年4月17日 4:32に返信
Hi kohei2138,
I understand that your clients need a personal page or confirmation link to review their form responses and uploaded files, so they can confirm any missing information or documents.
To achieve this, you can include a link to view their submission in the Autoresponder Email. Here’s how:
- In Form Builder, go to Settings.
- Click Emails on the left.
- Hover over the Autoresponder Email and click the Pencil icon to edit.
- In the email content, add the {edit_link} field. This will allow users to view their submission.
Additionally, you can use Jotform Tables to create a custom view for each user. Or, Add a Filter to the table to show only submissions from the current user. You can easily share your Jotform Tables with others using the Share button. Let me show you how:
1. On the Jotform Tables page, click on the Share button on the top-right side of the page.
2. Click on Share Settings and set your Table’s privacy options.
3. Now, click on Go Back in the top-right corner of the panel and use the Generated Link or the Invite by Email feature to invite people.
You can easily revoke the invites you’ve sent to others. Let me walk you through it:
1. While in Tables, click on the Share button to open Share Table.
2. Now, click on the avatars/icons of the people you invited next to the Shared with section.
3. Select the users that you want to revoke the access to by checking the boxes on the left, and click on Revoke.
4. Then, click on the Yes, Delete button. That’s it, you’re done.
Also, you can embed your submission table on your website using this guide.
Reach out again if you have any other questions.