Adding images to your form is a great way to make it more engaging and easier to use. They provide visual context and help explain things more clearly, show examples, and just make the form more appealing. You might want to include a photo to show what a service request looks like, give a design example, or add a map to point out a location. When used well, images can clear up confusion and help people finish your form faster and with less guesswork.
Using the Image Element
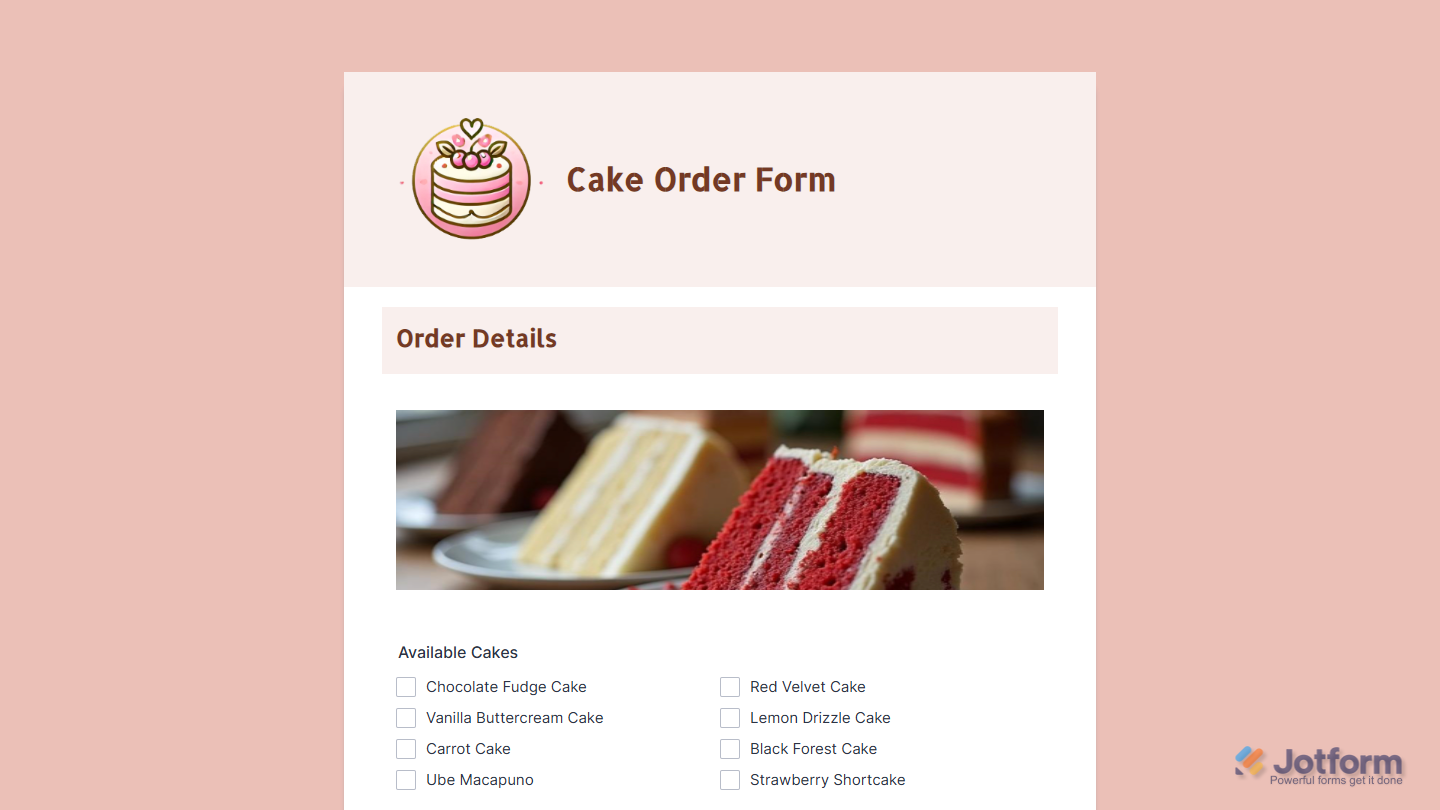
The Image element is a dedicated field for adding visuals to your form. It doesn’t collect any information, but it’s great for displaying things like logos, banners, or even to breaking up your form into nicer-looking sections.
Whether you’re creating a new form or updating an existing one, you can add and set up the Image element in a few easy steps. Here’s how to do it:
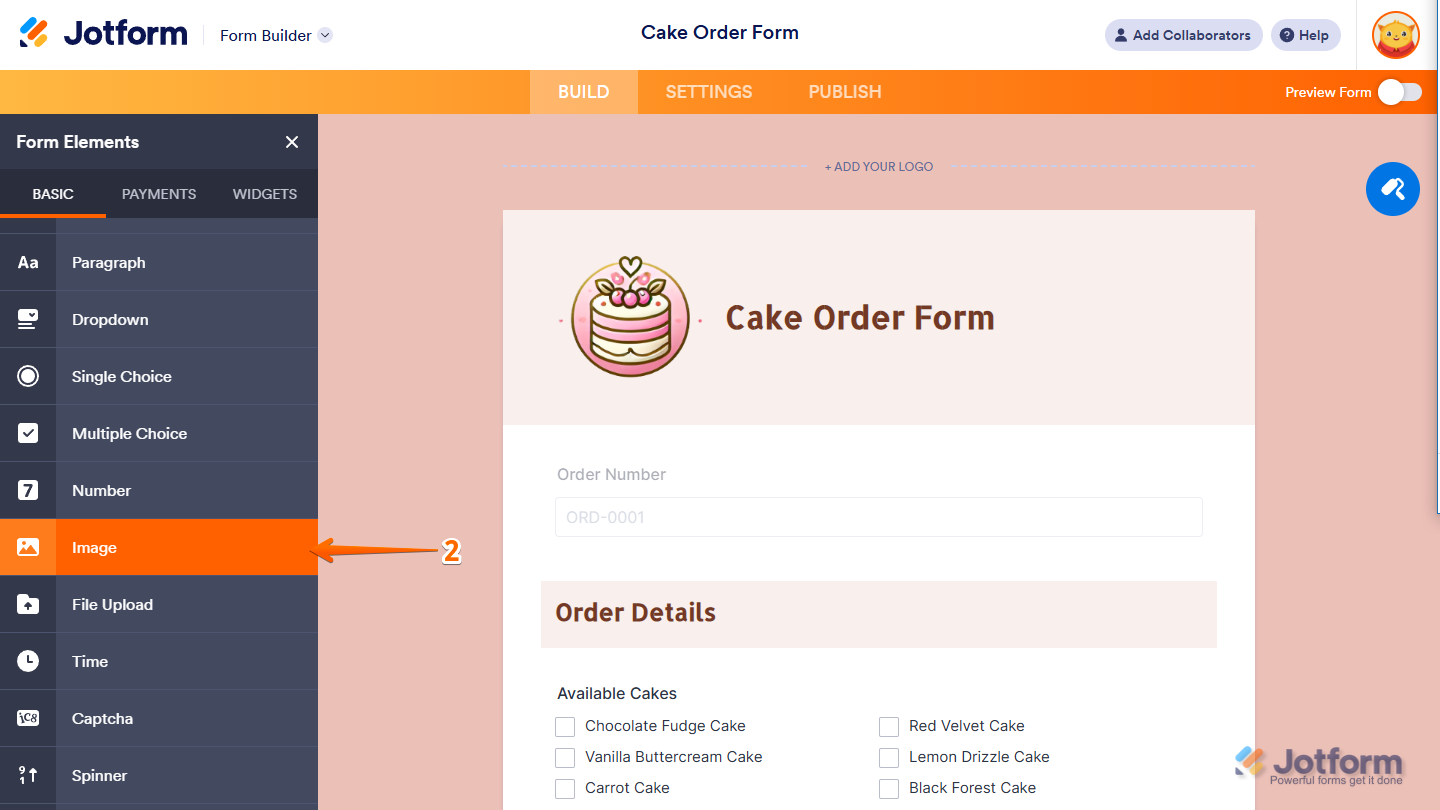
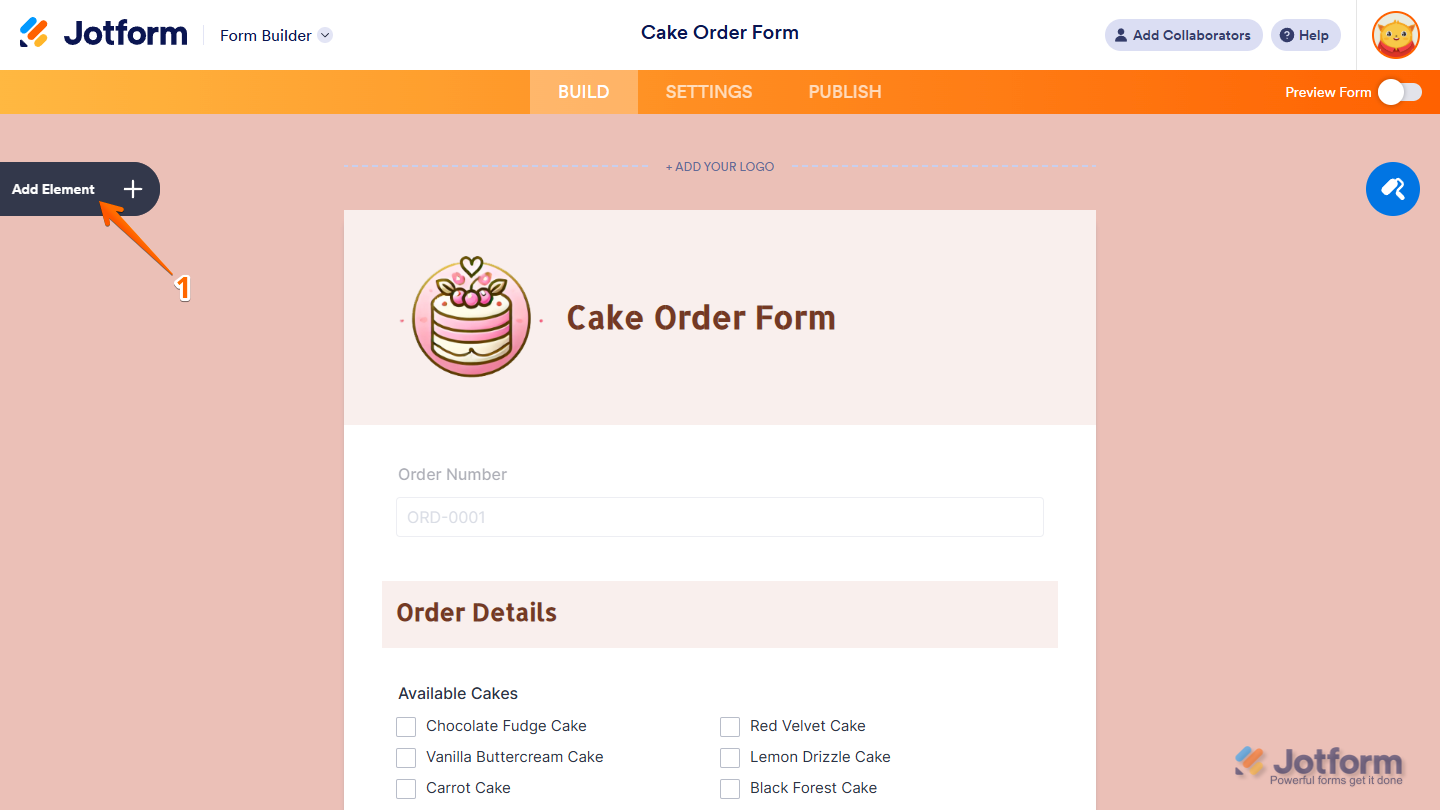
- In Form Builder, click on Add Element on the left side of the page.

- Now, in the Form Elements menu, under the Basic tab, click on Image. Or, just drag and then drop it to where you want it to be on your form.
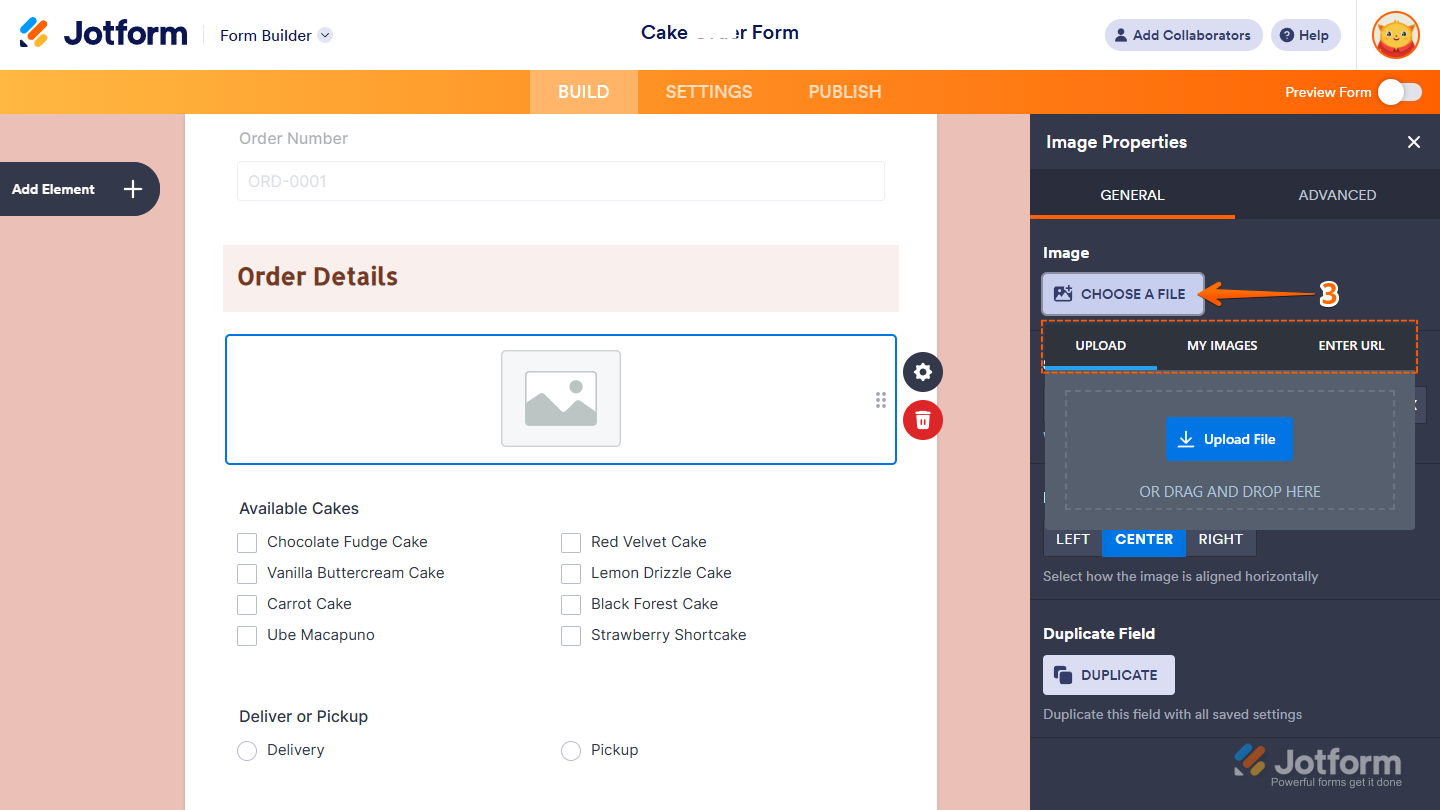
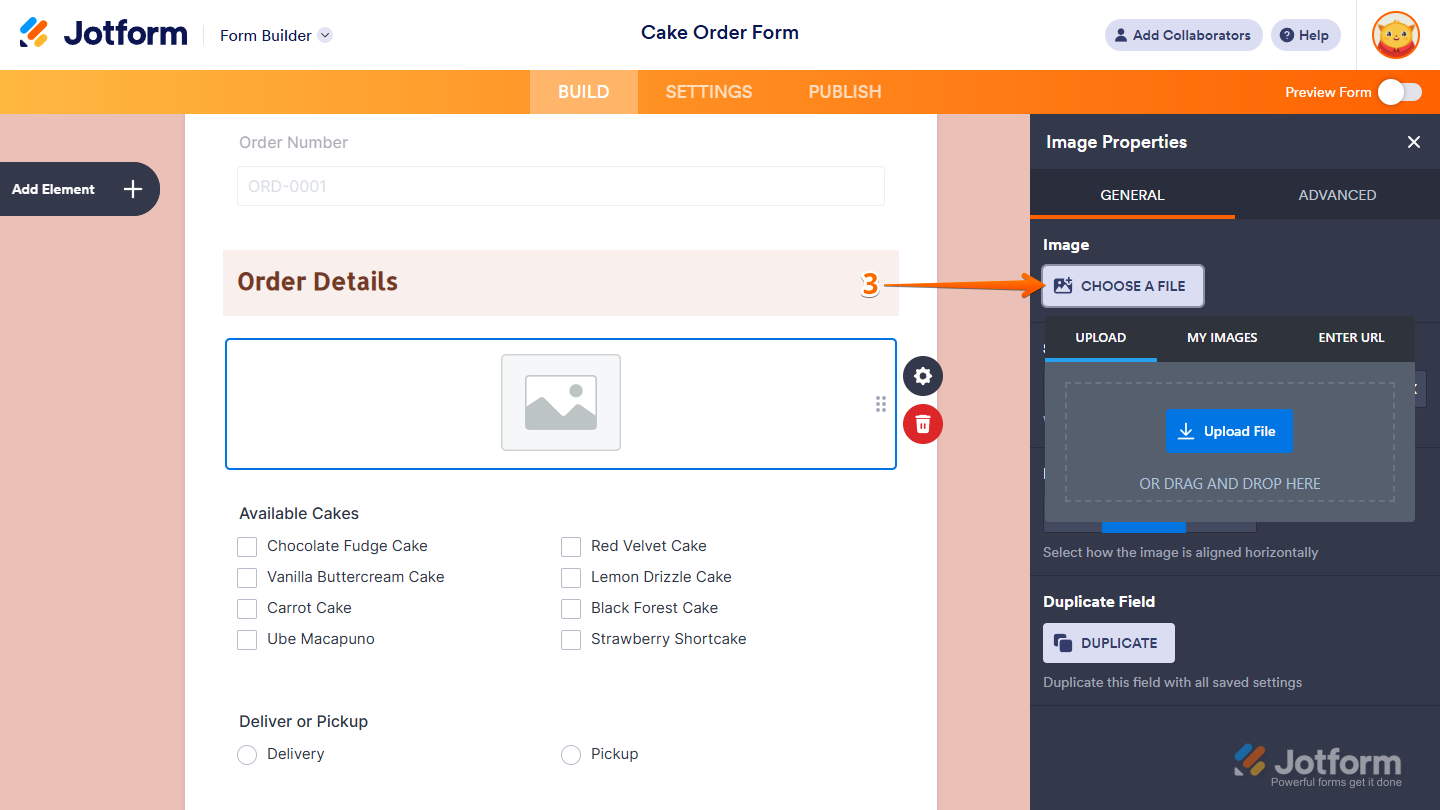
- Then, under General tab of the Image Properties window that opens on the right side of the page, click on Choose a File and then, in the menu that opens, go to one of the following tabs to add an image:
- Upload — Select an image directly from your device.
- My Images — Choose from images you’ve previously used and saved in your account.
- Enter URL — Paste a direct link to the image you want to use.
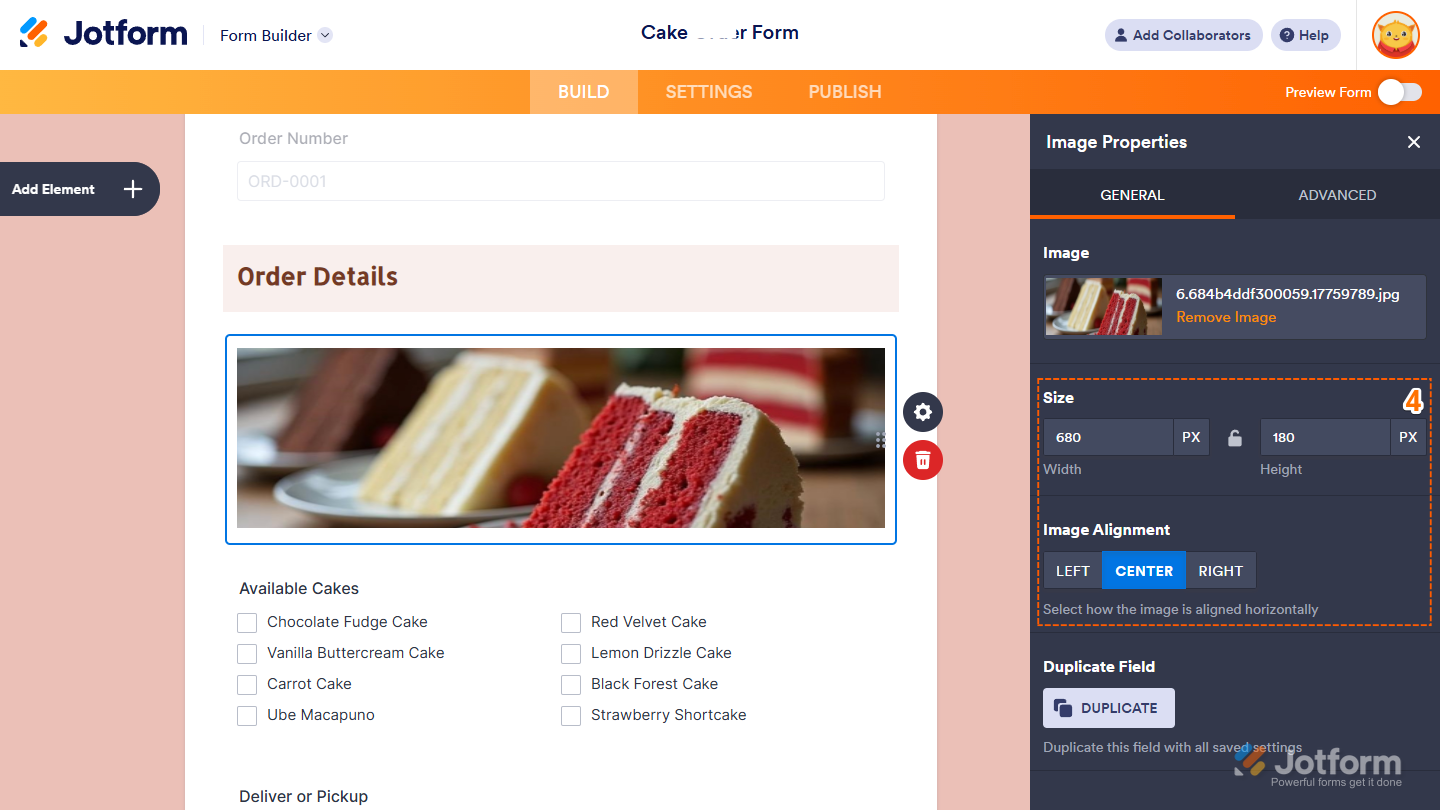
- Next, set the size and alignment of your image based on what you need:
- Size — The Width and Height fields set the image size in pixels and only accept numbers. By default, the image keeps its original size unless it’s wider than the form. In that case, it resizes to fit while keeping its aspect ratio. You can manually change the size and unlock the aspect ratio by clicking the Padlock icon between the fields.
- Image Alignment — Align the image to the left, center, or right side of the form.
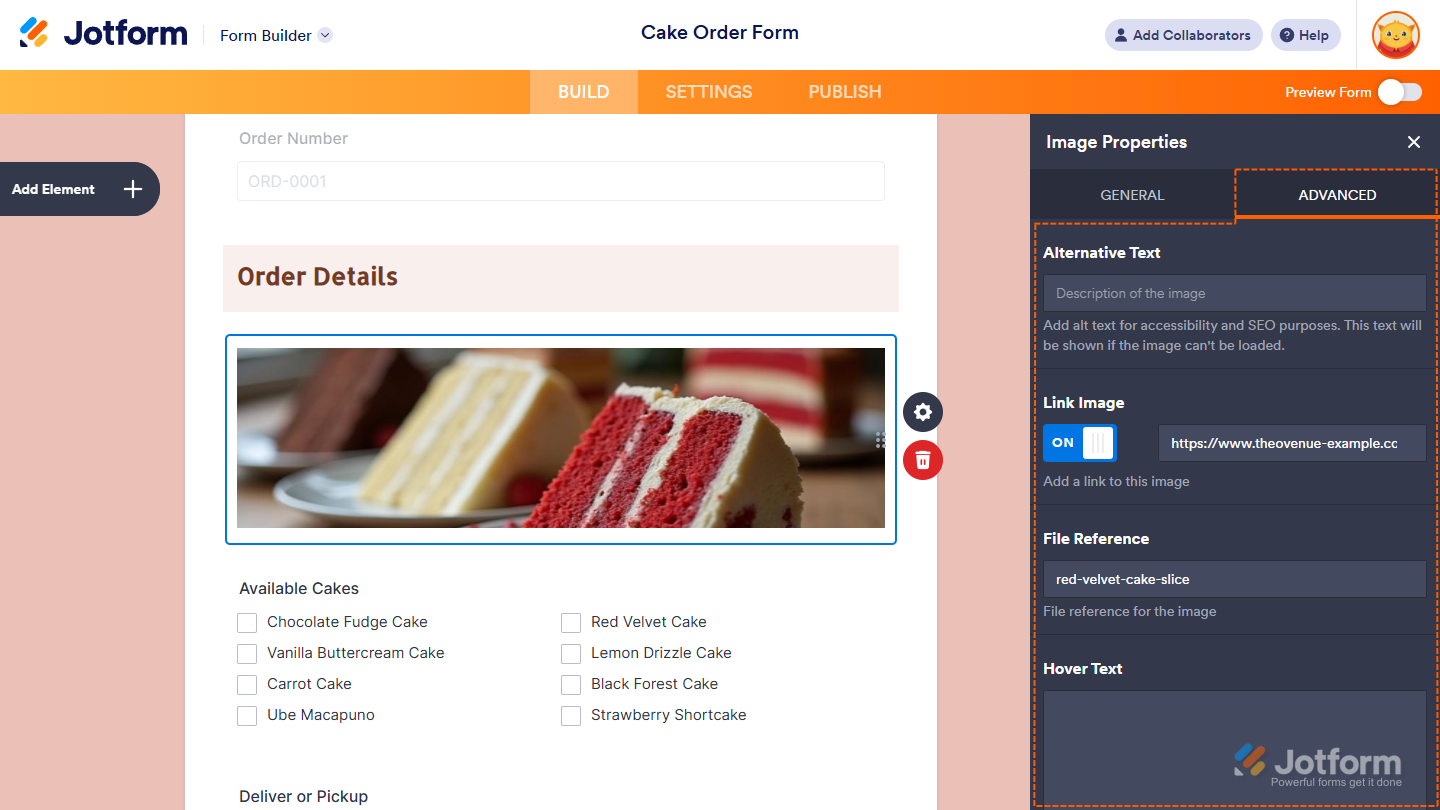
Under the Advanced tab, you can also configure the following advanced settings as needed:
- Alternative Text — Describe the image for screen readers or display text if the image fails to load.
- Link Image — Toggle this On and enter the URL in the box that comes up next to it to turn the image into a clickable link.
- File Reference — Set a reference name for the image, which defaults to its base filename. This name can be used in scripts or internal functions to identify the image.
- Hover Text — Enter text in the box that’ll come up as a tooltip when users hover their mouse over the image.
That’s it. You’ve now successfully added an image to your form using the Image element.
And if the images in your Image Element become outdated, and you want to change them, that’s easy too. Here’s how to do it:
- Click on the Gear icon on the right side of the Image element to open the Image Properties window.
- Under the General tab, click on Remove Image next to the Image Thumbnail.
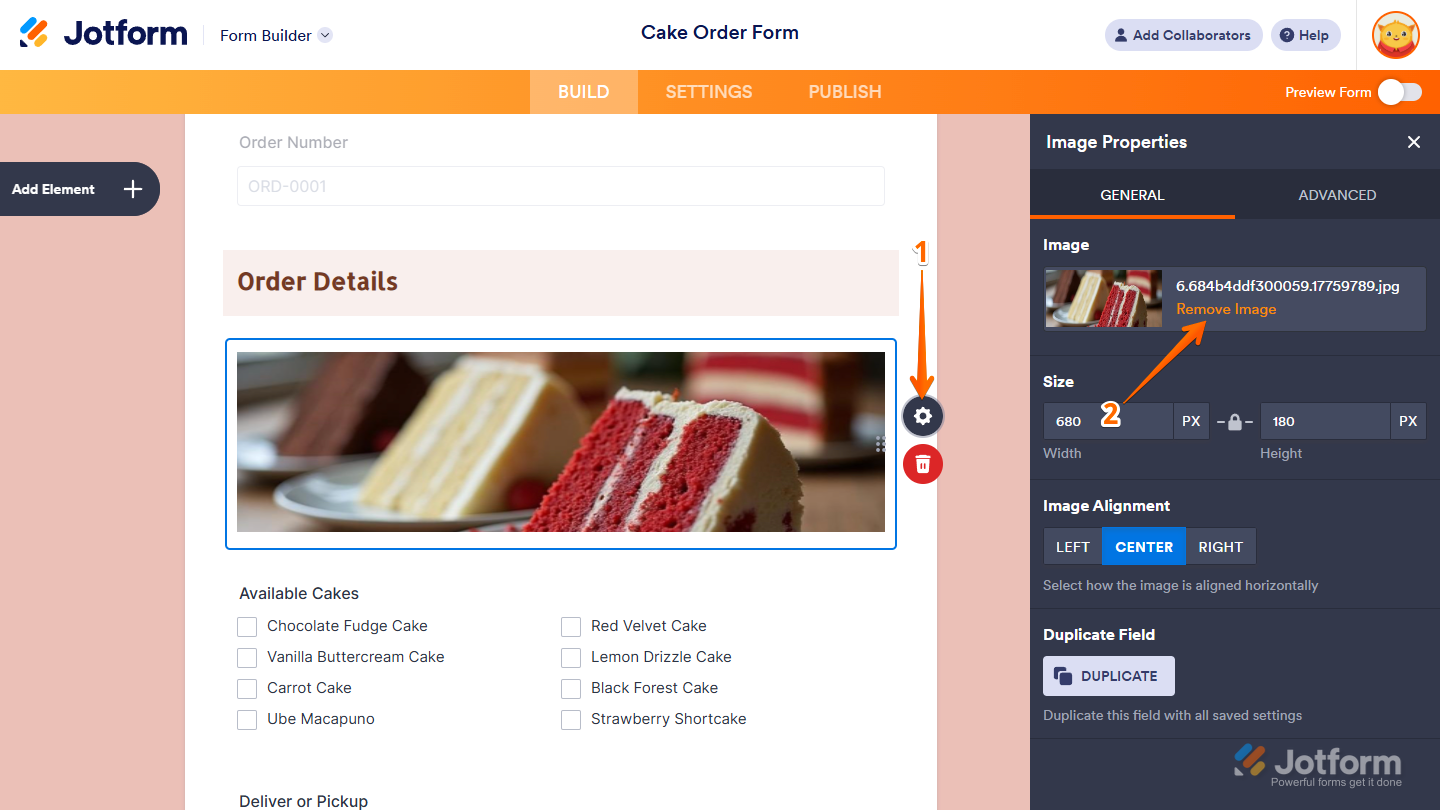
- Then, click on Choose a File to upload a new file.
Note
Any changes you make in the Image Properties window are saved automatically.
Using the Paragraph Element
The Paragraph element lets you add formatted text to your form and also supports embedded images. It’s useful when you want to combine visuals with instructions, descriptions, or other supporting content.
Whether you’re creating a new form or updating an existing one, you can add and set up the Paragraph element to add an image in a few easy steps. Here’s how to do it:
- In Form Builder, click on Add Element on the left side of the page.
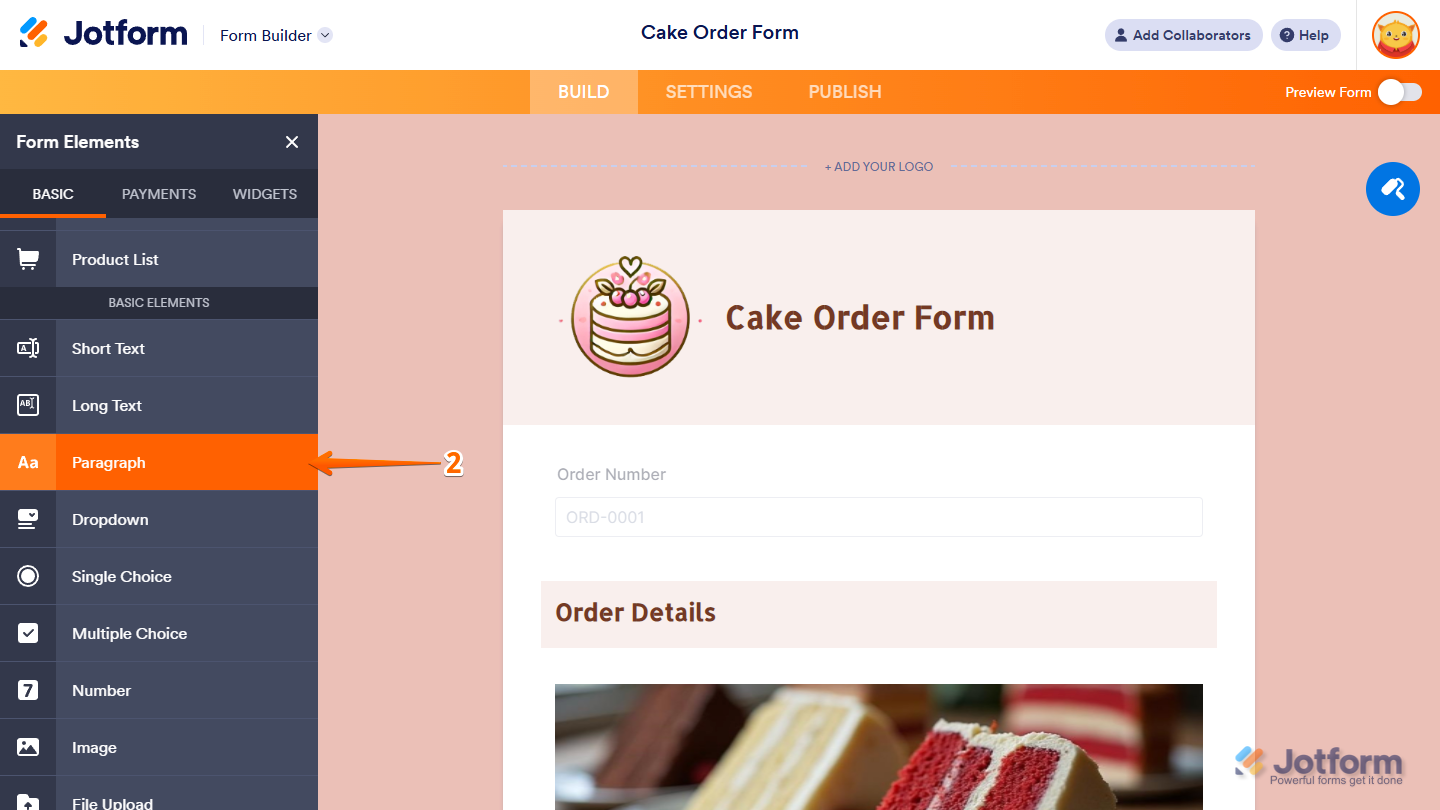
- Now, in the Form Elements menu, under the Basic tab, click on Paragraph. Or, just drag and then drop it to where you want it to be on your form.
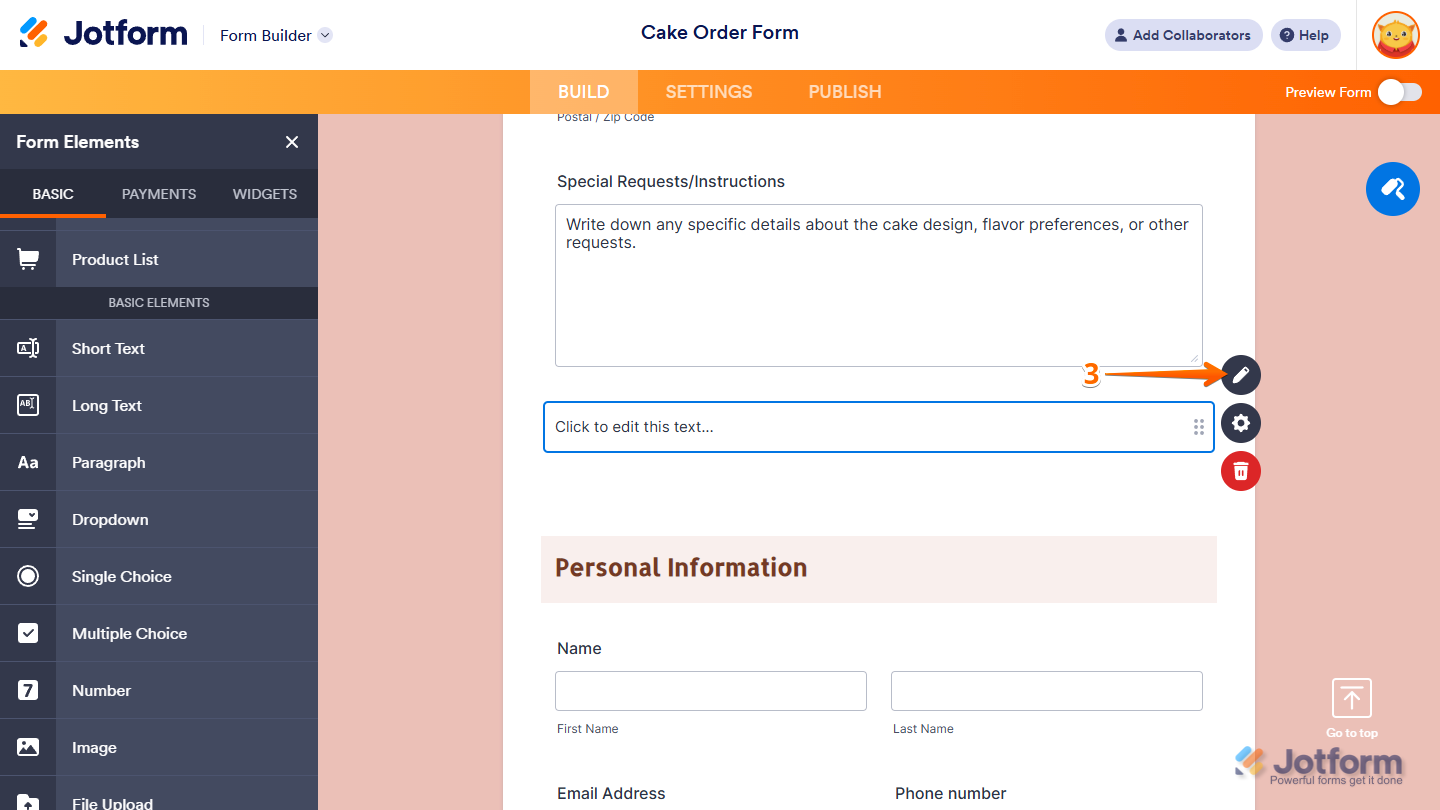
- Next, on the right side of the Paragraph field, click on the Pencil icon.
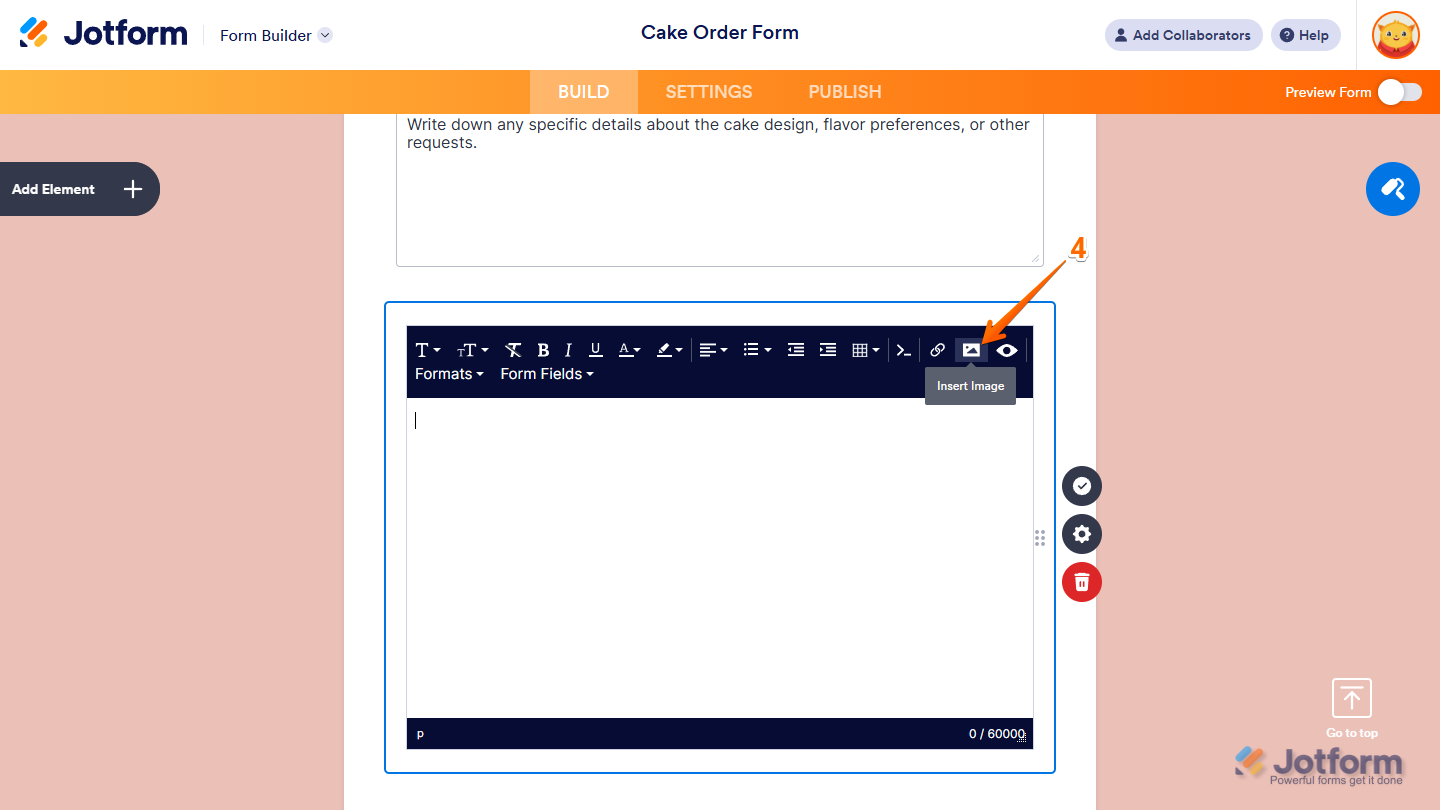
- Then, in the Text Editor, click on the Insert Image icon in the toolbar at the top.
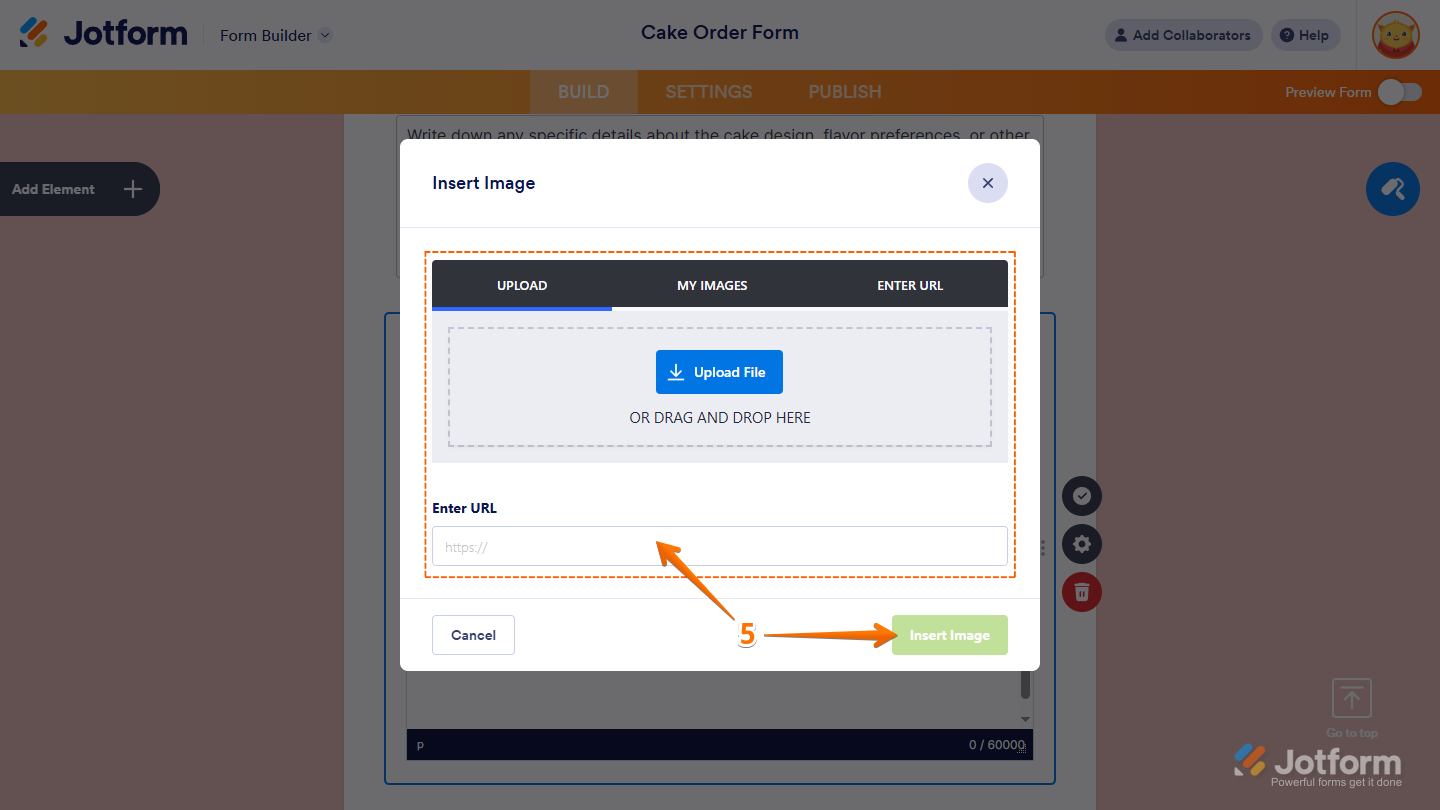
- Now, in the Insert Image window, go to one of the following tabs to add an image, and then click on Insert Image (once you’ve selected or uploaded an image, or inserted a URL, you’ll be able to click on the Insert Image button):
- Upload — Select an image directly from your device.
- My Images — Choose from images you’ve previously used and saved in your account.
- Enter URL — Paste a direct link to the image you want to use.
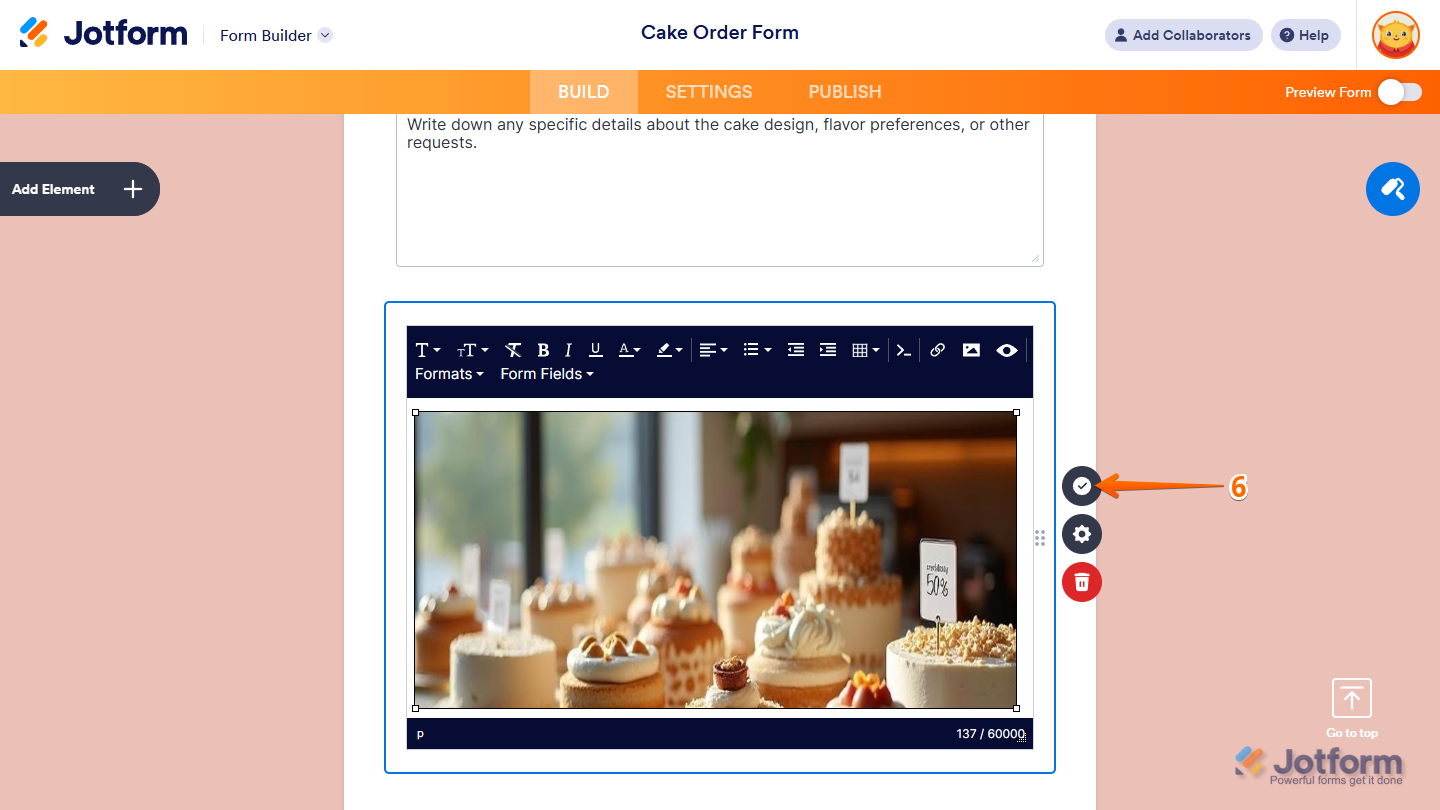
- Finally, click on the Encircled Checkmark icon on the right side of the Paragraph field.
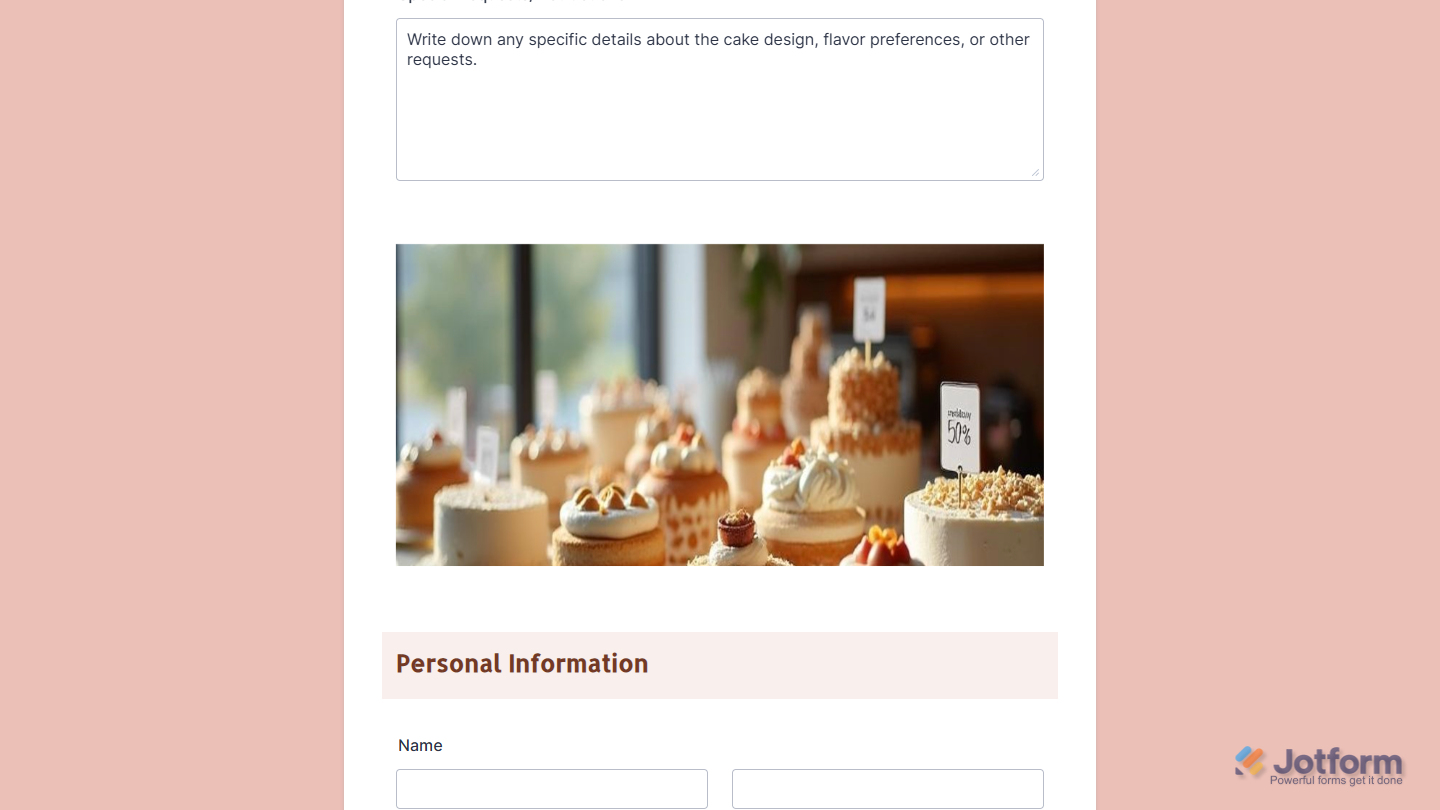
That’s it. You’ve now successfully added an image to your form using the Paragraph element.
Note
You can resize the image in the Text Editor by dragging the small square boxes around its edges.
Using Form Widgets
There are form widgets you can use to display multiple images at once. They help organize visuals neatly without adding separate Image elements. Depending on how you want the images to appear, you can choose between a gallery or a slider format.
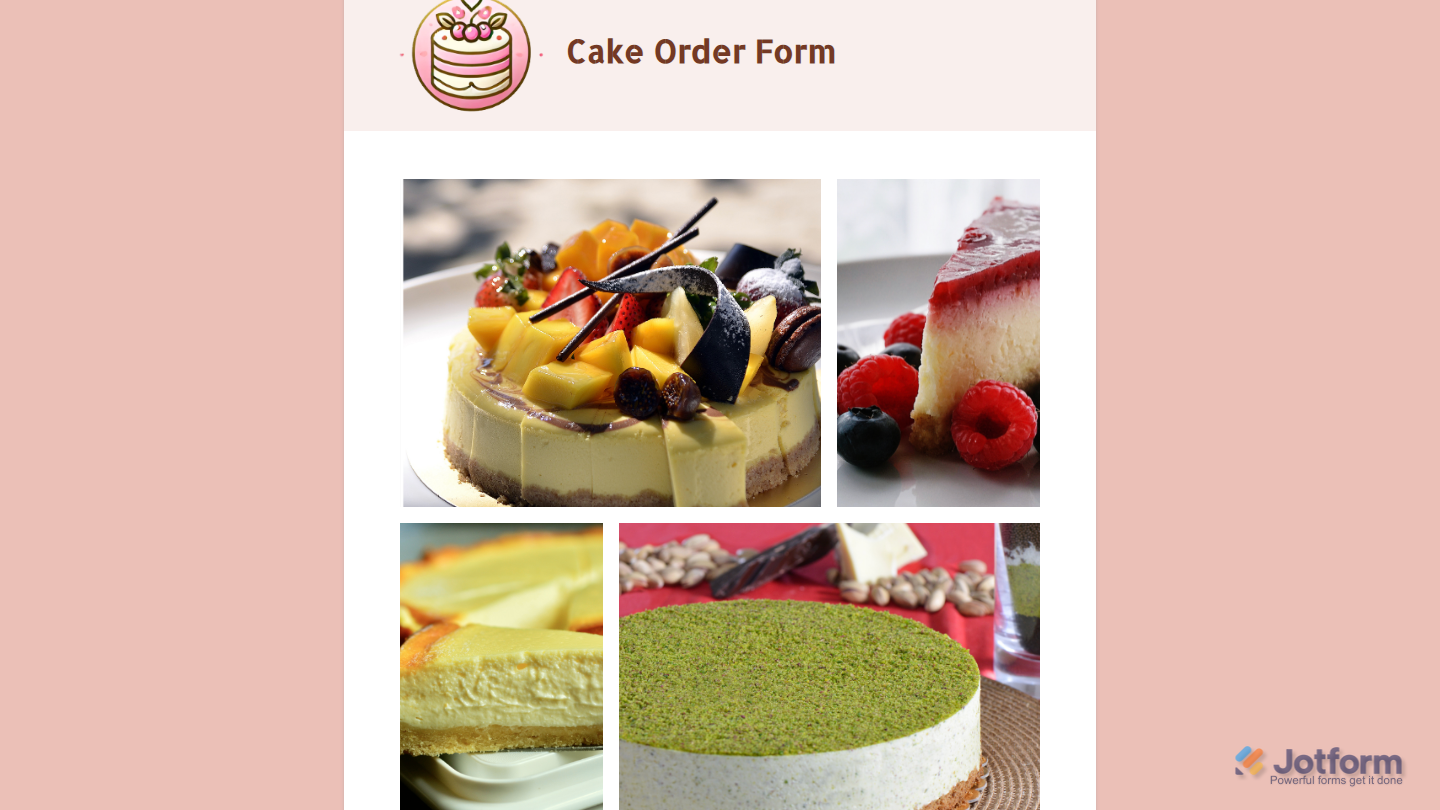
The Image Gallery widget displays several images in a tiled layout, letting users see all visuals at a glance. It’s ideal for showcasing product samples, event photos, or any group of related images.
You can check out our guide on How to Add and Set Up the Image Gallery Widget for more details.
The Image Slider widget shows your images in a rotating slideshow format. This is useful for highlighting before-and-after photos, steps in a process, or any image set where you’d like to have a space-saving, swipeable view.

You can check out our guide on How to Add and Set Up the Image Slider Widget for more details.


Send Comment:
15 Comments:
227 days ago
I've added images on my form and they show up. However, the last image I added isn't showing up. I tried lowering the resolution.
More than a year ago
I have tried all of the above on my HIPPA compliant form and my logo will not show up.
More than a year ago
I am not computer savvy and someone sent me a jotgorm claiming to be giving me money from Lottery Winnings . He claims that he will be randomly picking people to give money to in exchange for my email and Telephone number . Sound a scam?
More than a year ago
Thus far, I use a dummy form to which I have an image element in which I upload the image needed in the true form. This puts the image in the list of "uploaded" images. The URL for all those images, stored in Jotform, seem to work just fine for me.
The only issue I seem to have is figuring out the URL. I usually display the temporary form as a user would then do a 'inspect' with browser or right click and "open image in new tab". A valse I wish I could avoid, but seems simpler to compare with what you suggest (less steps ?)
A problem is managing those images. Can we delete any of those images ? (I forget) What happens if a form still is using a deleted image ? (I suspect it gets the 'no image found' thingy.) It doesn't seem to warn about duplicates - it just takes the new upload and tweaks the name (?)
It would be nice to be able to have 'folders' to organise the images. When the list of images gets long, the selector's behaviour can get affected (becomes slow as it does mini thumb views, ...) Actually, to have a file manager of some sort somewhere in Jotform's user interface. One could mass upload/update images and such (ex: school logos) ...
I love Jotform. There seems to always have at least one or more ways around any issue ...
More than a year ago
I found 90% of what I needed here, and that missing 10% doesn't justify the cost of developing a custom tool.
So: well done!
By the way, that 10% would be a Us-id&Pwd access system that pre-fills some of the fields so that frequent users don't have to fill the entire form every time. Maybe it is already implemented, but I haven't found it.
More than a year ago
great, simple and friendly application for various activities and needs. It's very useful.
More than a year ago
this is truly handy... Thank You so much for developing this online tool.
you are truly a blessing
More than a year ago
It does not works with Tumblr. I've tried all options and even checked google. It always creates a small icon when you embed the code. It's really frustrating.
More than a year ago
Hi!
This is great! I am trying to maintain my husbands website and had to update a very long list of services that have brought me to tears! My ISP rep. showed me this and I can't believe how user friendly it is! Wow! I can't wait to check out more templates! Thank you!!!!
Kelly O
247EventsUnlimited.com
More than a year ago
Welcome Haroon! :)
More than a year ago
I only discovered Jotform this week. Where have you been hiding? This will be essential to my business for processing requests as we grow. I'm thrilled to learn about you and my whole team is excited to explore all the possible applications which are seemingly endless. And yes, it's so classy that we don't have to compete with anyone else's branding. We have over 100 clients and I'm sure more than half of them will benefit.
Best,
Kimberly Brooks
CEO, Founder
lightray.com
More than a year ago
Hi Man! :)
Hello Dear Haroon, we are using Jotform on
We are very pleased by this Jotform. Good day.
Selçuk ÜNAL
İstanbul/Turkey
More than a year ago
How do I insert an image into a form, i.e., a logo picture, that is filed on my computer.
More than a year ago
I uploaded image through "this form" URL and...the image is gone and nothing happens. Submission is empty for each of my forms. When the image go then?
More than a year ago
as I can I can add a background image?, eg a png file on a phone and on this image, a text field