The Image Scanner widget makes it easy for users to scan, crop, and upload documents directly through your form without needing a separate scanning app. Whether you’re collecting IDs, receipts, invoices, applications, or signed documents, this widget helps create a smoother and more convenient submission experience on both desktop and mobile devices.
With built-in features like automatic edge detection, multi-page scanning, and PDF export support, you can collect cleaner and more organized files while making the process faster and easier for your users.
Here are a few ways to use it:
- Scan and Upload Documents Quickly — You can use the Image Scanner widget to let users scan physical documents directly from their device camera. This makes it easier to upload IDs, receipts, contracts, or forms without using a separate scanner.
- Simplify Mobile Form Submissions — The widget is especially useful on mobile devices because users can capture and upload images instantly while filling out the form. This creates a faster and more convenient submission experience.
- Collect Identification Documents — Businesses and organizations can use the widget to gather scanned copies of passports, driver’s licenses, or employee IDs for verification purposes.
- Upload Receipts or Proof of Purchase — The widget works well for reimbursement, warranty, or return request forms where users need to submit scanned receipts or invoices.
Notes
- The Image Scanner widget only supports one field per form, so you can add it only once in your form.
- The Image Scanner widget works best on devices with a built-in camera, such as smartphones and tablets.
Adding and Setting Up the Image Scanner Widget
With just a few simple steps, you can allow users to scan and upload images directly through your form without needing extra apps or technical experience. Follow these simple steps to get it set up:
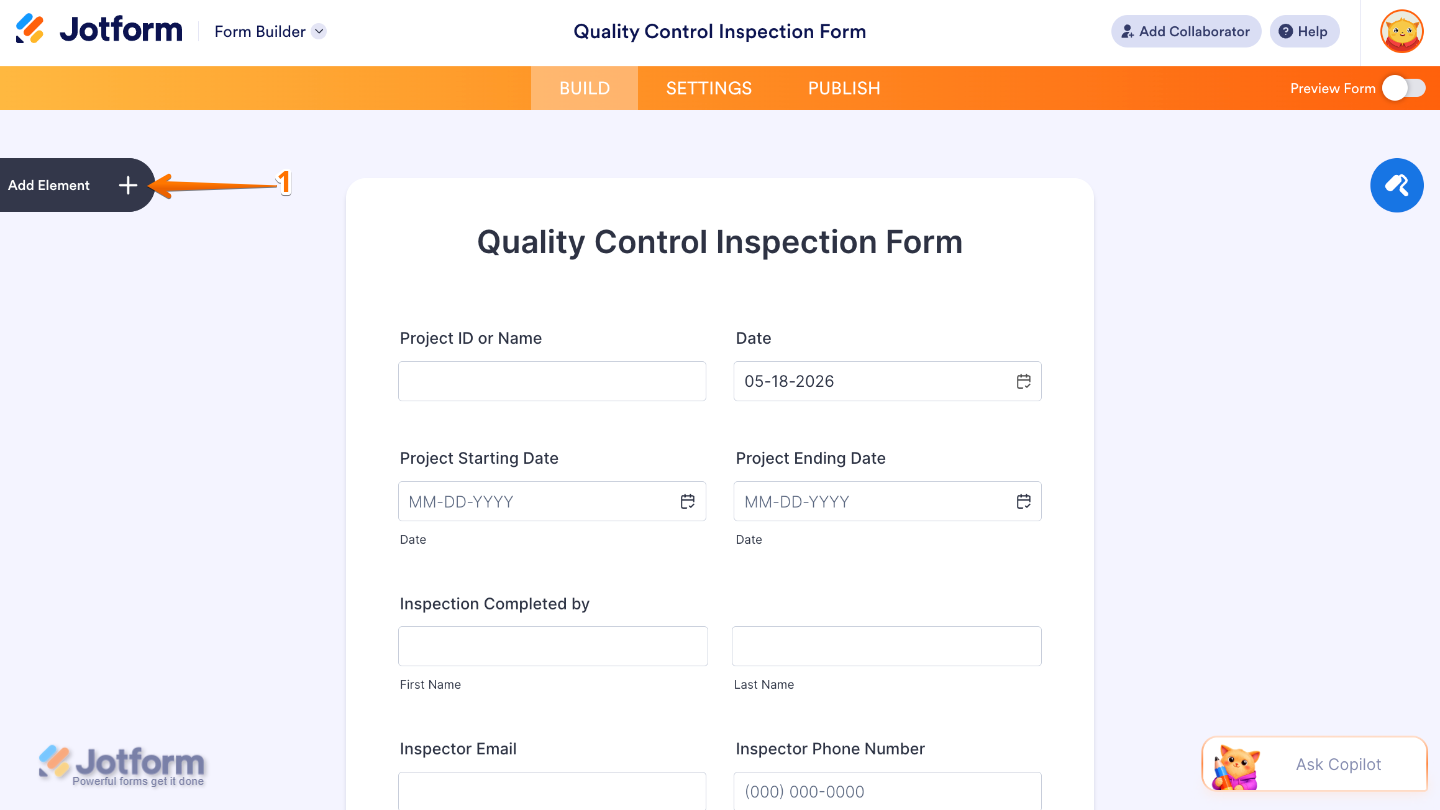
- In Form Builder, click on Add Element on the left side of the page.
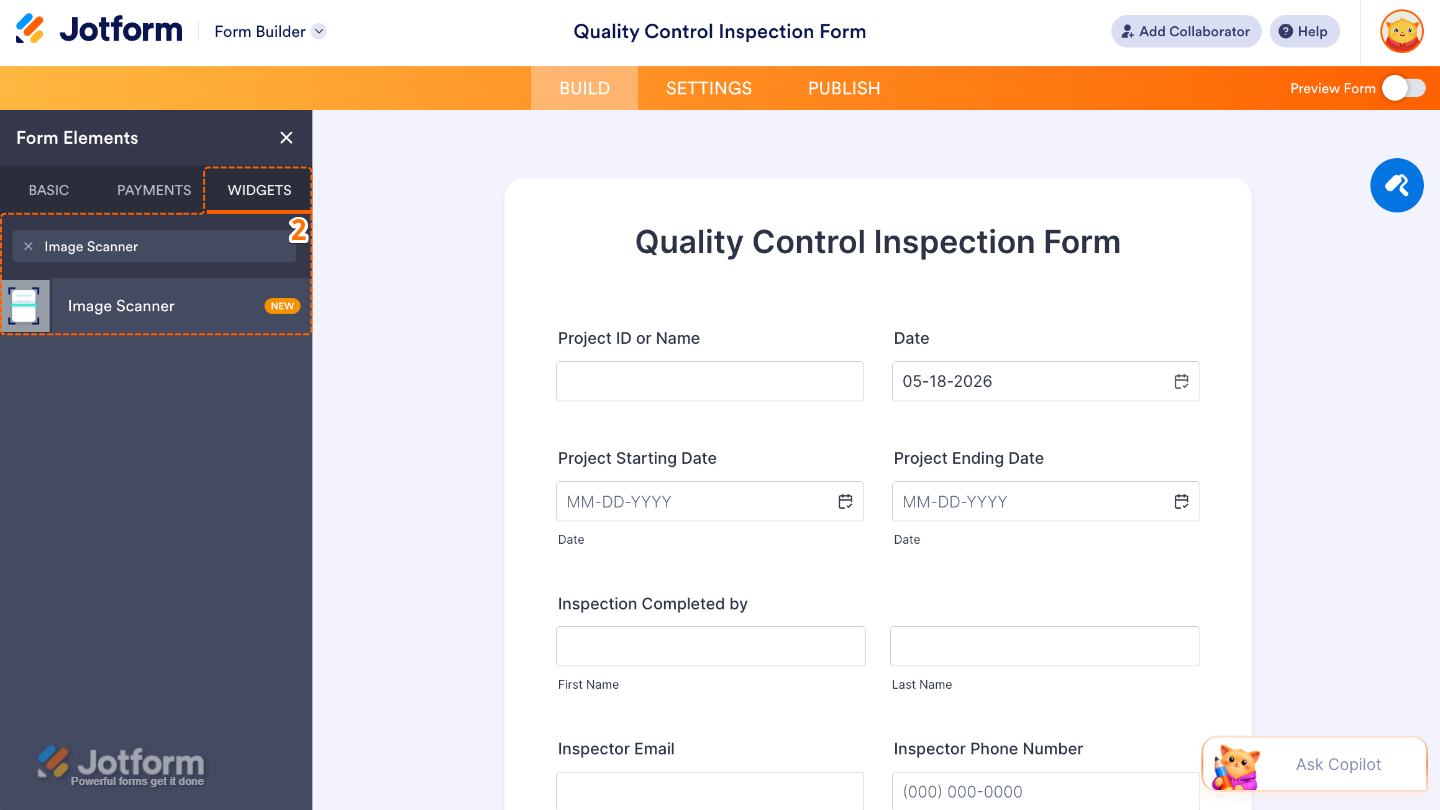
- Now, in the Form Elements menu, under the Widgets tab, search for Image Scanner and then click on it. Or, just drag and drop it to where you want it to be on your form.
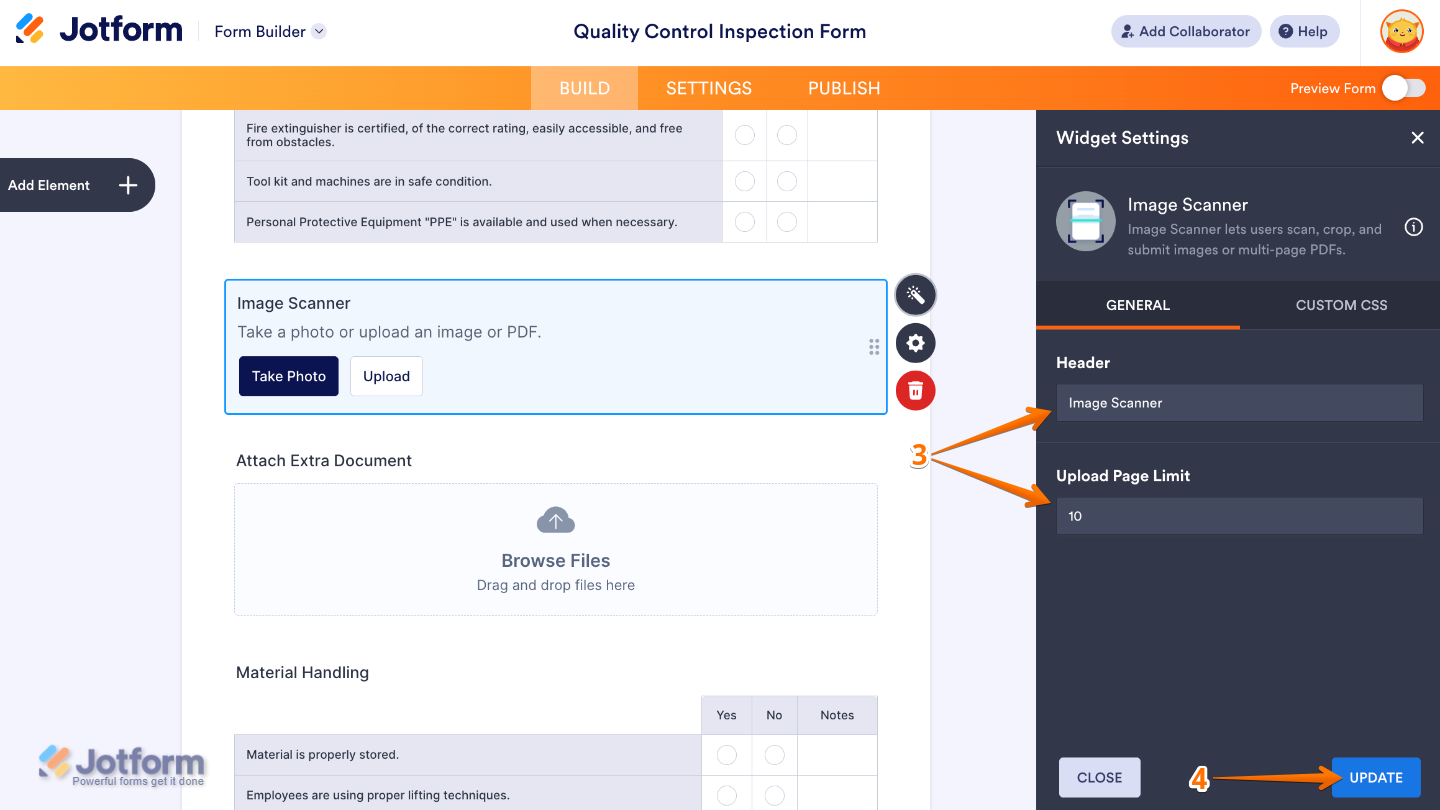
- Next, in the Widget Settings menu that opens on the right side of the page, under the General tab, set up the following:
- Heading — Edit this to add a title or label above the Image Scanner widget. This helps users understand what type of image or document they need to scan and upload.
- Upload Page Limit — Use this to set the maximum number of pages users can scan and upload in a single submission. This helps control file length and keeps submissions organized.
- Once you’re done, click on Update at the bottom.
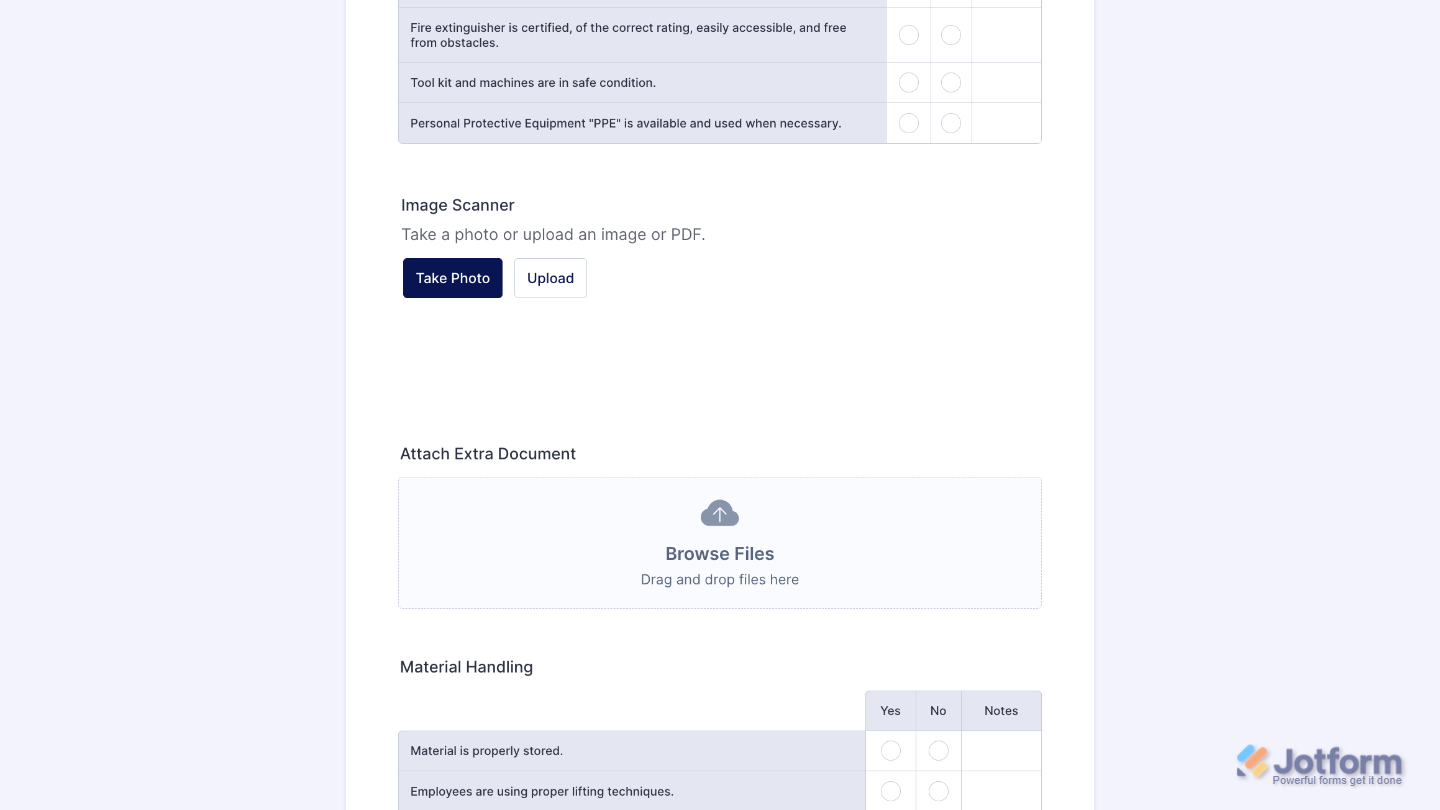
That’s it! You’ve successfully added and set up the Image Scanner widget on your form. Users can now scan and upload images or documents directly from their device while completing the form. Want to see how it works in action? Check out this demo form.
To further customize your Image Scanner field appearance, just click on the Gear icon to open its properties. For a full breakdown of how to do it, head over to our guide on How to Access and Configure the Question Properties of a Widget.
Note
For advanced styling, you can add your own custom CSS under the Custom CSS tab in the widget settings and style the Take Photo field. For a full breakdown of how to do it, head over to our guide on How to Inject CSS Codes to Widgets.
Pro Tip
- Add a short description in the Heading option so users know exactly what they need to scan.
- Set an Upload Page Limit to prevent users from uploading more pages than required.
- Pair the widget with a File Upload field if users may also need to attach extra documents.
- Test the widget on both desktop and mobile devices to ensure a smooth user experience.

Send Comment: