Jotform’s Image Gallery widget lets you display multiple images in a clean, tiled layout on your form. It’s perfect for showcasing multiple images at once, like product photos, event highlights, visual references, or examples of past work—all in one place.
Instead of adding images one by one, this widget organizes them into a single section, keeping your form neat and easy to browse. It’s a great choice for portfolios, service previews, or any form that benefits from a visual collection. The images add context and help users make quicker, more informed decisions.
Whether you’re creating a new form or updating an existing one, you can add and set up the Image Gallery widget in a few easy steps. Here’s how to do it:
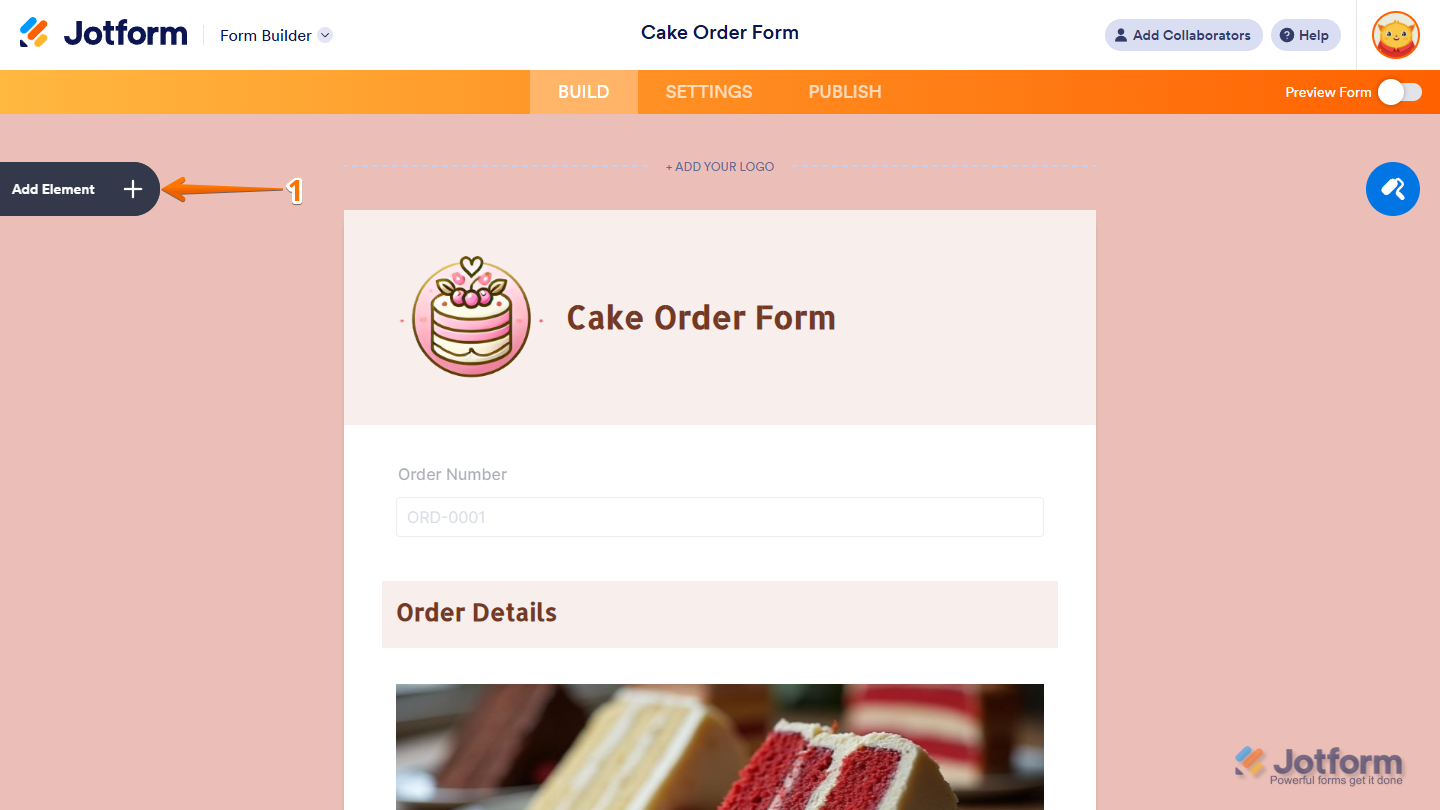
- In Form Builder, click on Add Element on the left side of the page.
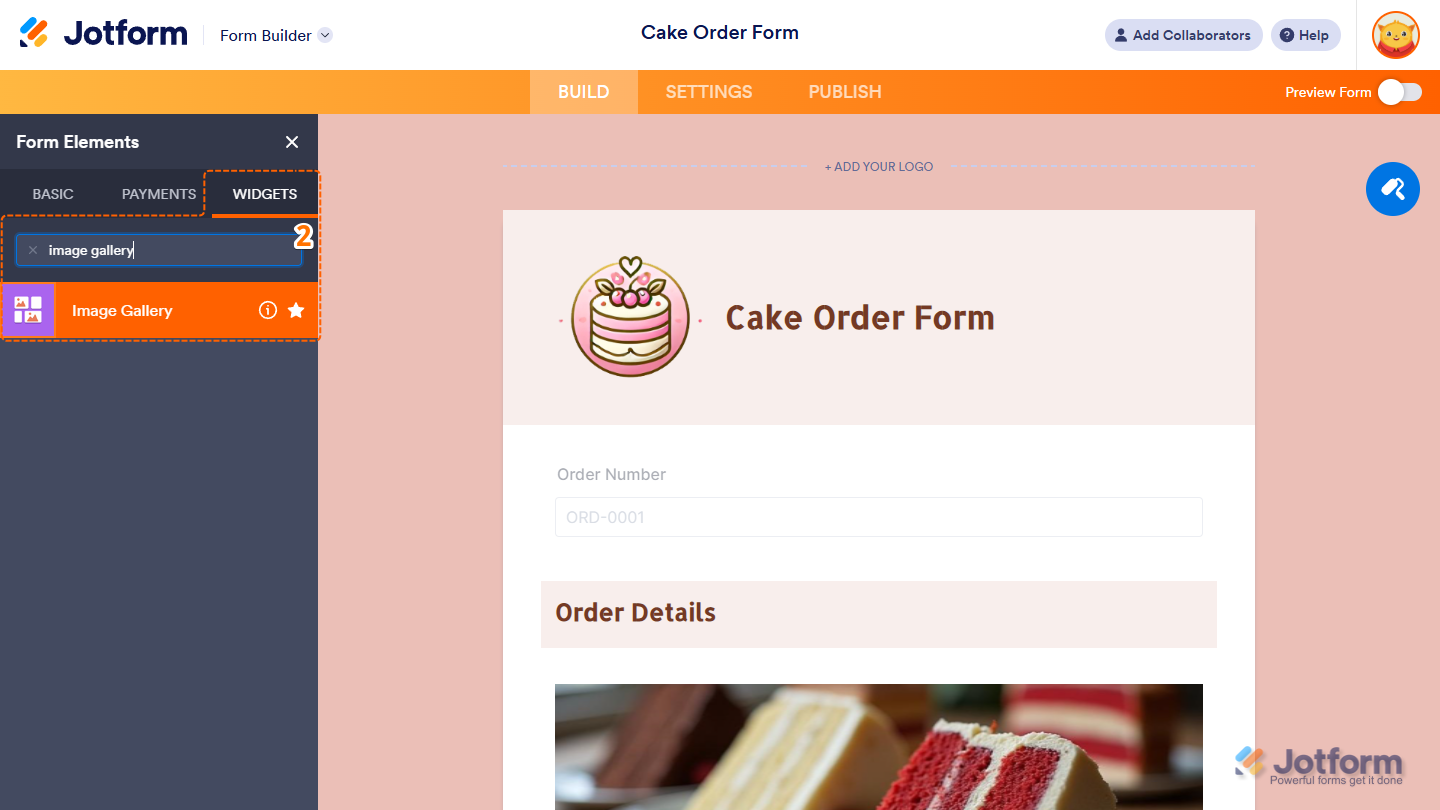
- Now, in the Form Elements menu, under the Widgets tab, search for Image Gallery and click on it. Or, just drag and then drop it to where you want it to be on your form.
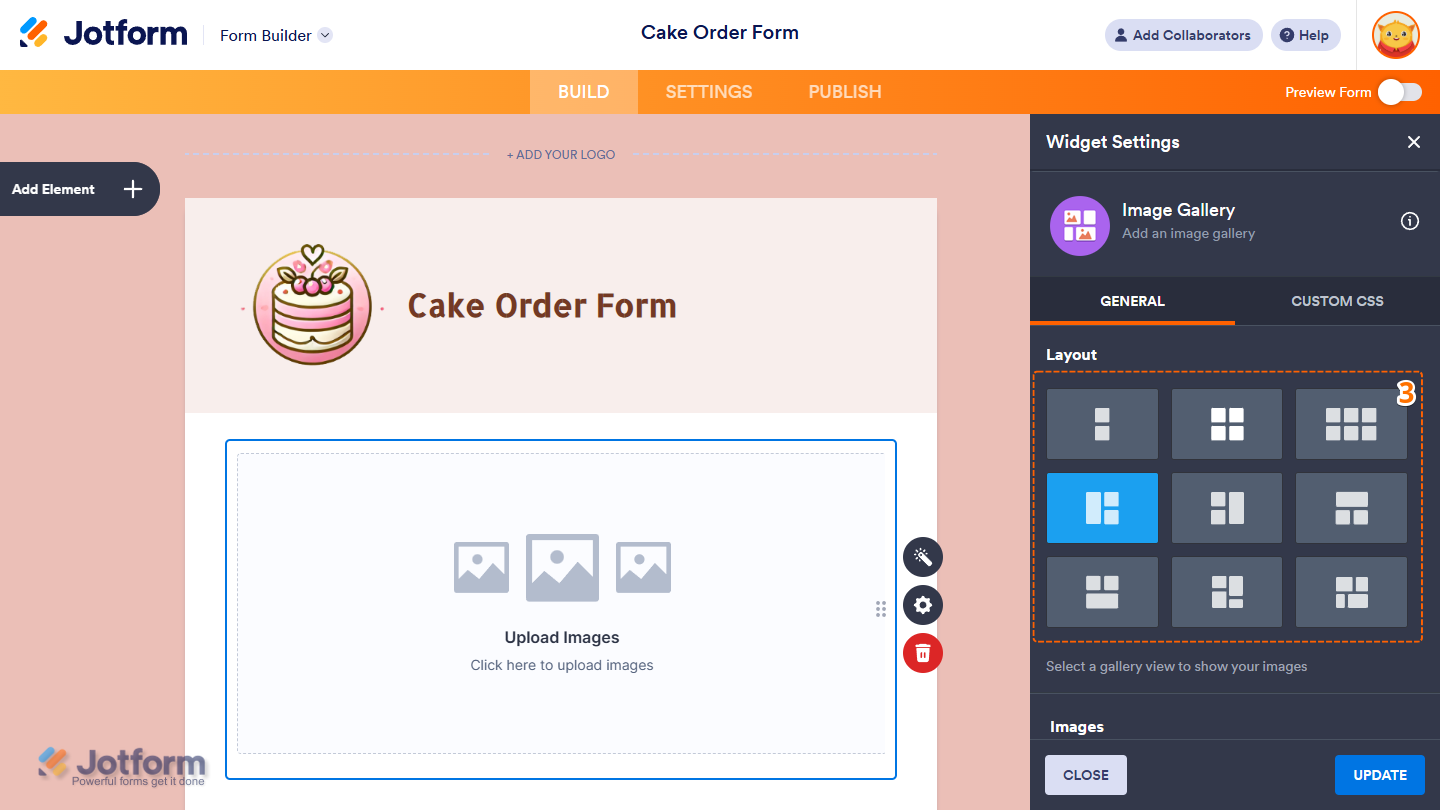
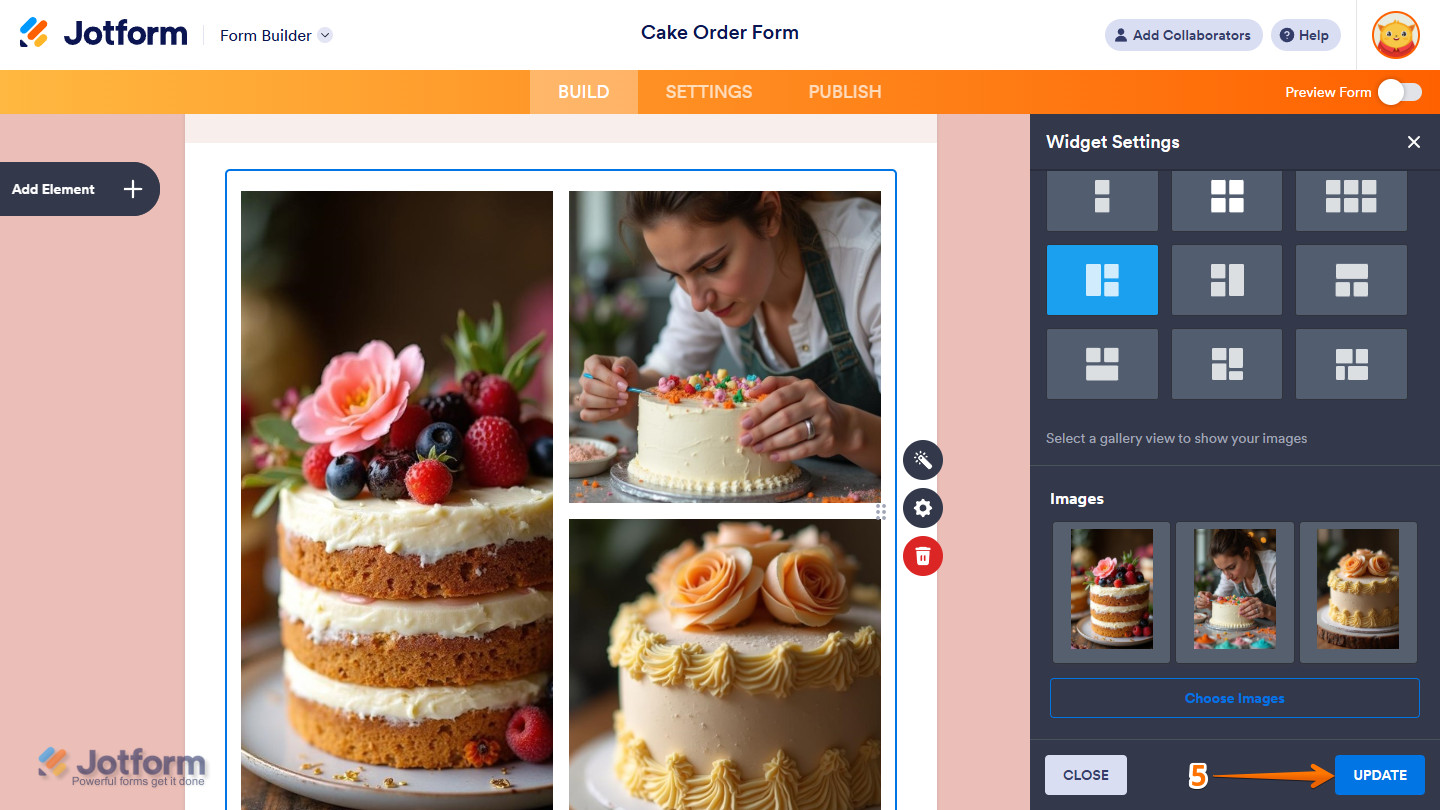
- Next, in the Widget Settings window that opens on the right side of the page, select a layout you want to use for your gallery.
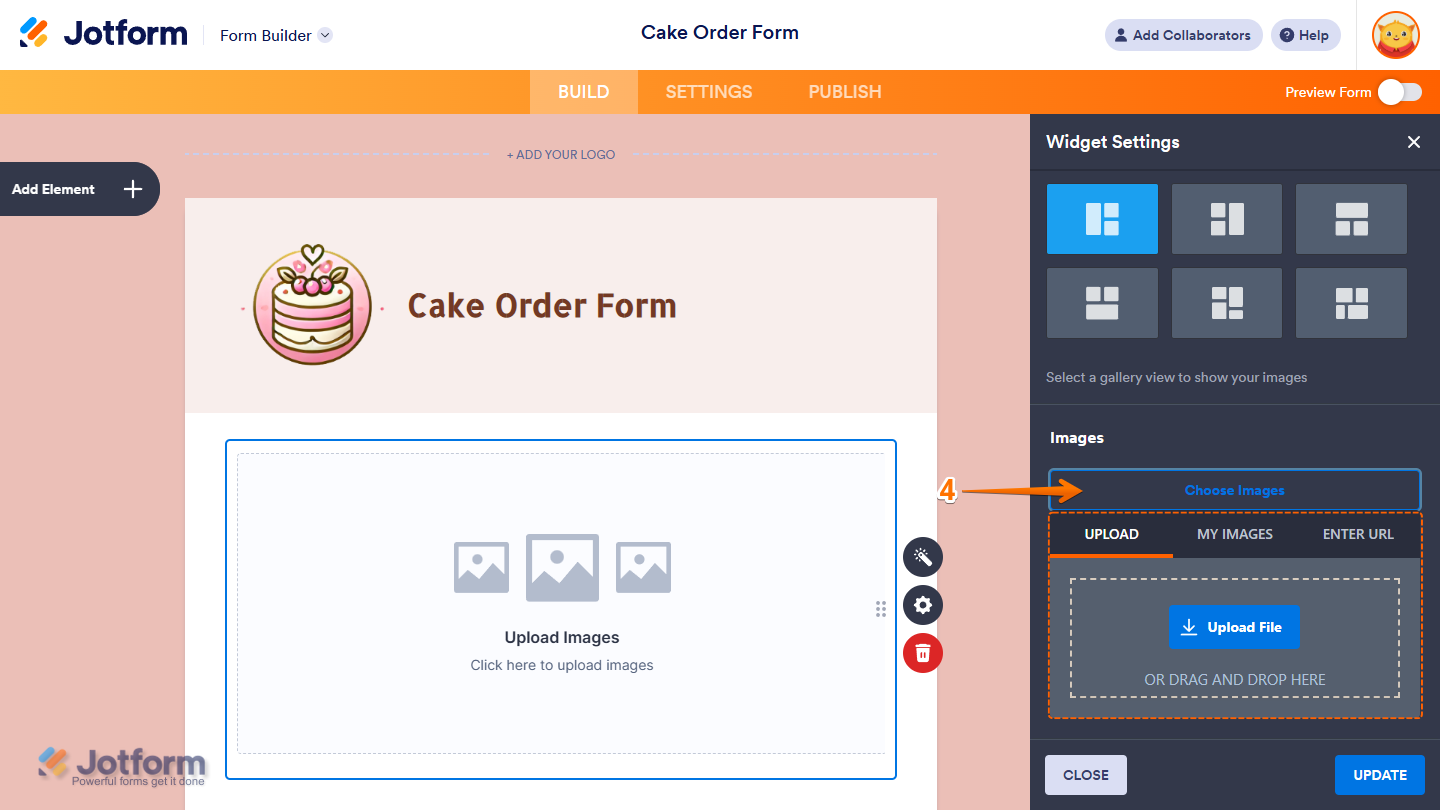
- Then, click on Choose Images and, in the menu that opens, go to one of the following tabs to add your images:
- Upload — Select one or more images directly from your device.
- My Images — Choose multiple saved images from your account.
- Enter URL — Paste direct image links (each on a new line) to add multiple images at once.
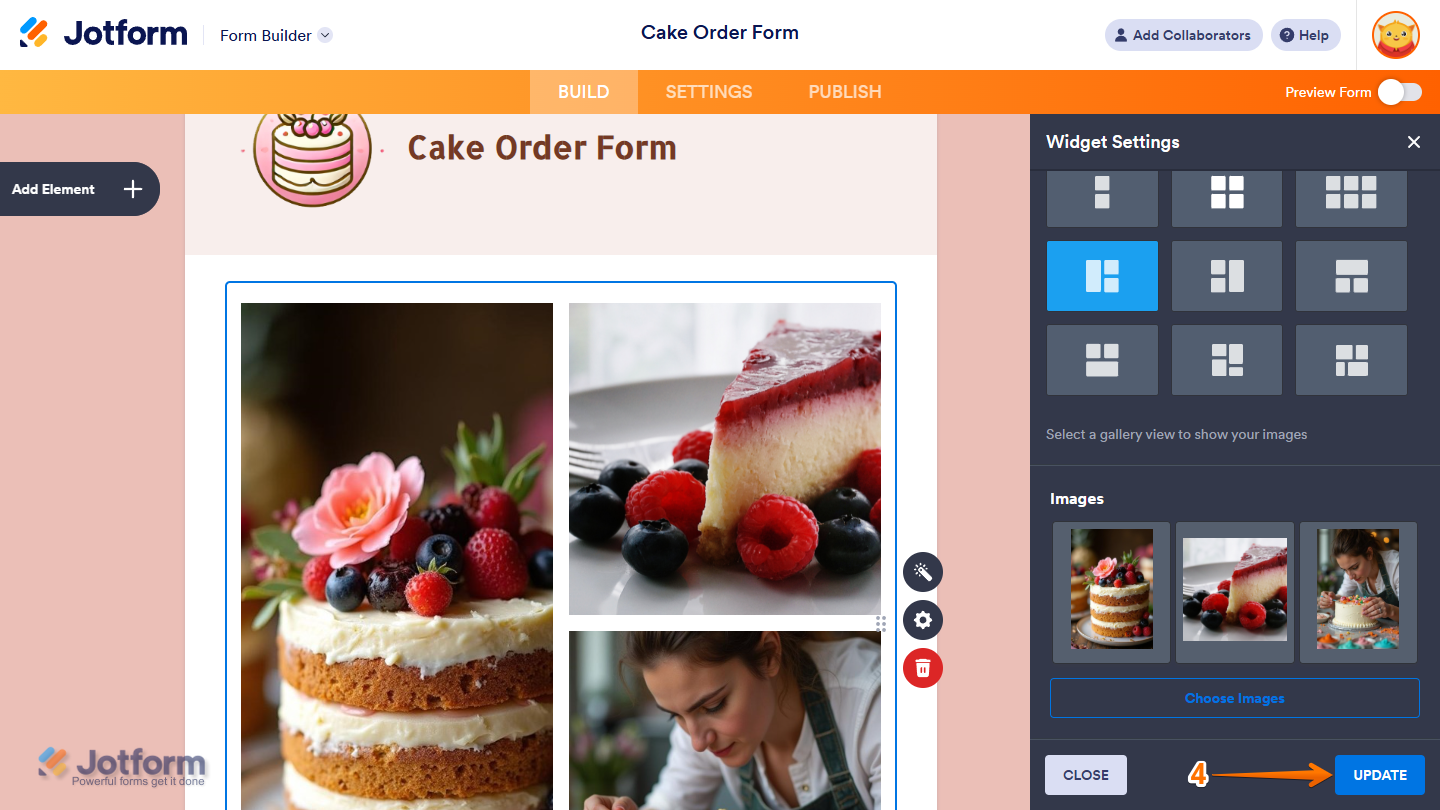
- Once you’re done, click on Update.
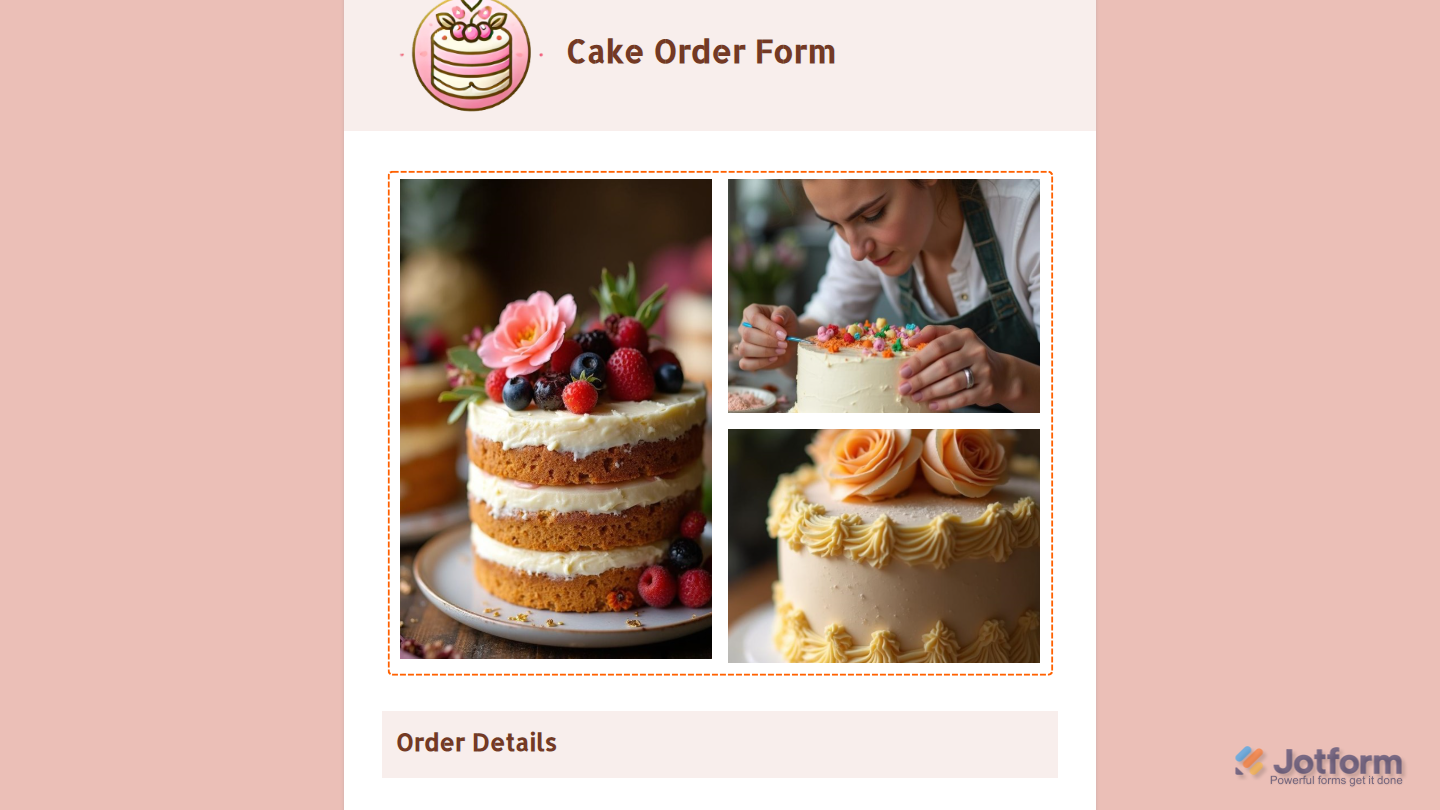
That’s it. You’ve successfully added an image gallery to your form. You can explore how the Image Gallery widget looks with this demo form.
Updating the Widget’s Images
If the images in your Image Gallery widget are outdated, no longer relevant, or not in the right order, you can update them in a few easy steps. Here’s how to do it:
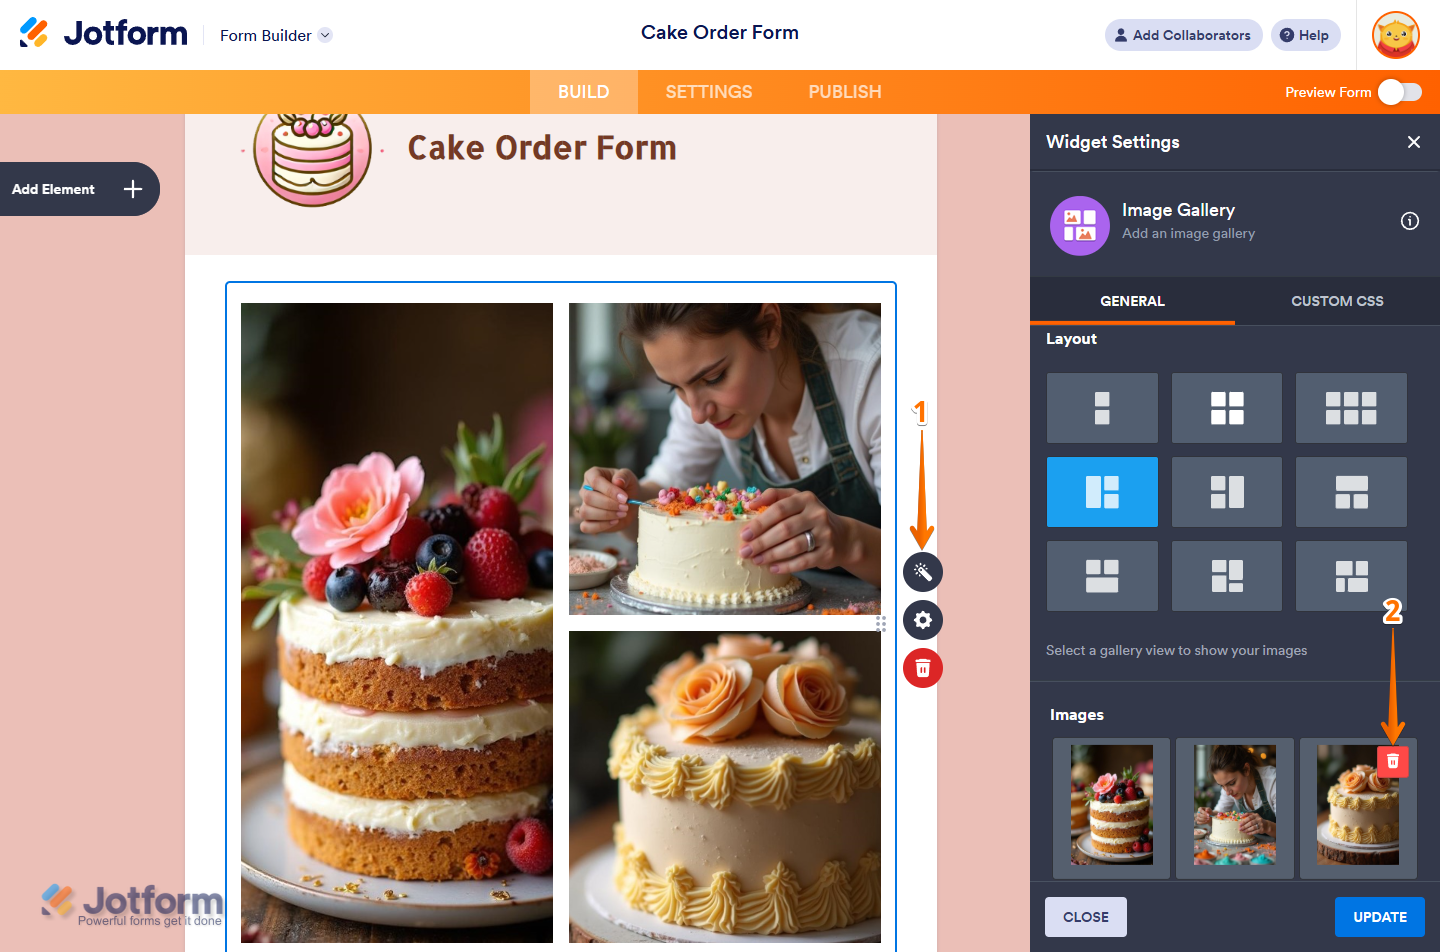
- In Form Builder, click on your Image Gallery and then click on the Wand icon on the right side of it.
- Then, in the Widget Settings menu, hover your mouse over an image thumbnail and click on the Trash icon that comes up on the top-right side to delete it.
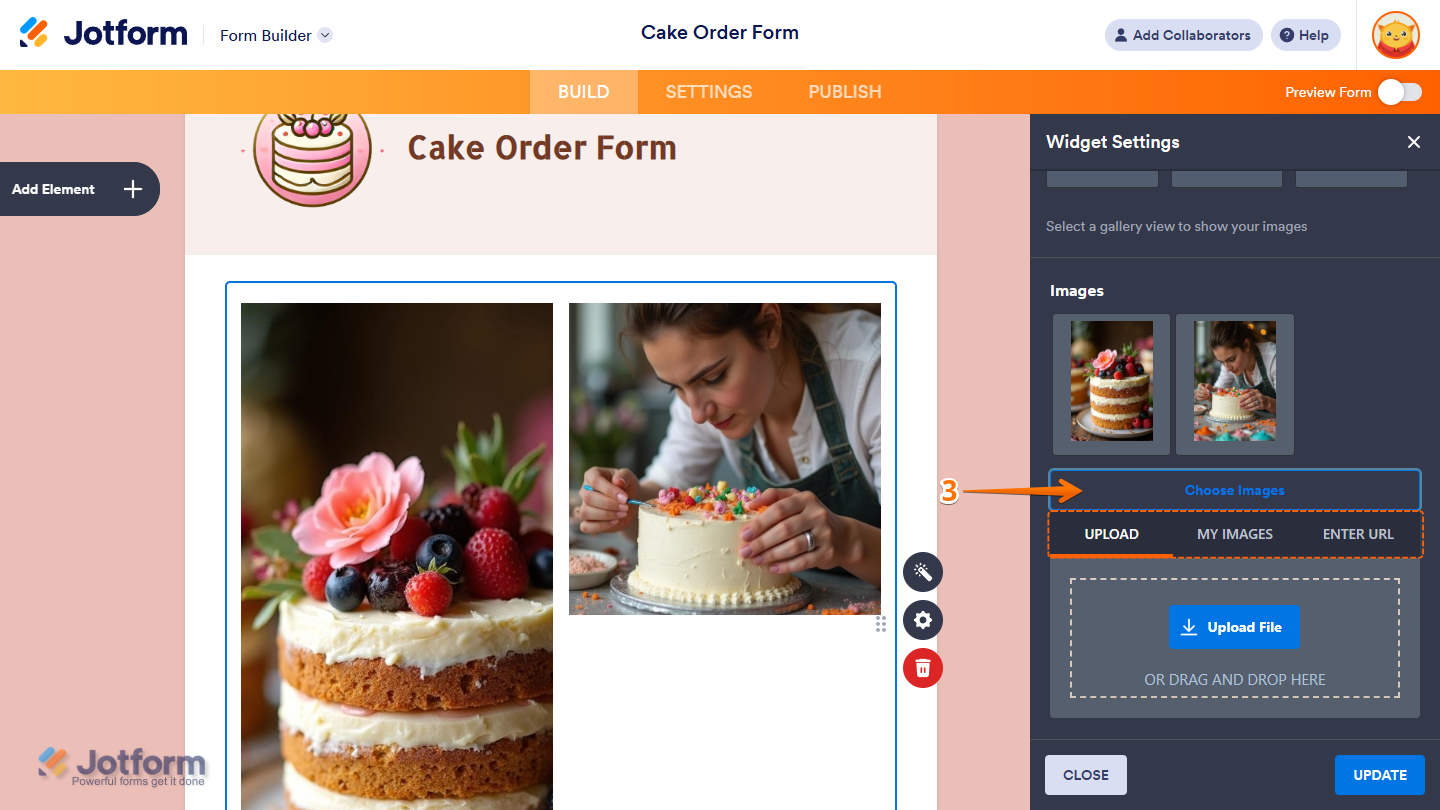
- Now, click on Choose Images and then, in the menu that opens, go to one of the following tabs to add your new images:
- Upload — Select one or more images directly from your device.
- My Images — Choose multiple saved images from your account.
- Enter URL — Paste direct image links (each on a new line) to add multiple images at once.
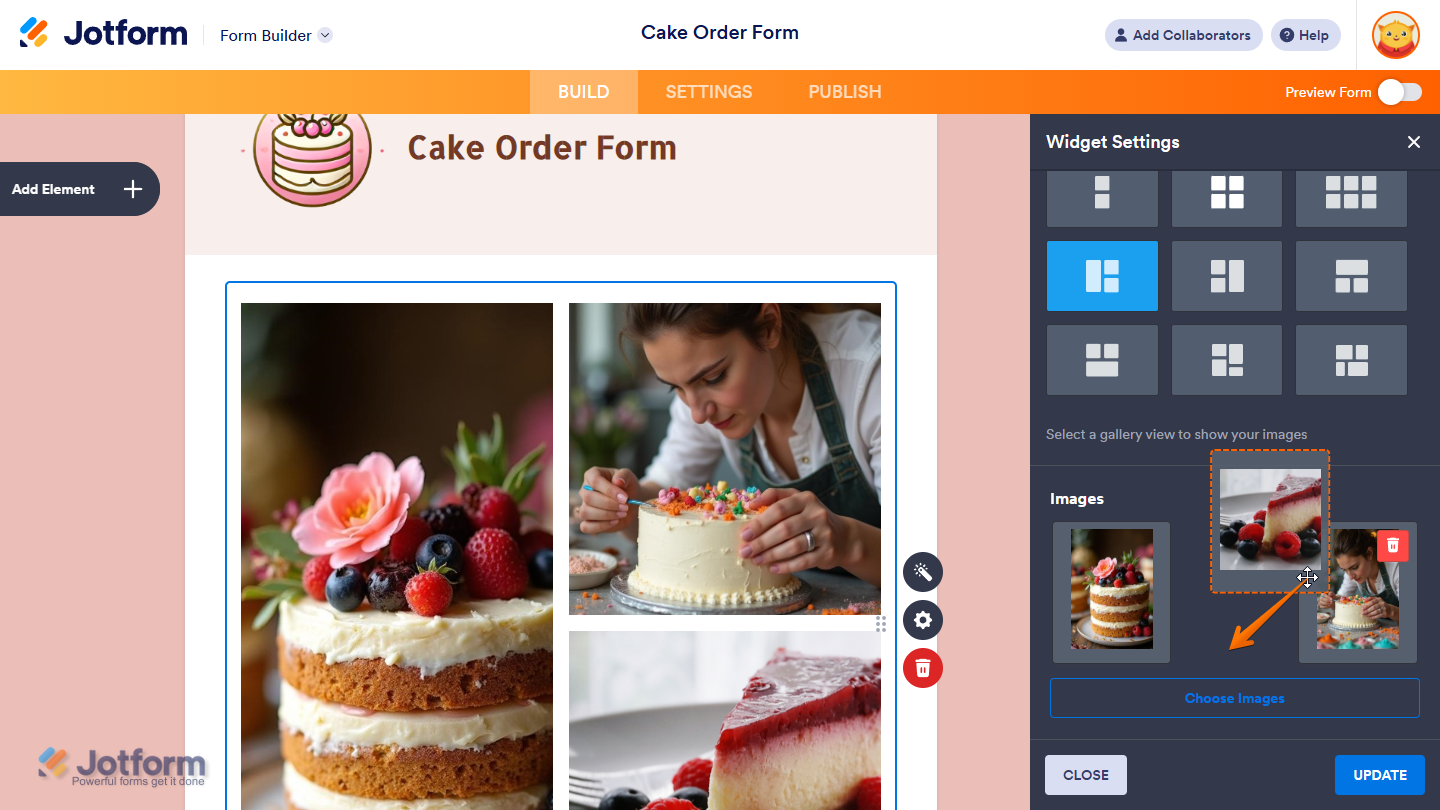
You can also move the images around to decide where each one shows up in the gallery. This lets you keep things organized and highlight the images you want people to see first. Just open the Widget Settings menu, click on and hold any image thumbnail, and then drag to it wherever you want it to be.
- Once you’re done, click on Update to save the changes.
You can also customize the image size, borders, background color, and shadows in the Image Gallery widget using CSS. Just add your CSS code in the Custom CSS tab under Widget Settings:
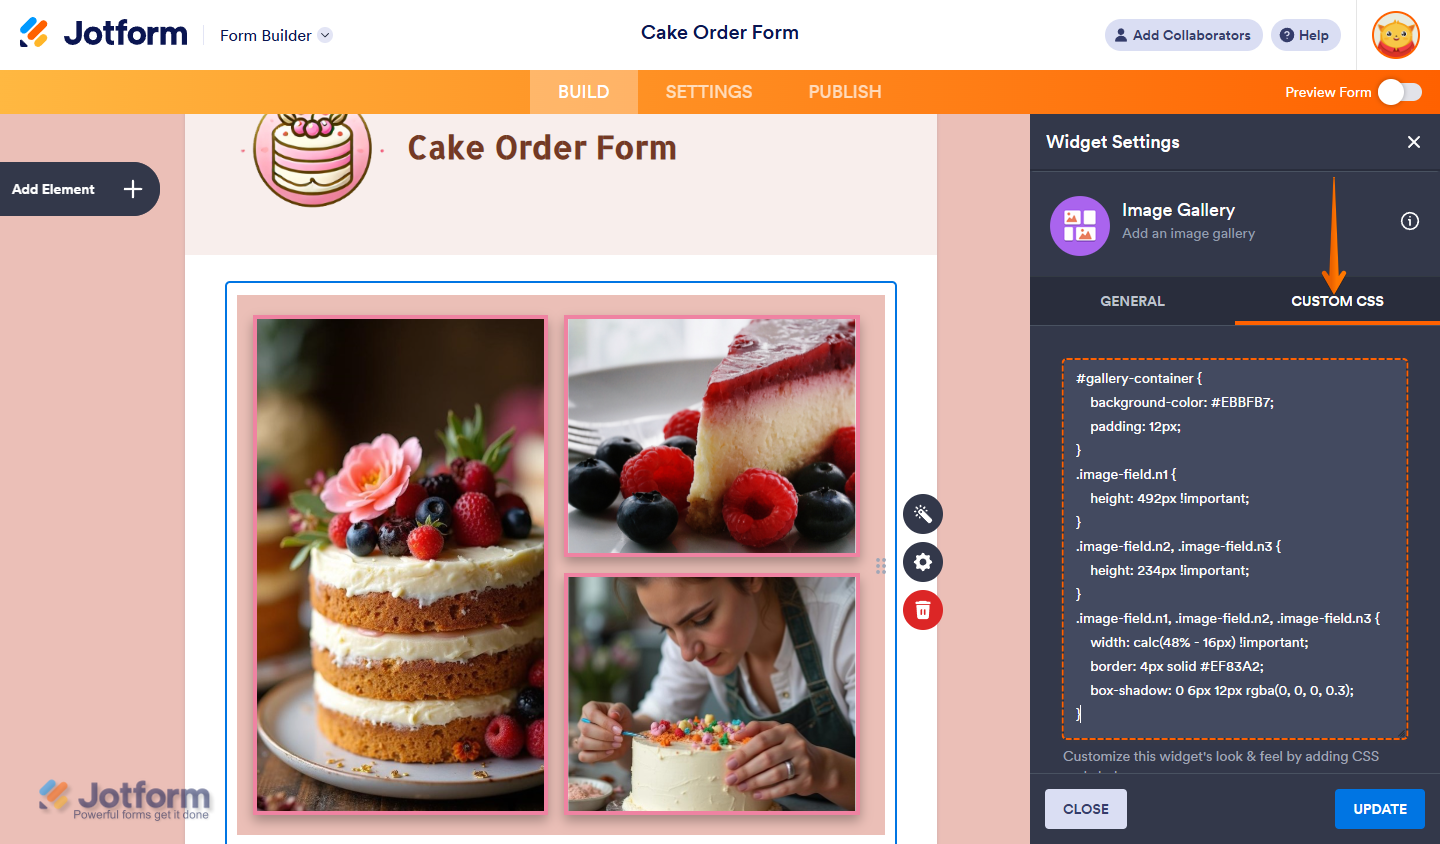
You can check out our guide on How to Inject CSS Codes to Widgets to learn more.

Send Comment: