Adding a heading is a simple way to introduce your form and help users understand what it’s all about. Think of it as a friendly welcome; it gives people a quick idea of what to expect as soon as they open your form. Whether it’s a clear title or a short description, the Heading element helps set the tone and guide your users from the very beginning.
Here are a few ways to use it:
- Use it to give your form a clear title so users immediately understand its purpose.
- Add section titles to break your form into smaller, easier-to-follow parts.
- Use it to introduce new steps in multi-page or multi-section forms.
- Include short descriptions or context to guide users before they start filling out a section.
Adding and Setting Up the Heading Element
Adding and customizing a Heading element is a great start, and it only takes a few easy steps, no design skills needed. Here’s how to do it:
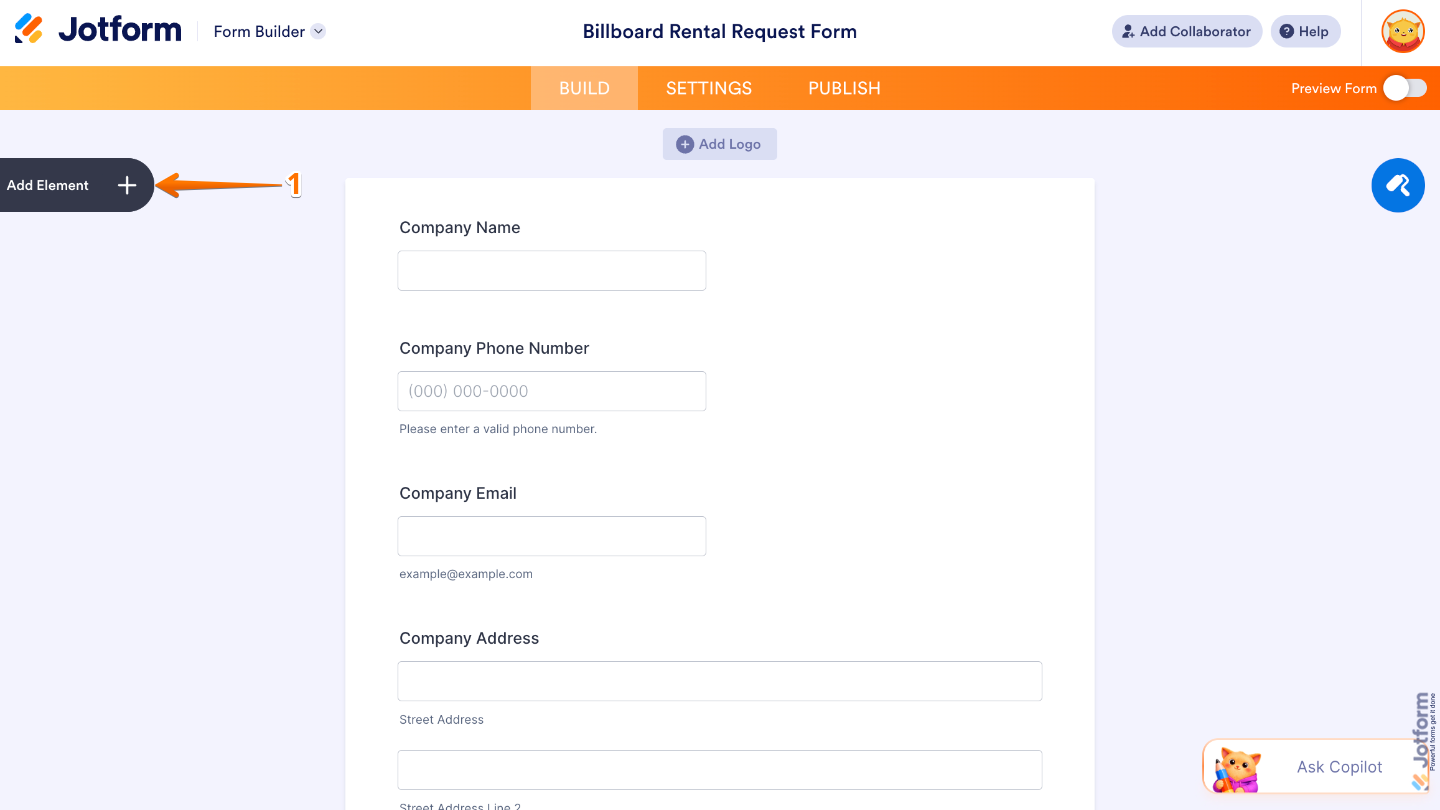
- In Form Builder, click on Add Element on the left side of the page.
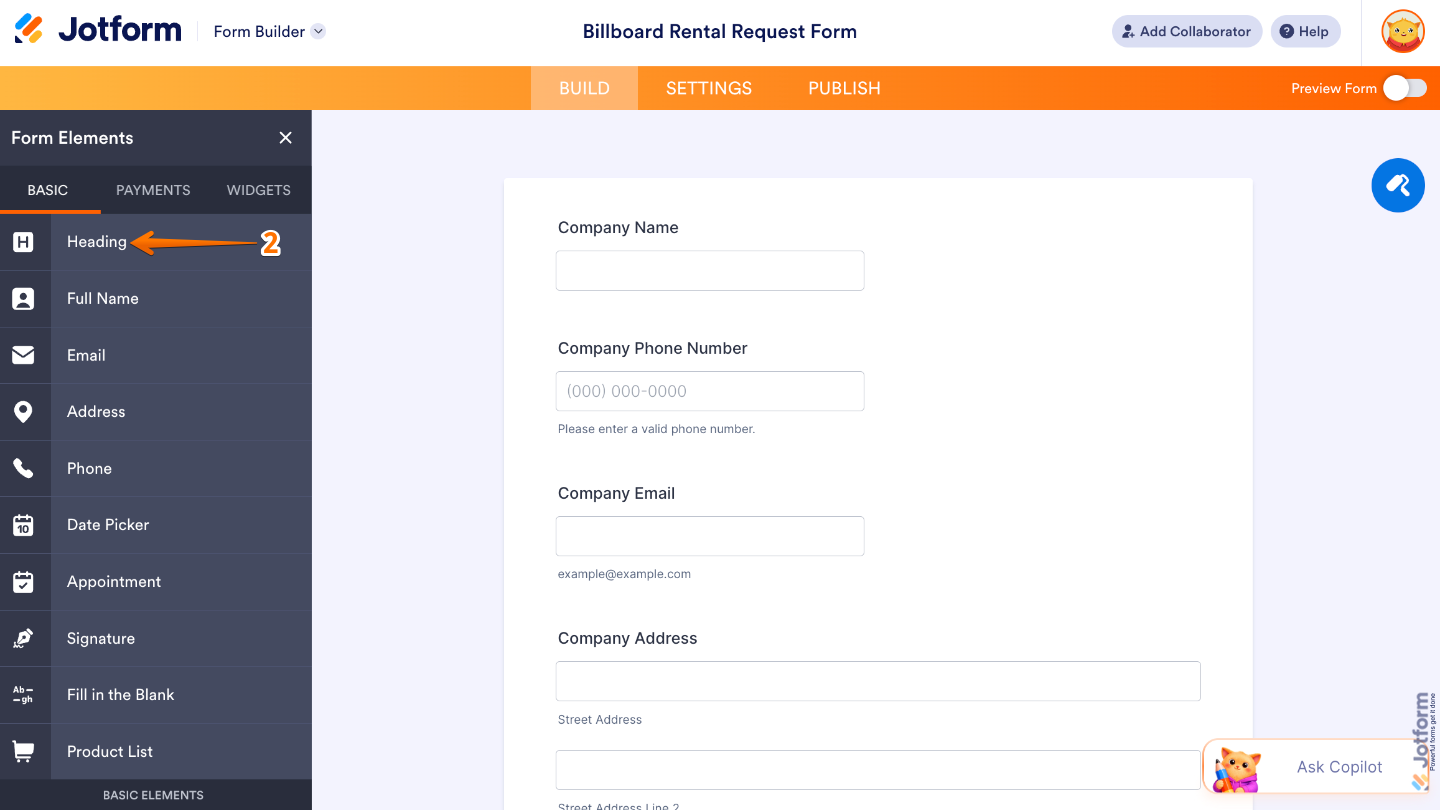
- Now, in the Form Elements menu, under the Basic tab, click on Heading. Or, just drag and then drop it to where you want it to be on your form.
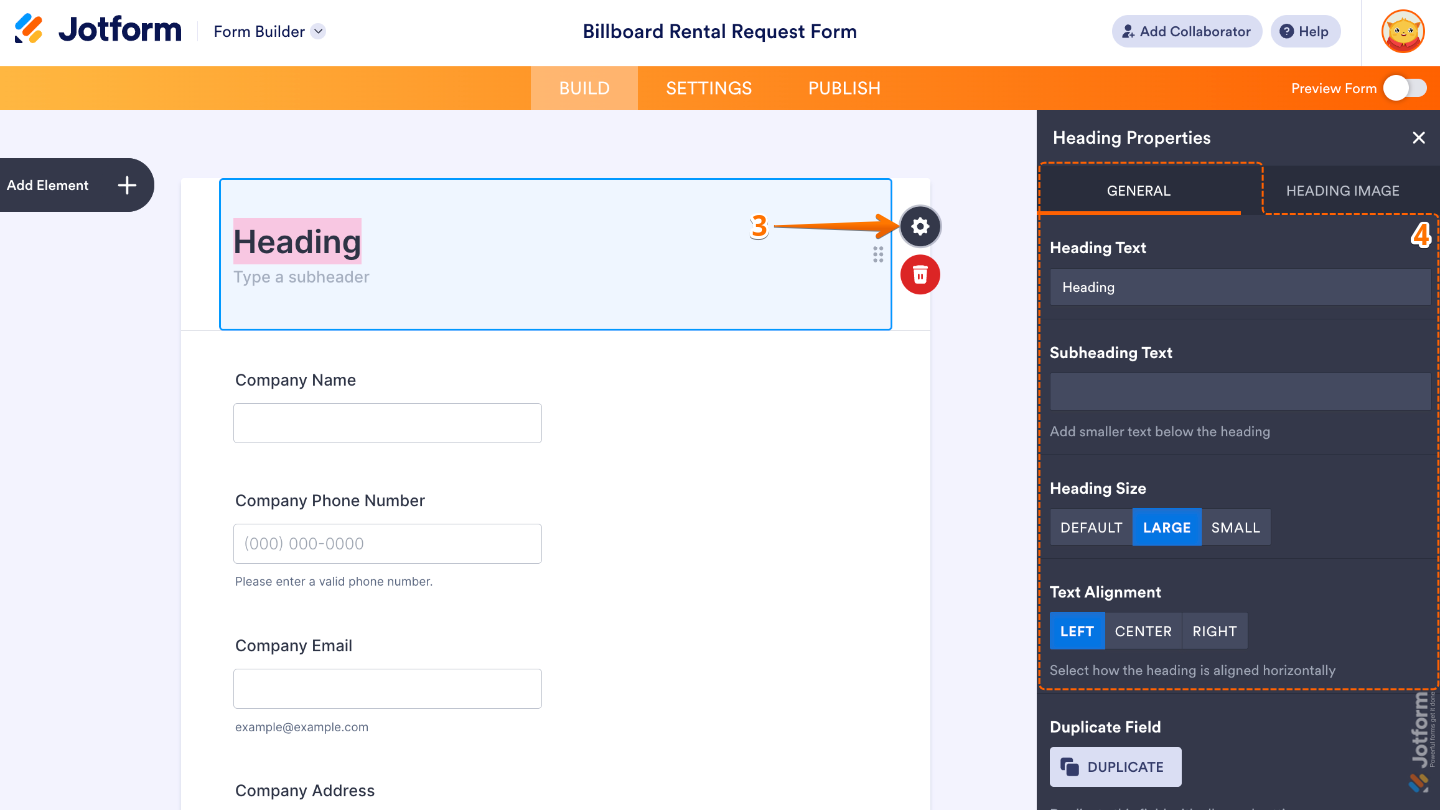
- Next, click on the Gear icon to open the Heading Properties menu on the right side of the page.
- Then, under the General tab, set up these things:
- Heading Text — Add here the main title text displayed in the Heading element.
- Subheading Text — Enter here the secondary text shown below the main heading.
- Heading Size — Use this to control how large or small the heading appears.
- Text Alignment — Select an option to set the position of the heading text within the element.
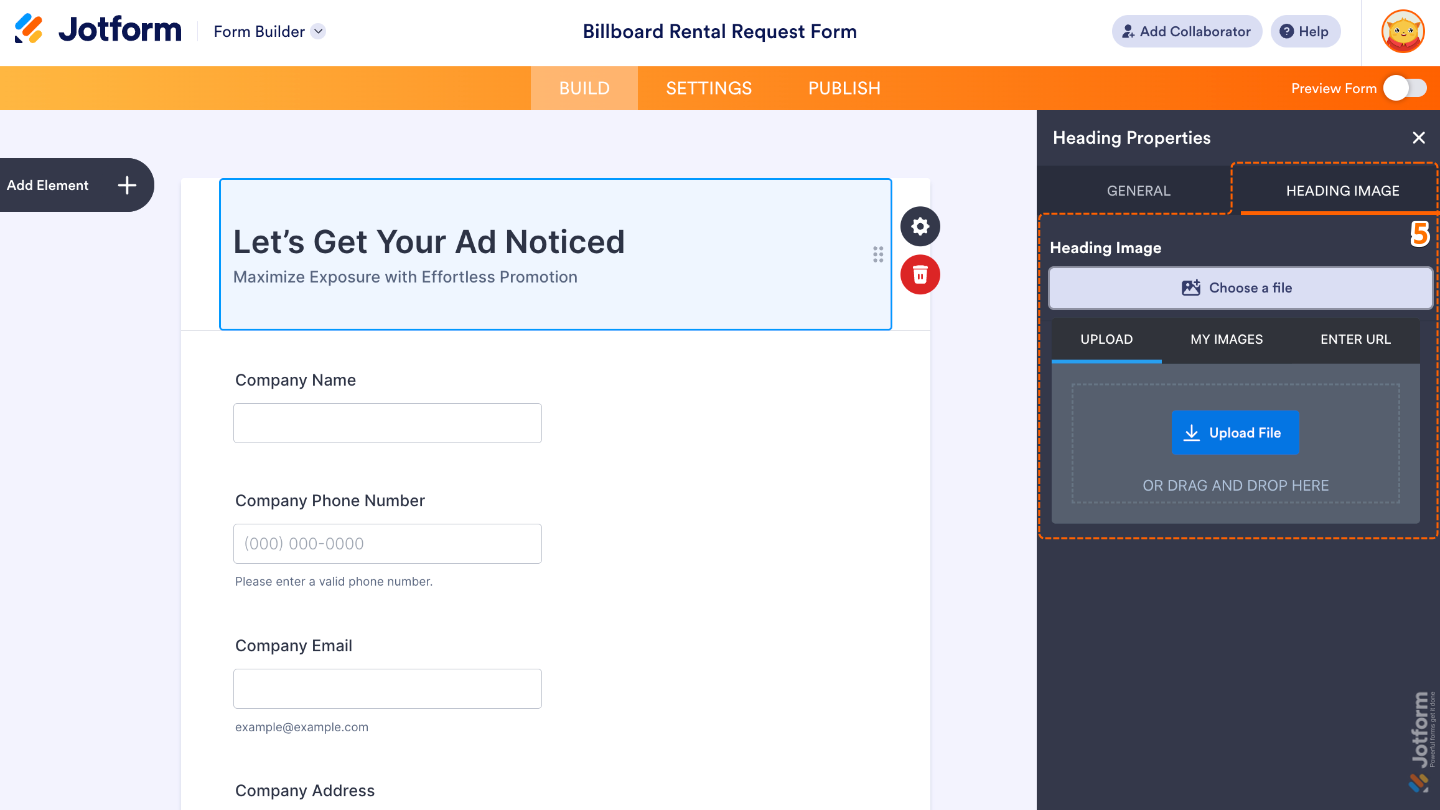
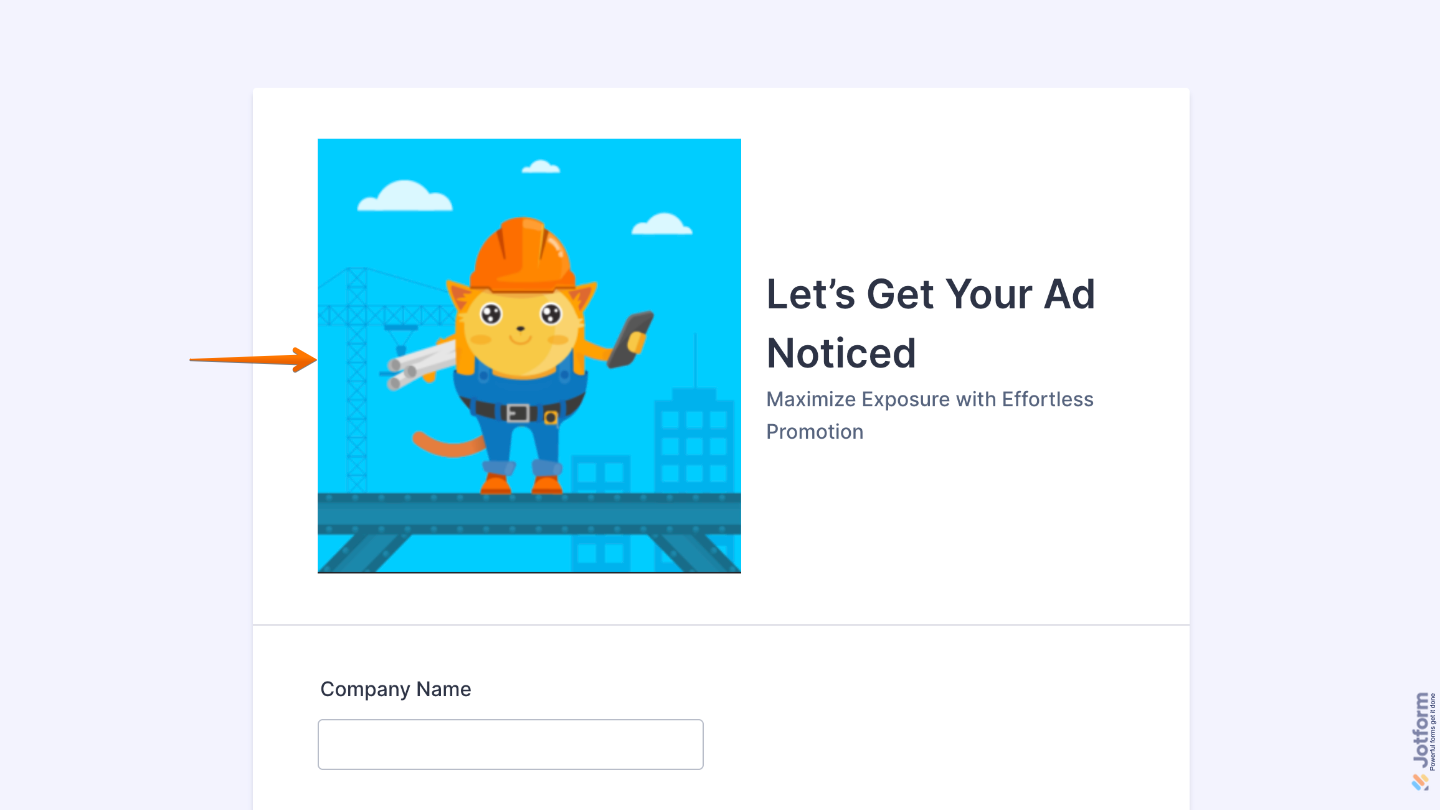
- Lastly, click on the Heading Image tab at the top to add your heading image by clicking the Choose a File button, and upload your file using these options:
- Upload — Select one or more images directly from your device.
- My Images — Choose multiple saved images from your account.
- Enter URL — Paste direct image links, each on a new line, to add multiple images.
That’s it. You now have a clear and engaging heading that helps set the purpose of your form and lets users know they’re in the right place. Want to see how it looks on a live form? Check out this demo form.
Pro Tips
- Keep it short and clear. A concise heading grabs attention and helps users understand what the form (or section) is about.
- Use subheadings to add extra details without overwhelming your main headline.
- Want your form to feel cohesive? Match your heading styles (like size and alignment) across your form for a more professional look.
- Combine headings with page breaks or section dividers to guide users smoothly through longer forms.

Send Comment: