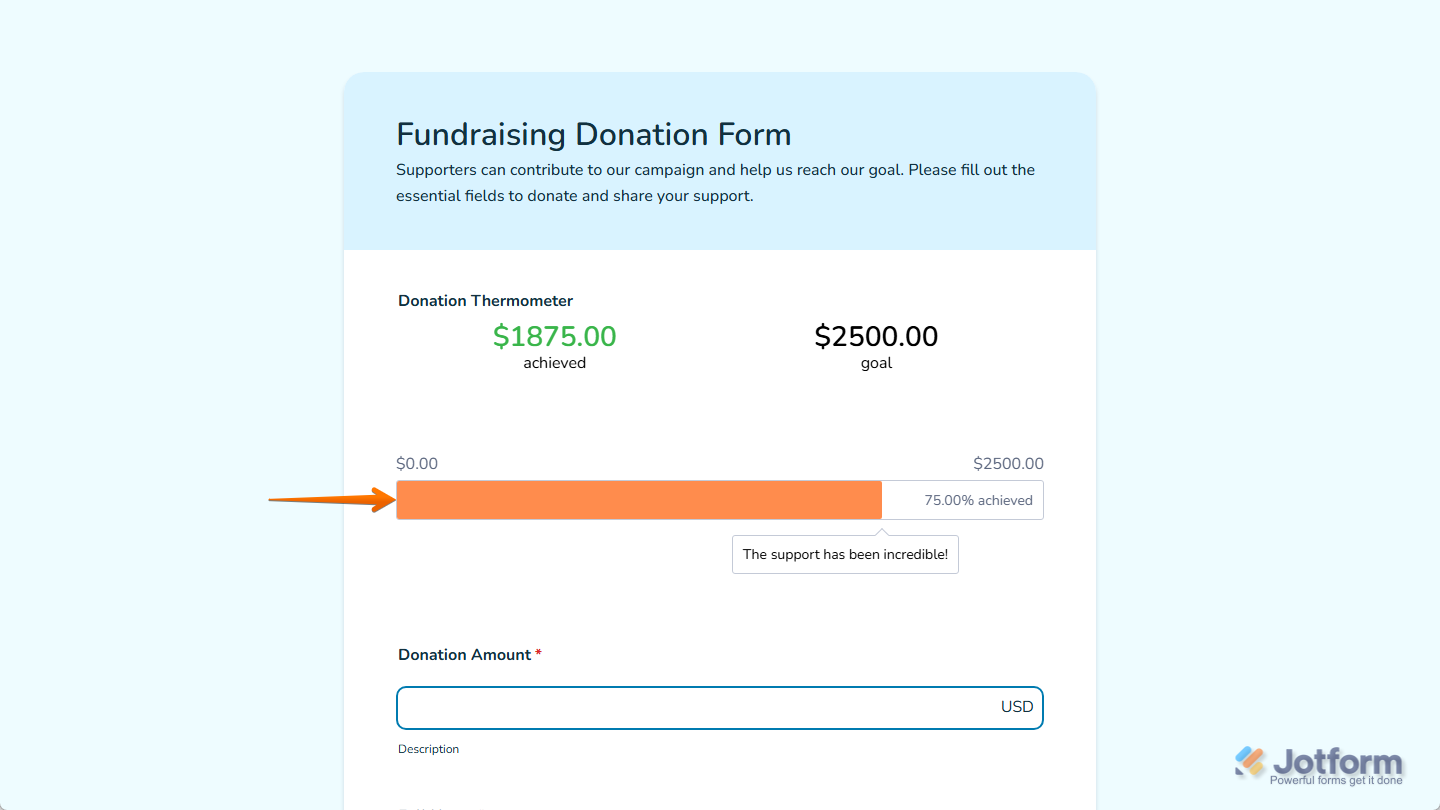
With Jotform, you can easily bring your fundraising progress to life using the Donation Thermometer widget. Instead of relying on plain numbers, this widget turns your campaign goal into a warm, visual thermometer that fills up as donations come in. It gives donors instant feedback, celebrates every milestone, and adds a motivating boost that keeps the momentum going.
Whether you’re running a school fundraiser, community project, charity drive, or any other donation-based effort, the Donation Thermometer helps you present your progress in a simple, engaging way that encourages supporters to help push your campaign all the way to the top.
Here are a few ways to use it:
- Highlight how close your fundraising campaign is to reaching its goal.
- Motivate supporters to give by showing real-time progress.
- Add a visual boost to donation, pledge, or charity event forms.
- Encourage first-time donors by showing the impact of every contribution.
- Build excitement for community drives, school fundraisers, or nonprofit projects.
- Give supporters a clear sense of momentum during time-sensitive campaigns.
Note
You can only add one Donation Thermometer widget to your form, and it only works when your form also includes a payment field connected to a payment gateway. If you need help setting one up, check out our guide on Mastering Payment Form Integrations With Jotform to learn more.
Whether you’re building a new form or editing an existing one, you can add and configure the Donation Thermometer widget in just a few steps. This is how it’s done:
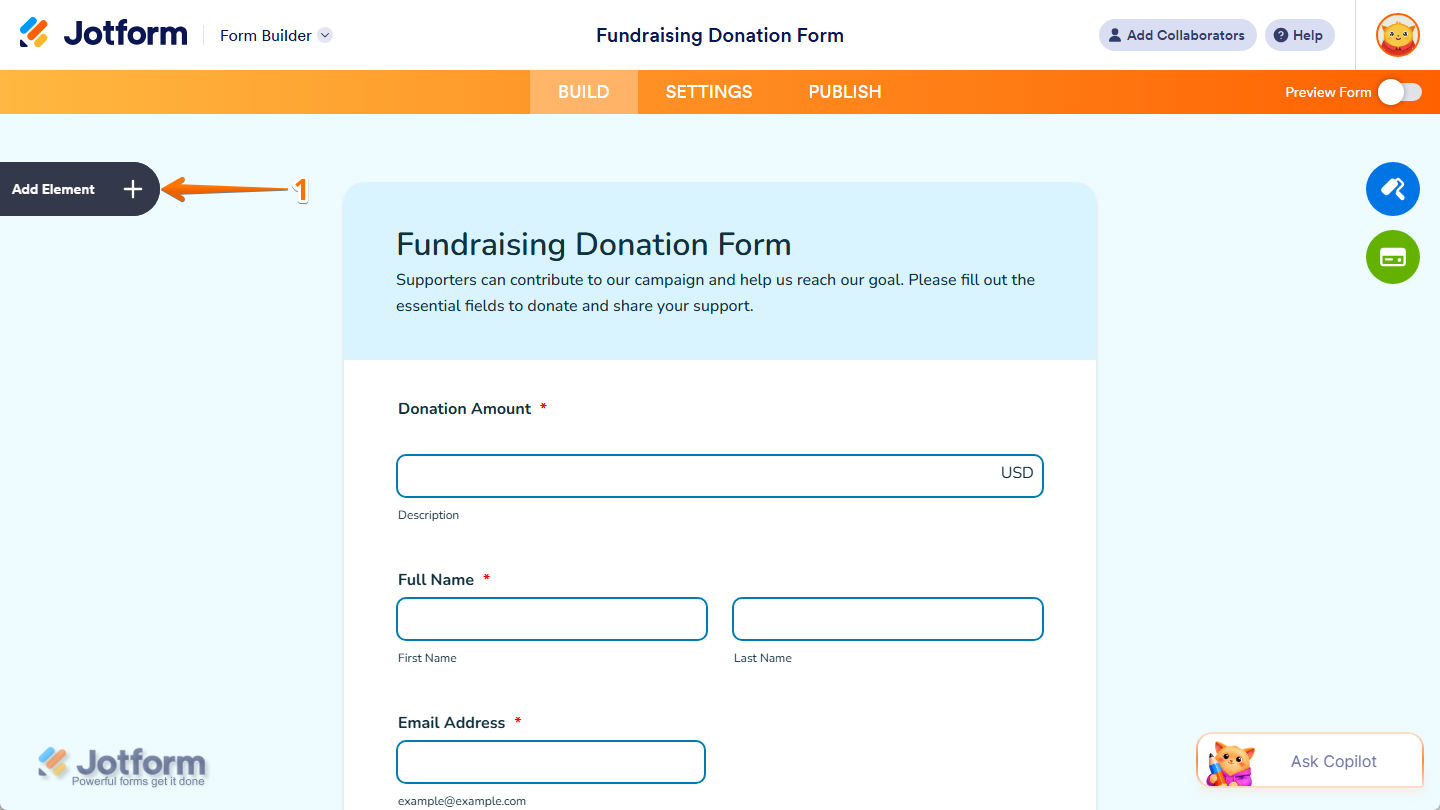
- In Form Builder, click on Add Element on the left side of the page.
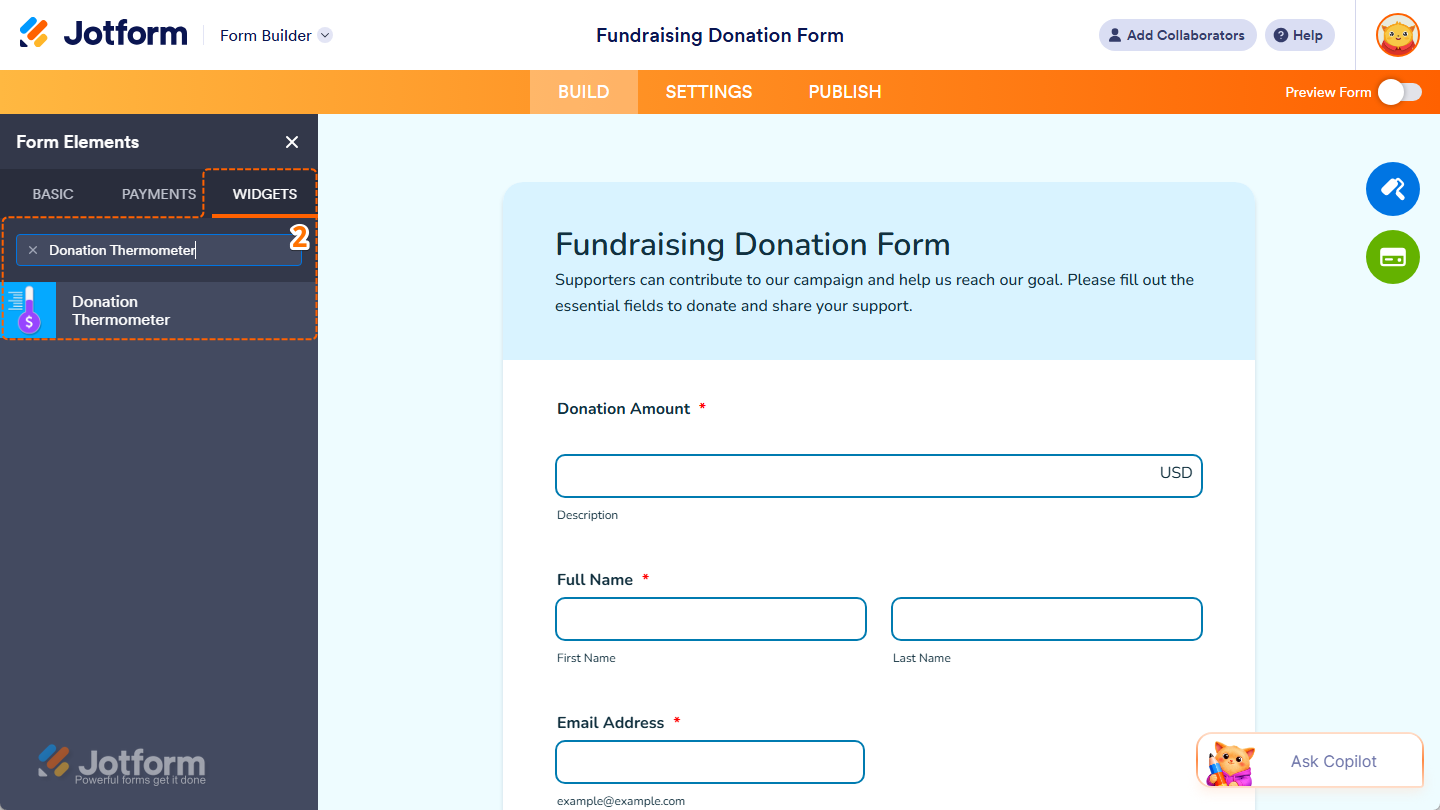
- Now, in the Form Elements menu, under the Widgets tab, search for Donation Thermometer and click on it. Or, just drag and drop it to where you want it to be on your form.
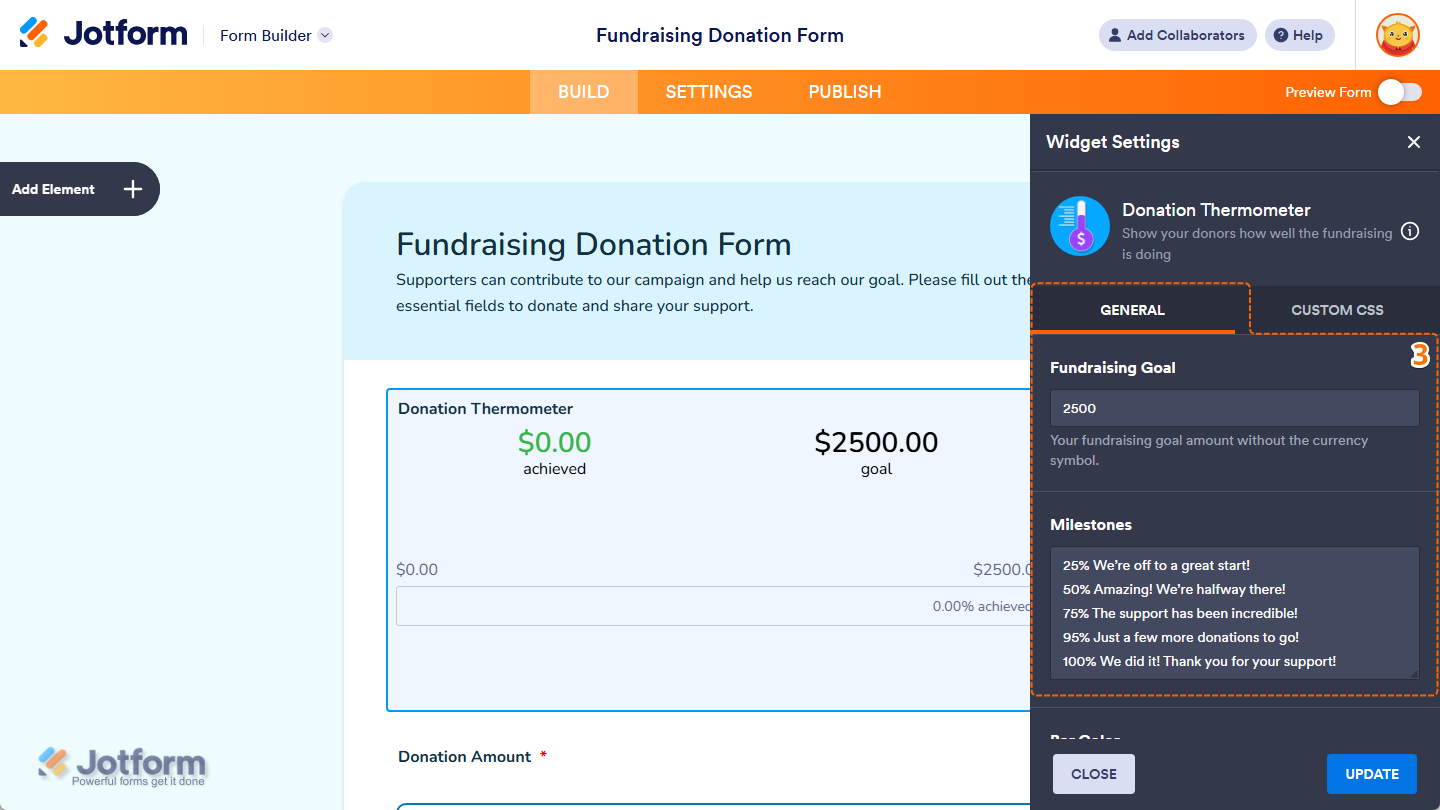
- Next, in the Widget Settings menu that opens on the right side of the page, under the General tab, you’ll see this list of settings you can configure:
- Fundraising Goal — Enter your fundraising goal amount without the currency symbol.
- Milestones — Delete the default text in the input box and enter each milestone percentage, including the % symbol, followed by its message, each on a new line.
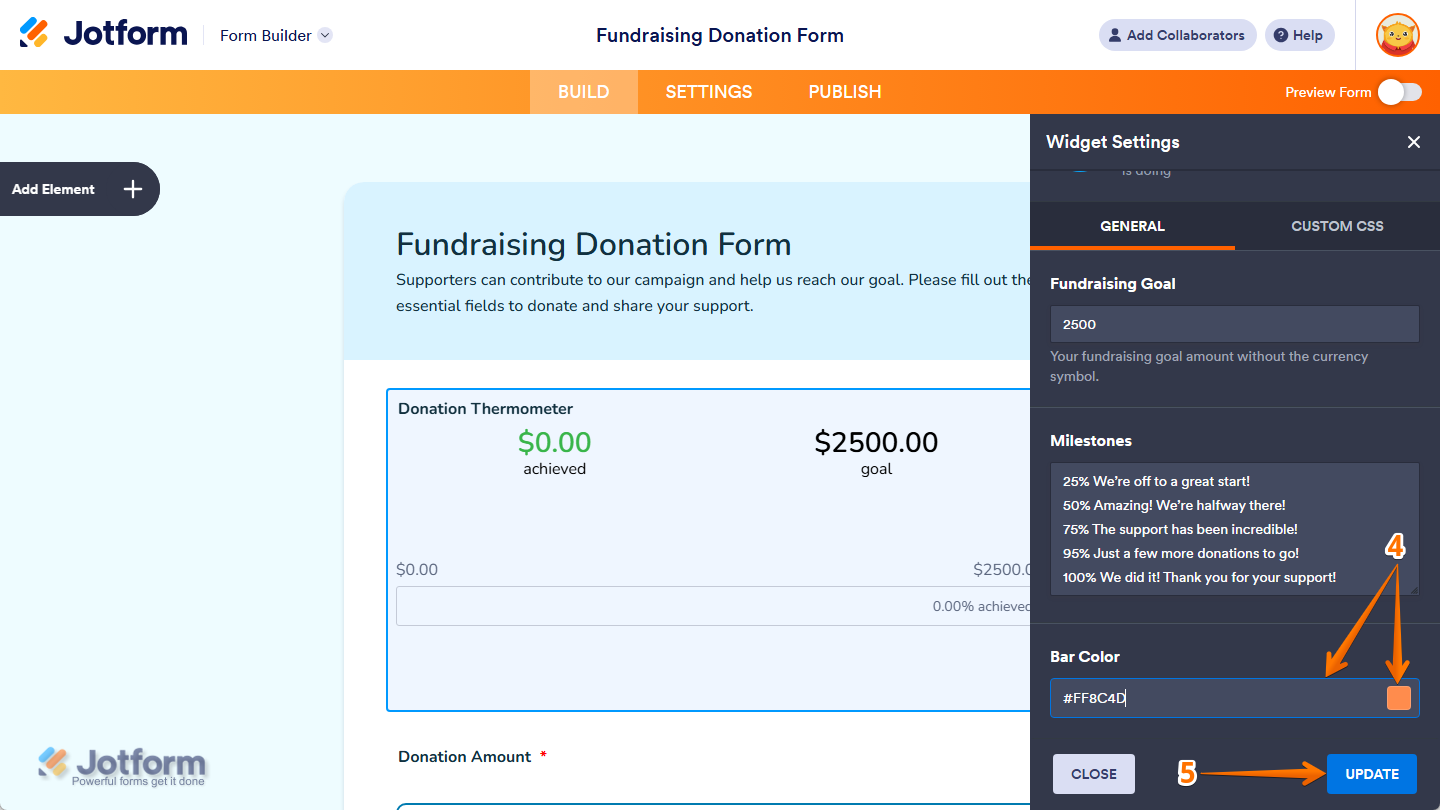
- Then, scroll down to the bottom and, in the Bar Color Input box, keep the default hex code or enter a new one to change the color of the fundraising progress bar. You can also click on the Color Picker button on the right side of the input box and, in the color menu that appears, select a specific color or choose from the predefined options.
- When everything looks correct, click on Update.
That’s it. Now you’ve added and set up the Donation Thermometer widget on your form. Wondering how it looks in action? Check out this demo form.
Notes
- Payments from submissions, including archived submissions and submissions in Trashed Entries, will still reflect in the fundraising total shown in the Donation Thermometer widget unless those submissions are deleted forever.
- For advanced styling of the Donation Thermometer widget, you can add your own custom CSS code under the Custom CSS tab in the Widget Settings. Our guide on How to Inject CSS Codes to Widgets walks you through everything.
- You can also configure the widget properties, like alignment, labels, size, visibility, and more, to control how it looks and behaves on your form. Check out our guide on How to Access and Configure the Question Properties of a Widget to learn more.

Send Comment: