Jotform makes it easy to validate Brazilian taxpayer ID numbers in your forms with the CPF Validator widget. The widget automatically checks whether each CPF entry follows the correct format and official validation rules, helping you prevent invalid submissions before they reach your records.
This setup helps improve data accuracy, reduce manual verification, and support forms that require verified CPF information.
Here are a few ways to use it:
- Validate CPF numbers in registration or application forms.
- Collect accurate taxpayer IDs for invoices and billing.
- Prevent incorrectly formatted or fake CPF entries.
- Support Brazilian compliance and identification requirements.
- Streamline onboarding processes that require CPF verification.
Whether you’re starting fresh or updating a form, adding and setting up the CPF Validator widget takes only a few steps. Here’s a quick how-to:
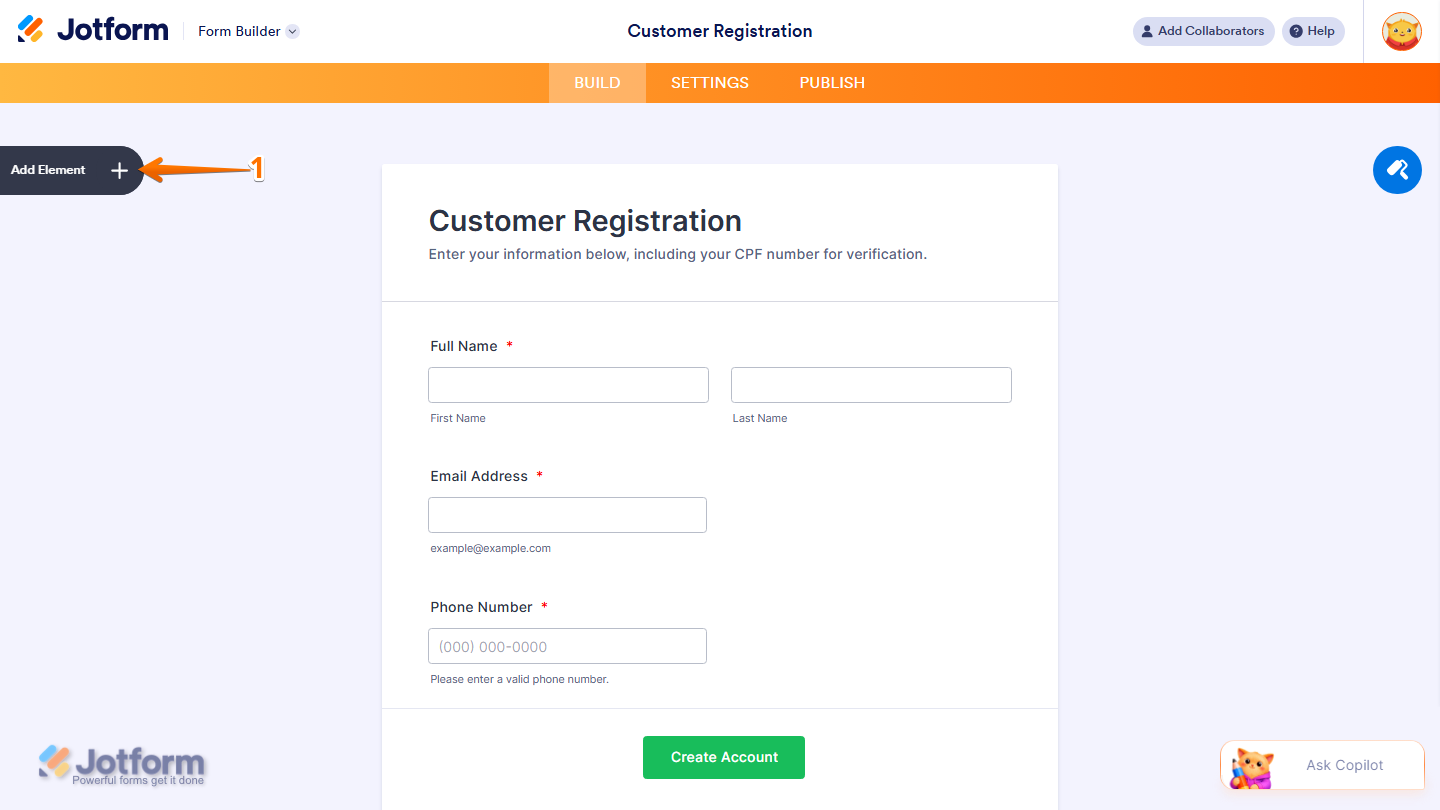
- In Form Builder, click on Add Element on the left side of the page.
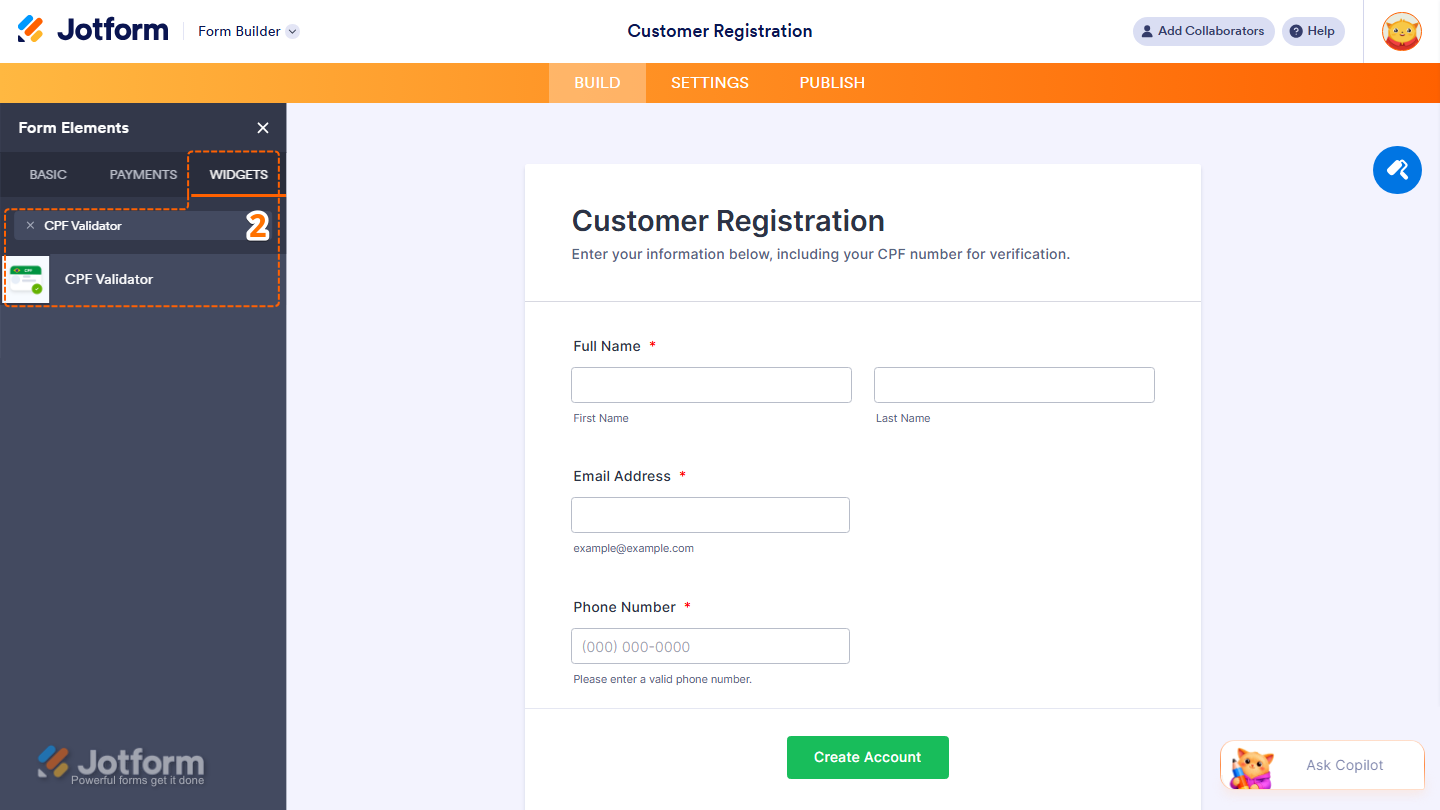
- Now, in the Form Elements menu, under the Widgets tab, search for CPF Validator and click on it. Or, just drag and drop it to where you want it to be on your form.
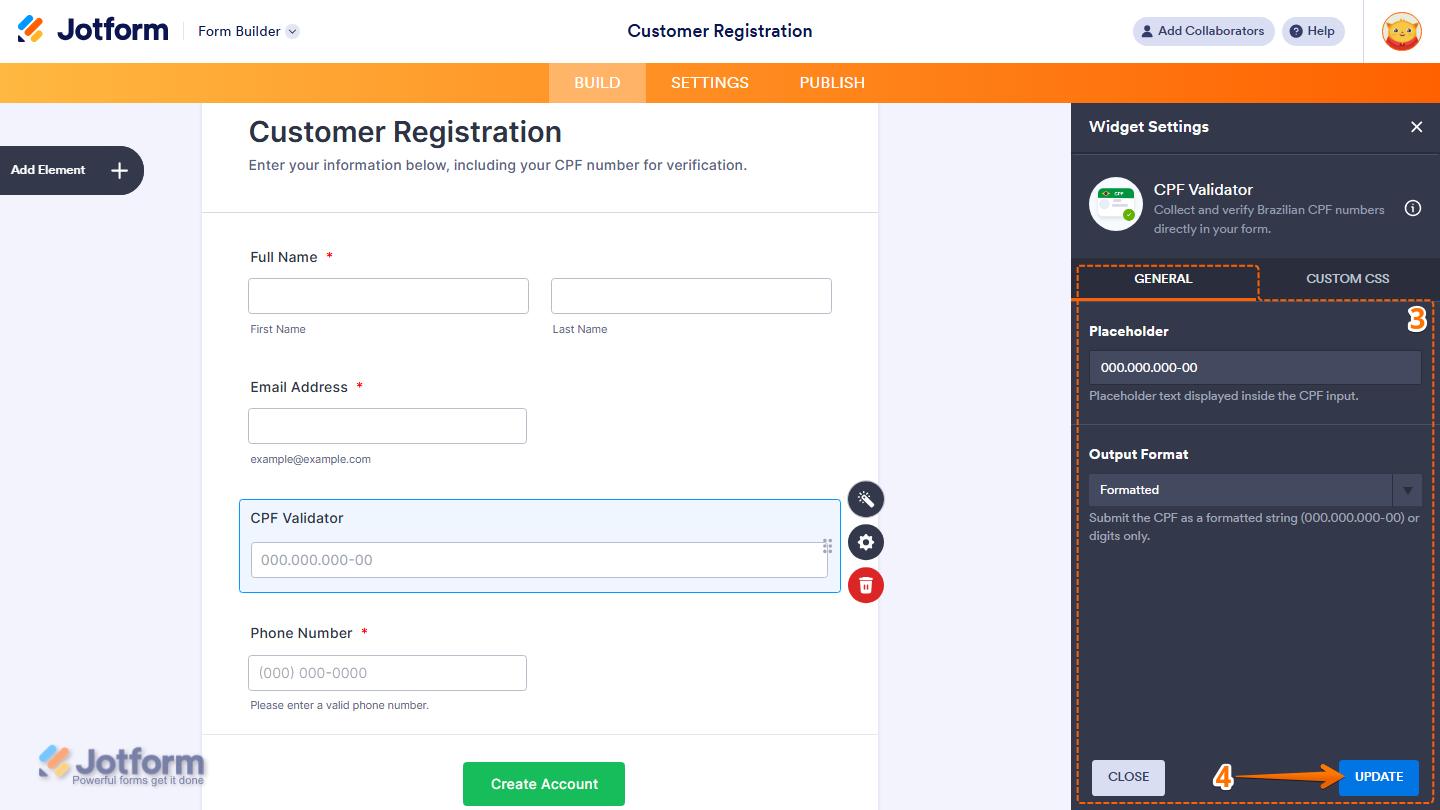
- Next, in the Widget Settings menu that opens on the right side of the page, under the General tab, you’ll see this list of settings you can configure:
- Placeholder — Add example text inside the field to guide form fillers on what to enter. For example, 000.000.000-00.
- Output Format — Choose how the CPF number will be formatted after it’s validated. Options include Formatted and Digits Only.
- Once you’re done, click on Update.
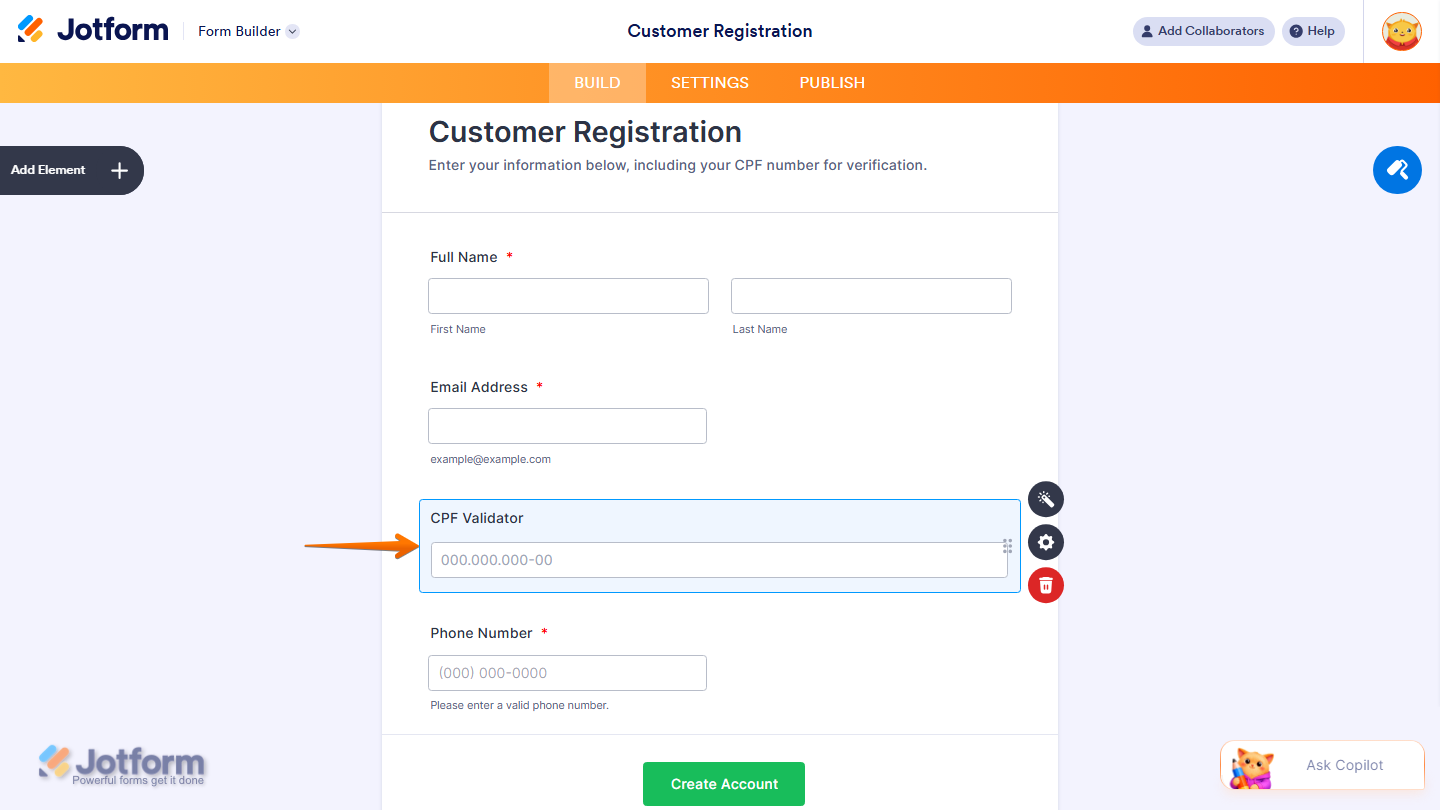
That’s it. Now you’ve added and set up the CPF Validator widget on your form.
Wondering how it looks in action? Check out this demo form.
Note
- For advanced styling of the CPF Validator widget, you can add your own custom CSS code under the Custom CSS tab in the Widget Settings. Our guide on How to Inject CSS Codes to Widgets walks you through everything.
- You can also configure the widget properties, like alignment, labels, size, visibility, and more, to control how it looks and behaves in your form. Check out our guide on How to Access and Configure the Question Properties of a Widget to learn more.

Send Comment: