Jotform makes it easy to connect your forms with Zendesk so you can turn submissions into support tickets automatically. With this integration, you can send customer requests straight to your help desk and keep everything organized in one place.
This setup helps you respond faster, track issues more efficiently, and keep your support workflow running smoothly without extra manual work.
Whether you’re creating a new form or updating an existing one, you can integrate your form with Zendesk in a few easy steps. Here’s how to do it:
- In Form Builder, in the orange navigation bar at the top of the page, click on Settings.
- Then, in the menu on the left, click on Integrations.
- Now, search for Zendesk and click on it.

- Next, in the Authentication section, enter your Zendesk Subdomain in the Zendesk Subdomain Input field.
- Then, click on Authenticate and log in to your Zendesk account.

- Now, if you’ve logged in before through one of your other forms, you can pick that Zendesk account from the Dropdown menu.
- Or, to use a different one, click on Use Another Account.

- Once connected, set up these things:
- Add Ticket Subject — Set the subject line for the Zendesk ticket that will be created when your form is submitted. Click the Edit icon to map it to a form field. This field is required.
- Add Ticket Description — Enter the description or body of the Zendesk ticket. Click the Edit icon to map it to a form field. This field is required.
- Match your Zendesk to your Jotform Fields — Connect your form fields to the matching fields in Zendesk. To add more fields, click on Add Field.
- Choose a Group — Select the Zendesk group that will receive and handle the ticket.
- Choose Tags — Add tags to help organize and categorize tickets in Zendesk.
- Attach Uploaded Files — Tick this box to include any files uploaded through your form as attachments to the Zendesk ticket.
- Then, click on Save.

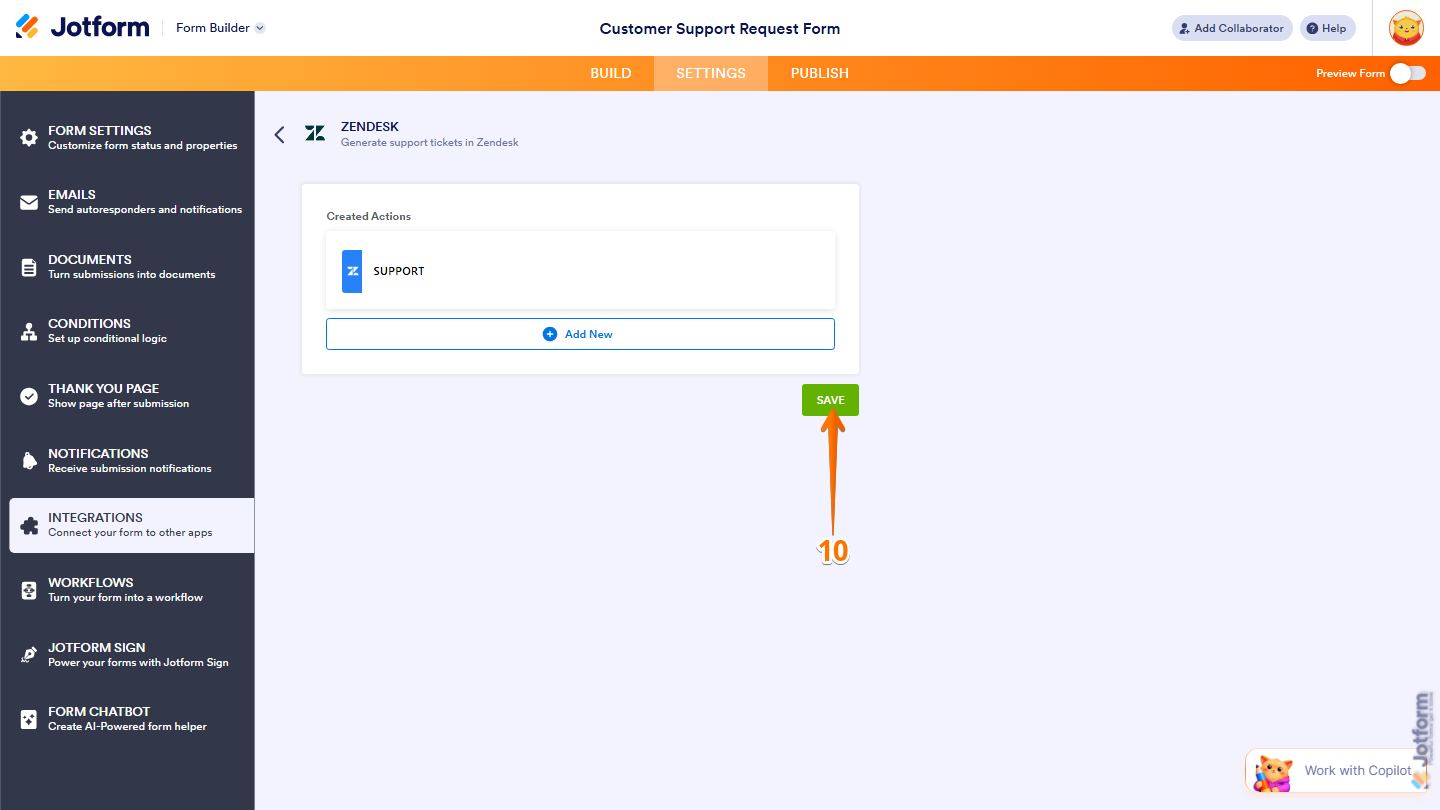
- Next, at the bottom of the Created Actions page, click on Save.
Pro Tip
You can also click on Add New to set up another action for your Zendesk.
- Finally, click on Finish to complete the setup and you’re done.
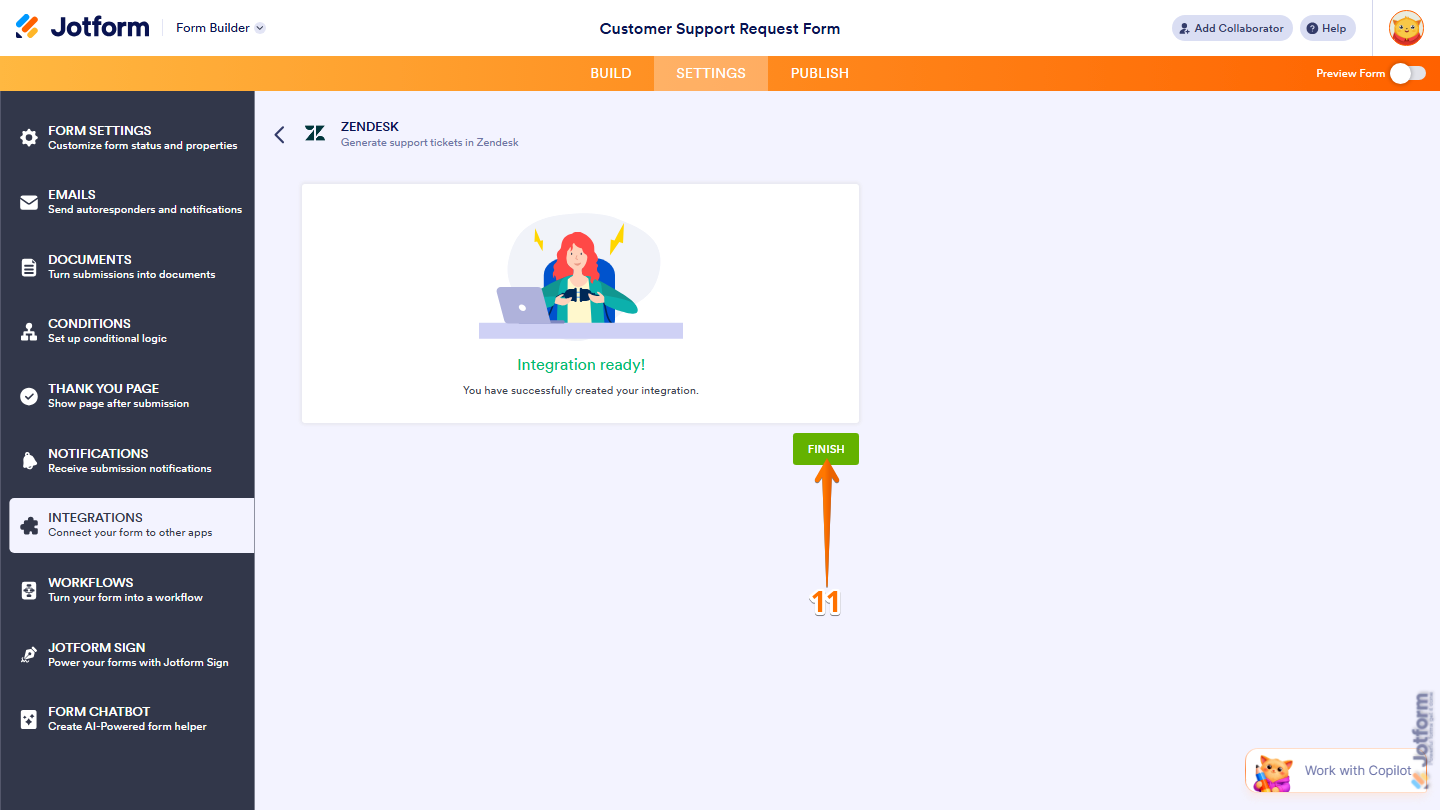
And that’s it! Your Zendesk integration is now ready to create and manage tickets directly from your form submissions.


Send Comment:
4 Comments:
March 27, 2024
Hi, is there a way to map a Zendesk form?
December 8, 2023
Checking to see if there is any update on this previous request from 1.5 years ago. Can the ticket description be an internal note rather than a public note?
September 14, 2022
Is there a way to make the ticket description a private note instead of a public comment in Zendesk?
October 19, 2021
Is this not available on HIPPA forms?