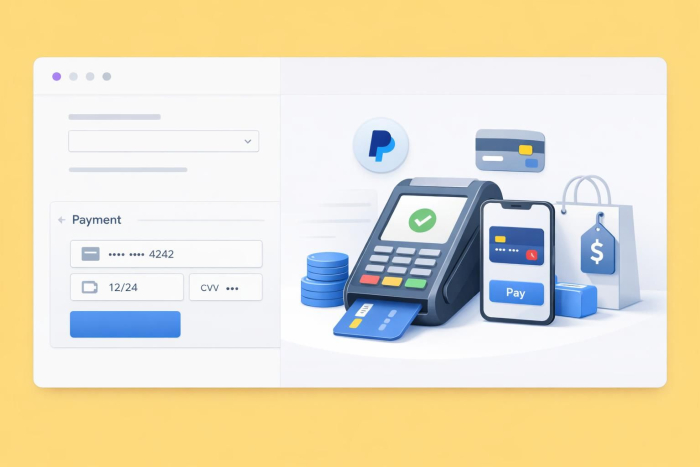
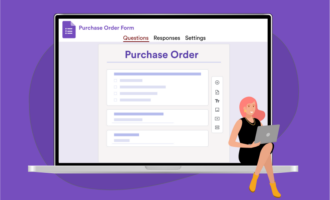
Google Forms is free, familiar, and easy to use — but it doesn’t support payments on its own.
The good news? You can still collect payments with your forms. If you’re a small business owner, event organizer, or club admin, a tool like Payable Forms can handle the payment side while Google Forms collects the responses.
In the steps below, we’ll show you exactly how to use Payable Forms step by step. Once you’ve set it up, you’ll be able to accept PayPal, Stripe, Square, and other payment methods directly from your existing Google Forms.
Pro Tip
You’ll need to pay Payable Forms a percentage of the total transaction. If you’re looking to build payment forms with zero additional transaction fees, Jotform is the tool for you.
While other platforms take a cut of every sale you make, Jotform believes your hard-earned revenue should stay with you. You only pay your standard processor rate — no hidden percentages, no “app taxes,” and no surprises.

Looking for the best alternative to Google Forms?
Jotform’s full-featured form-building solution is mobile-friendly and has the most integrations in the industry. Use it to collect payments, automate workflows, gather leads, and more.
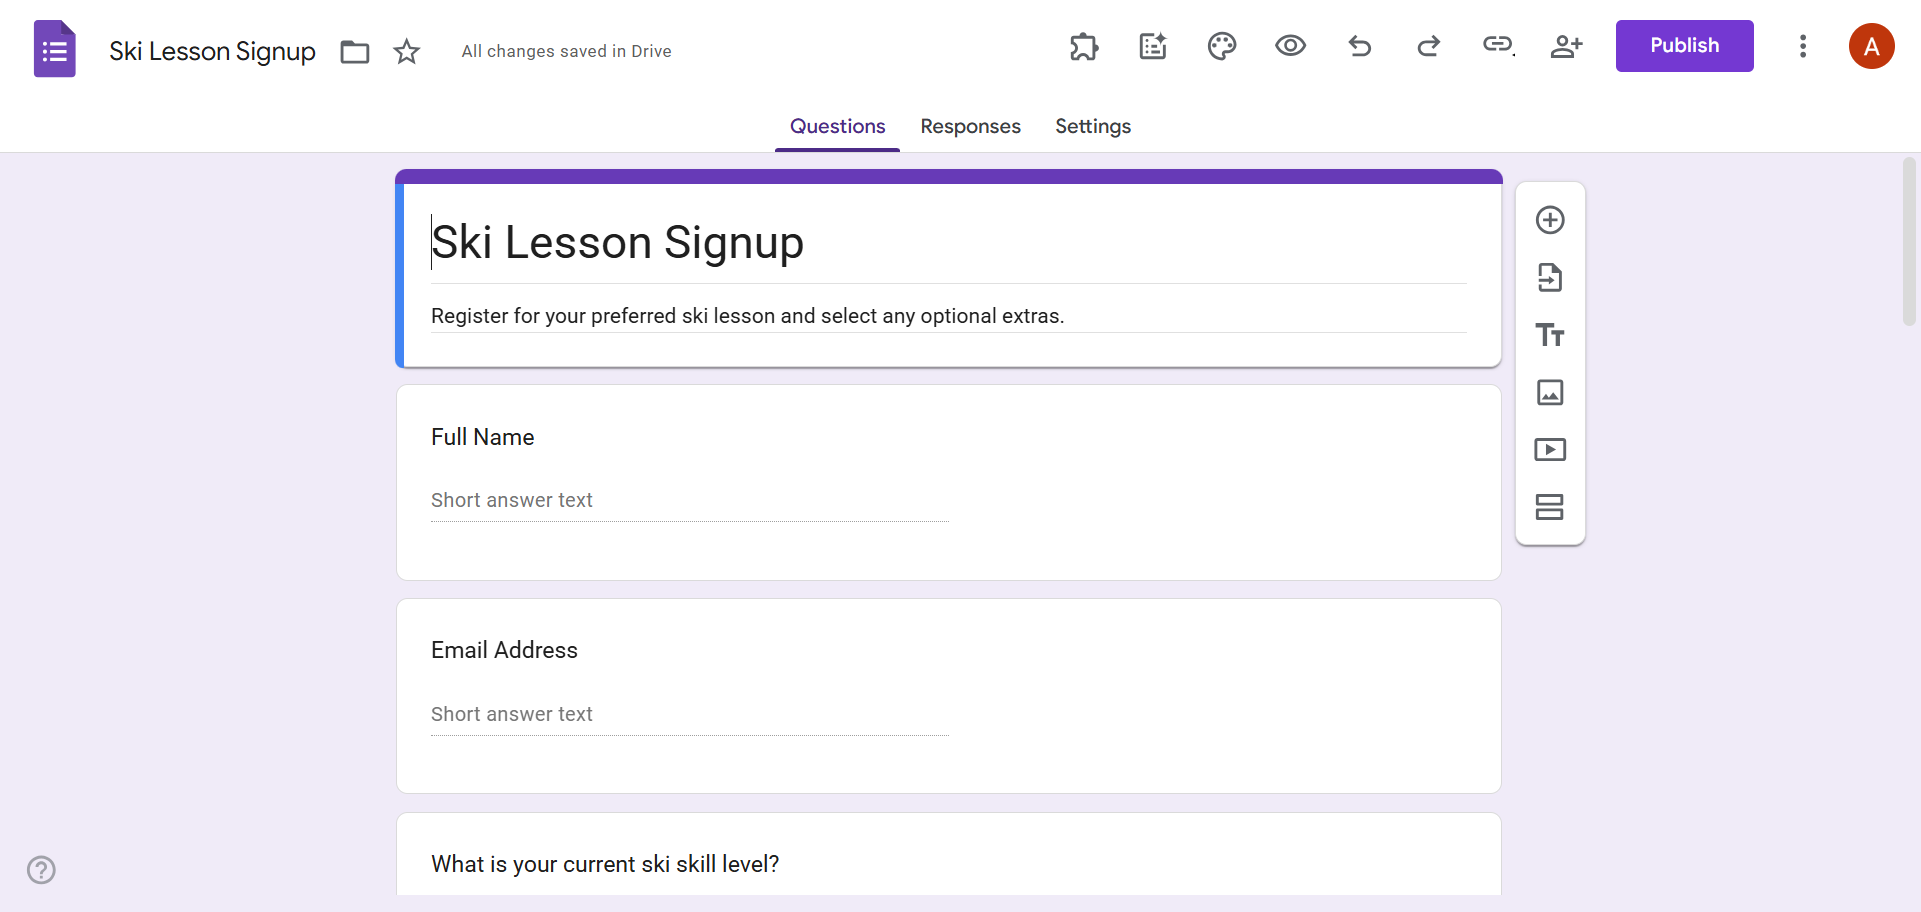
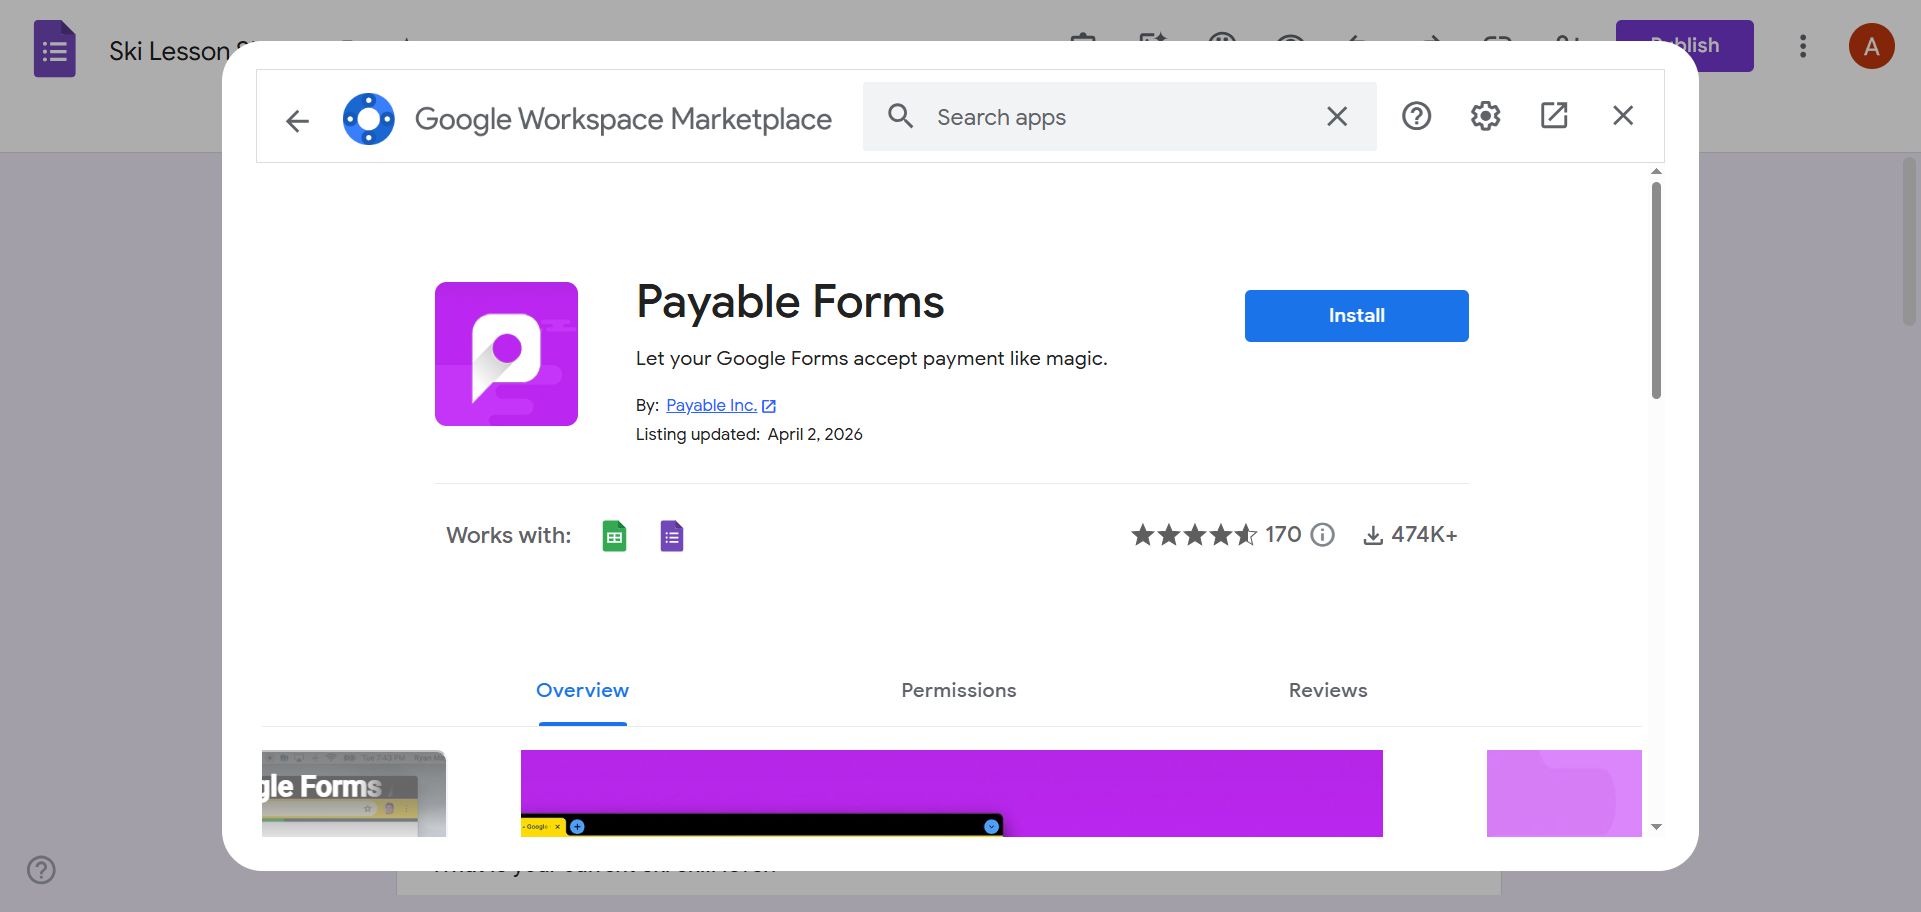
1. Install Payable Forms from the Google Workspace Marketplace
The first step in our Payable Forms–Google Forms tutorial is to install the Payable Forms add-on, which you can get from the Google Workspace Marketplace. One of the best Google Forms add-ons, Payable Forms lets you accept payments on Google Forms simply and securely.
- Open the Google Form that you’d like to add a payment option to.
- Click the More (three dots) icon at the top right. Select Get add-ons.
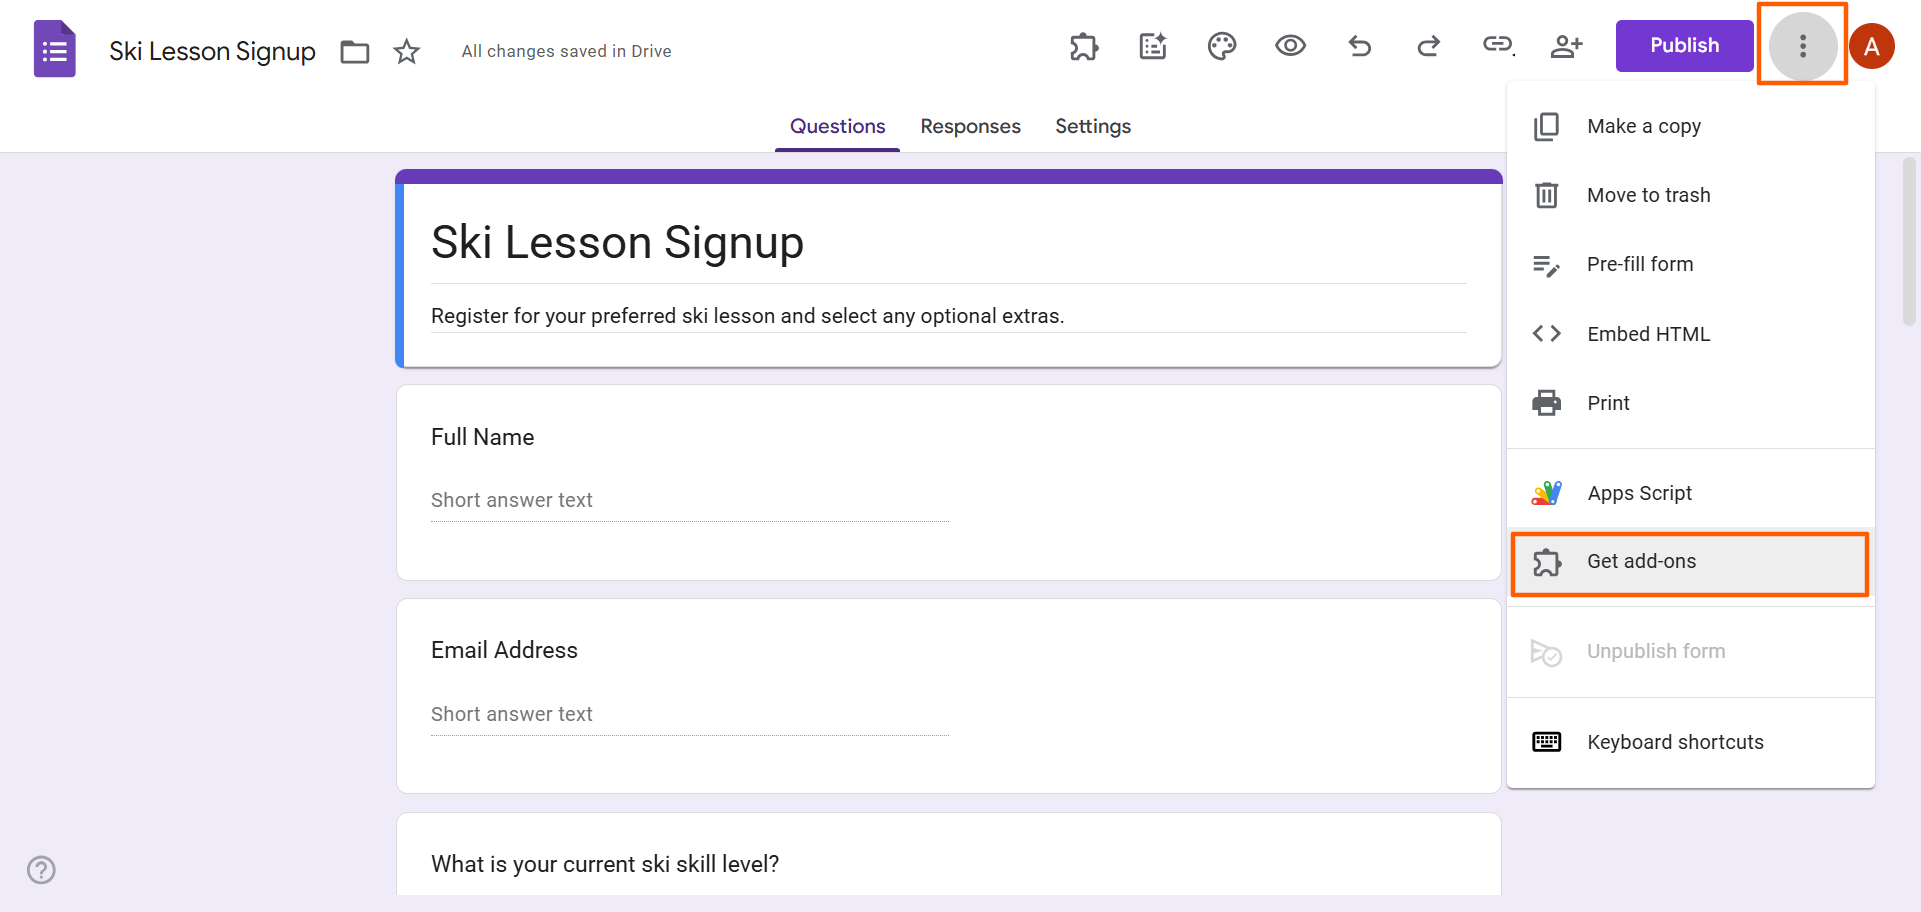
- Search for and select Payable Forms.
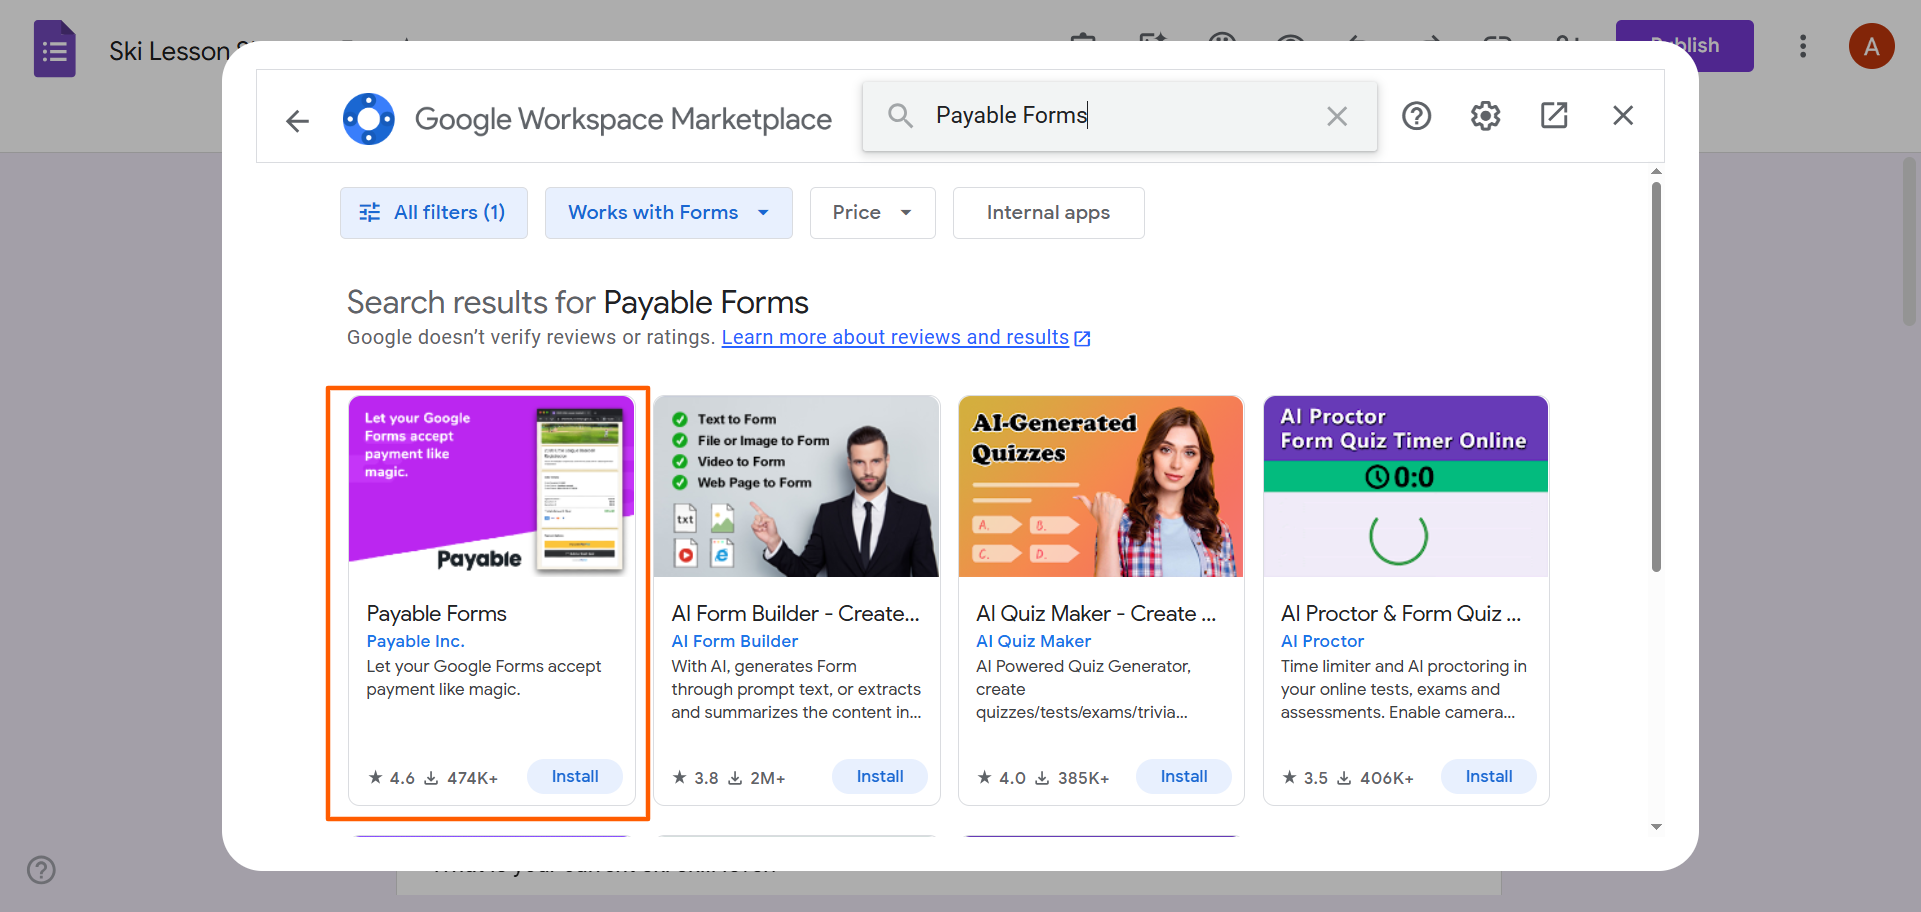
- Click Install. Follow the prompts to install the add-on and provide the necessary authorization.
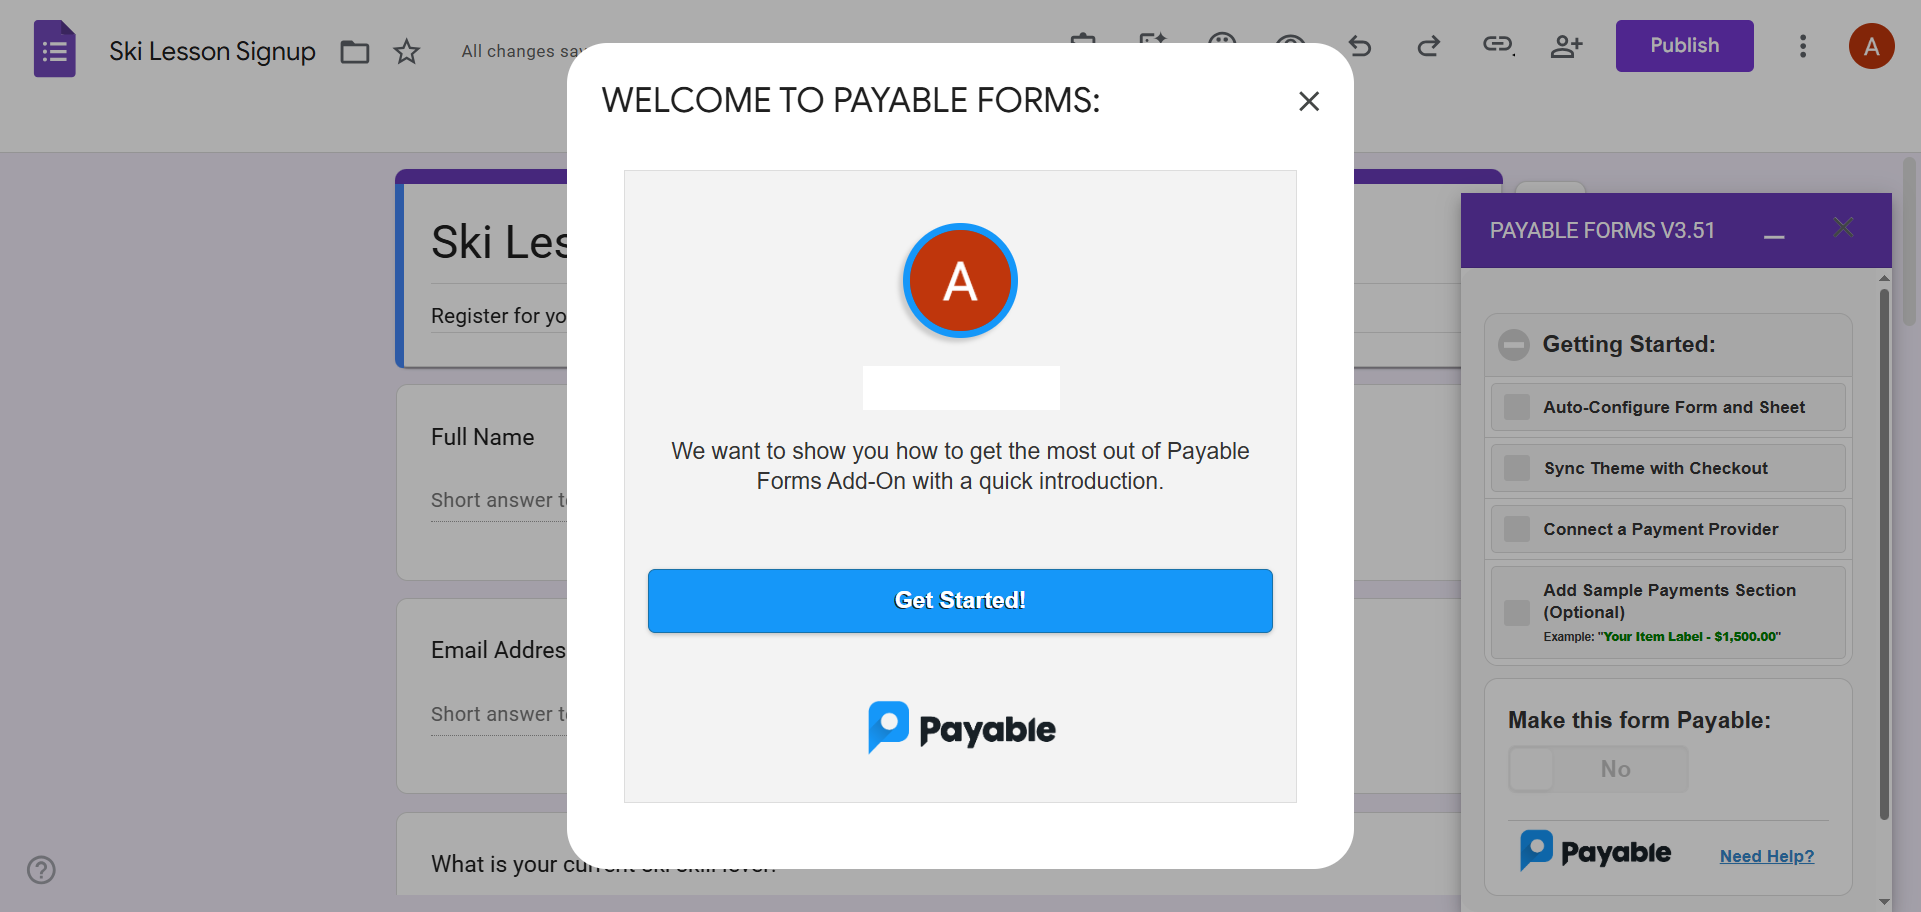
- Payable Forms will open a pop-up window. Click Get Started. Note that the add-on will also open up on the bottom right of the Google Form. If you need to open the add-on yourself, simply click the add-on (puzzle piece)icon in the top menu bar and select Payable Forms.
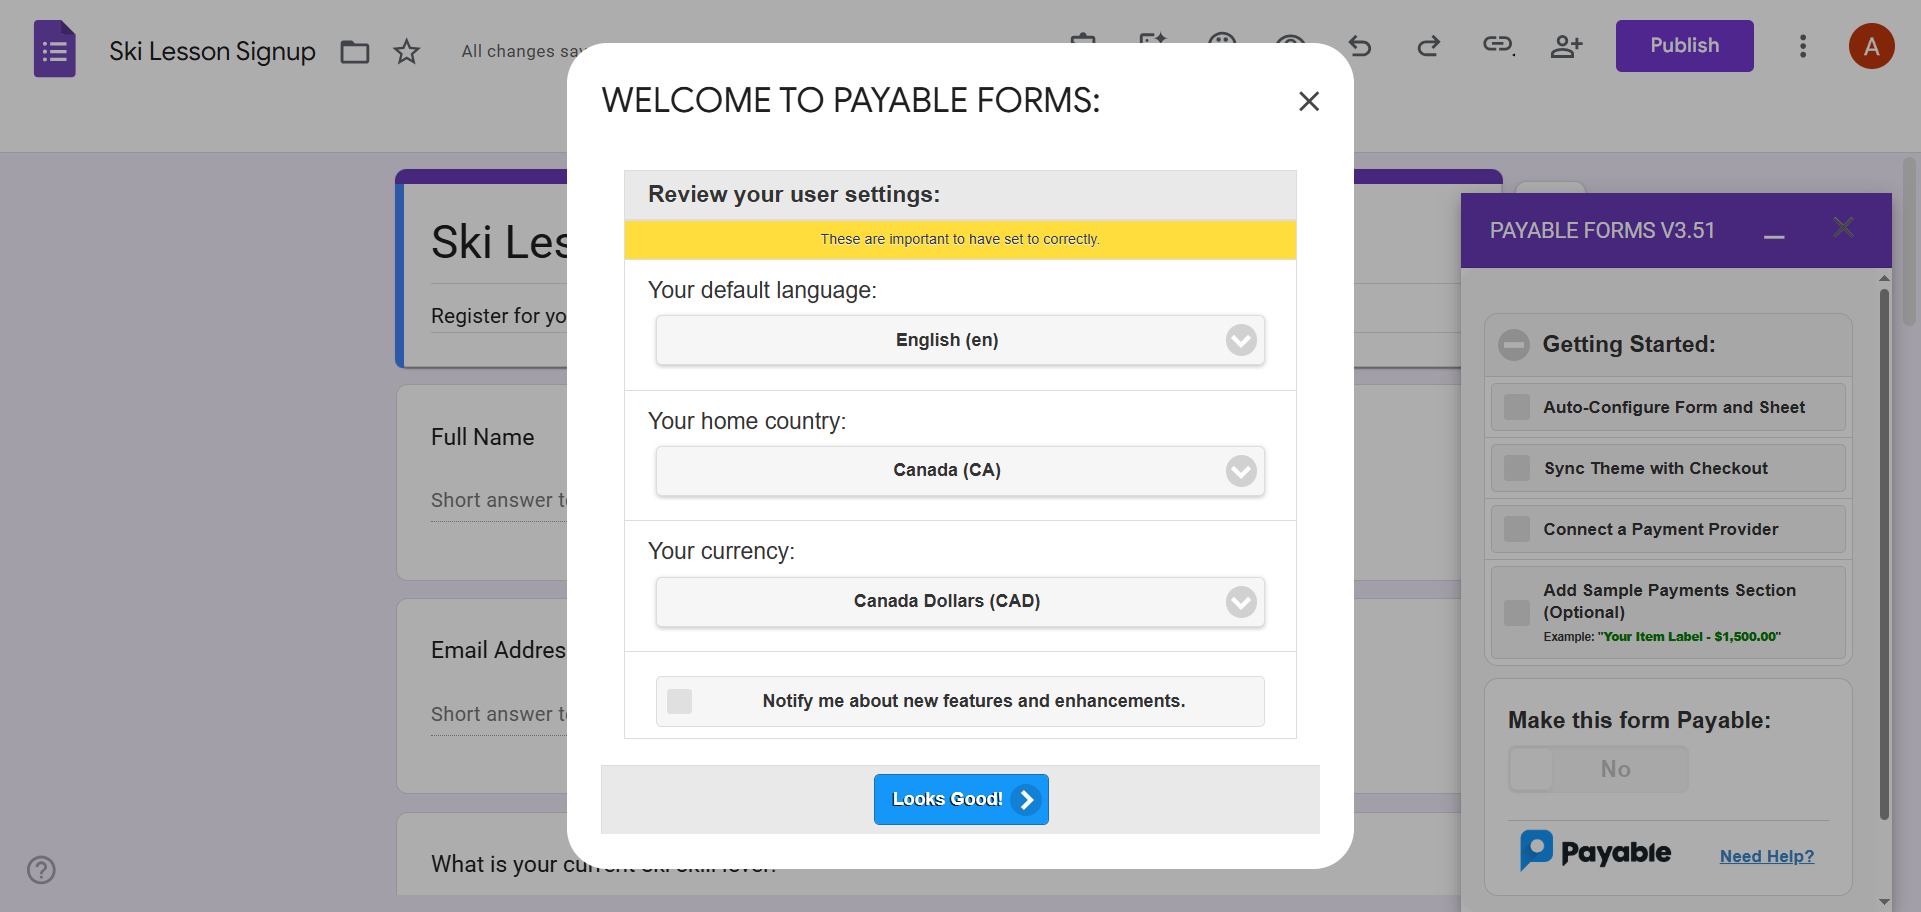
- Select your default language, home country, and currency. Click Looks Good!
You have successfully installed the Payable Forms add-on into Google Forms. To use it, you’ll need to configure your settings next.
Pro Tip
Don’t want to create your forms from scratch? Let another add-on from the Google Workspace Marketplace do the hard work for you. With Jotform’s intuitive AI Form Builder, you can simply provide a prompt and the add-on will create a custom form in Google Forms. You can even import questions from other files or export questions to other files.
2. Connect your payment processor
Now it’s time to connect Payable Forms to PayPal, Stripe, Square, Rapyd, or Razorpay — whichever payment processor you prefer.
Here’s how to complete the Payable Forms setup for payment processors:
- Under Getting Started, click the checkboxes for Auto-Configure Form and Sheet and Sync Theme with Checkout.
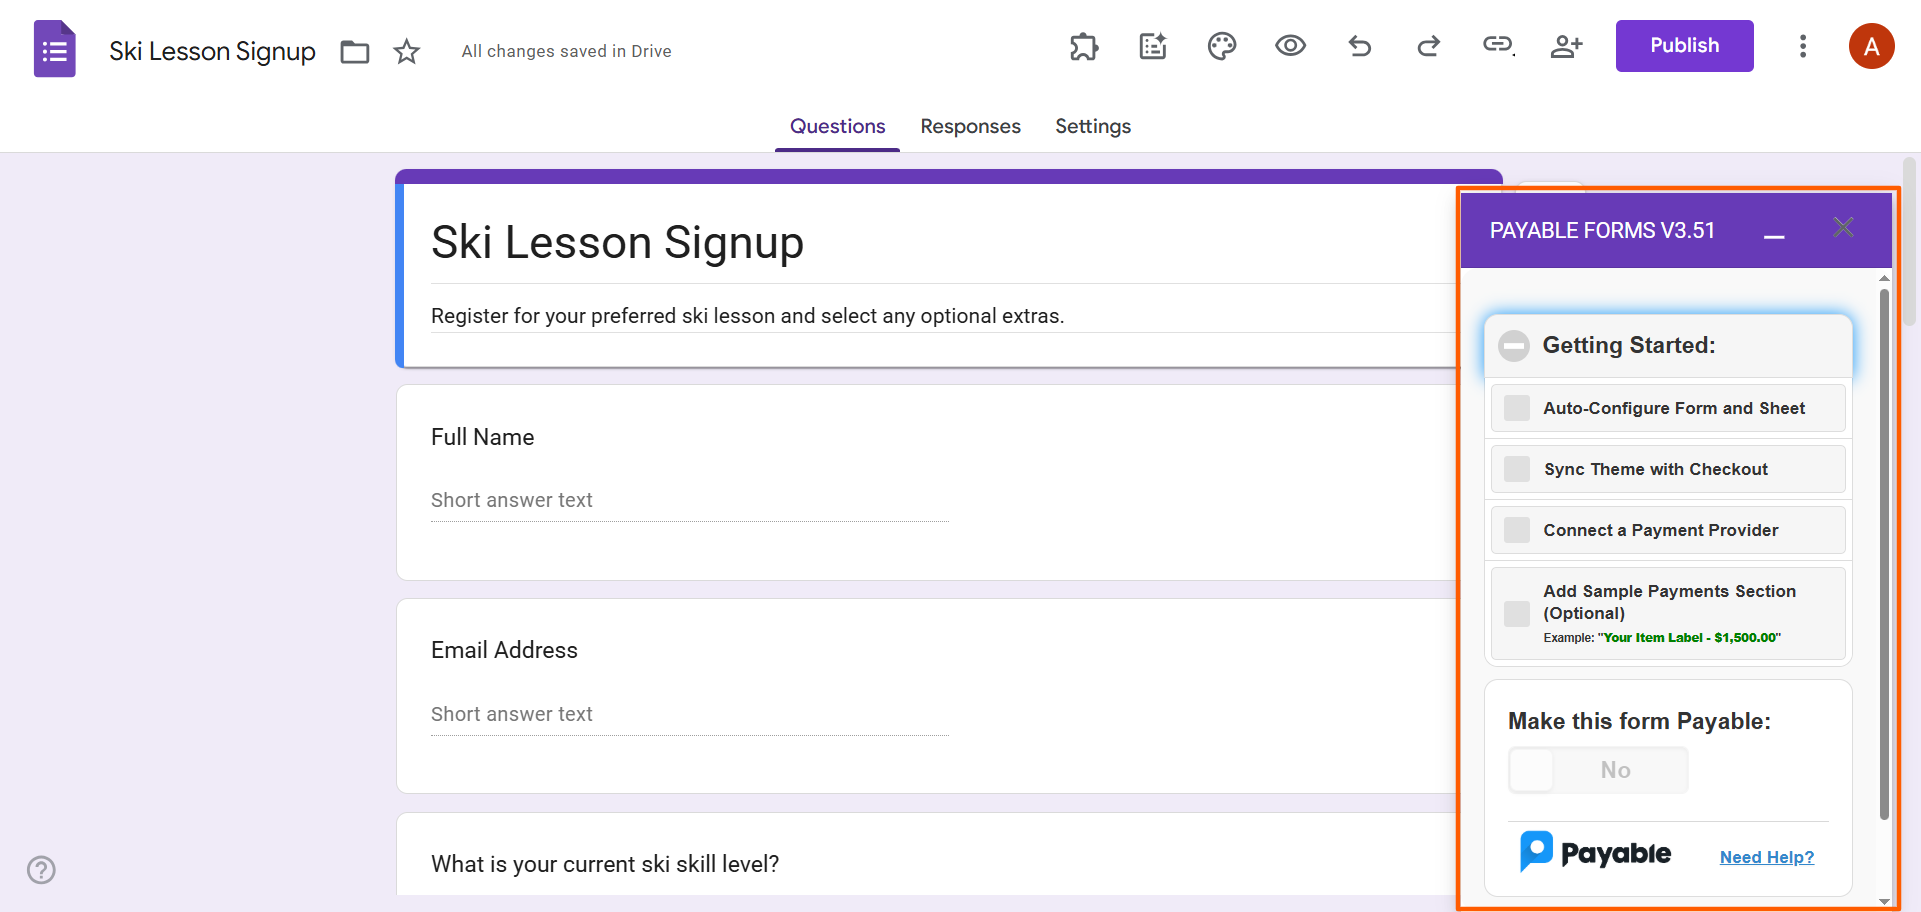
- Click the checkbox for Connect a Payment Provider. A pop-up box will appear where you can select your payment provider.
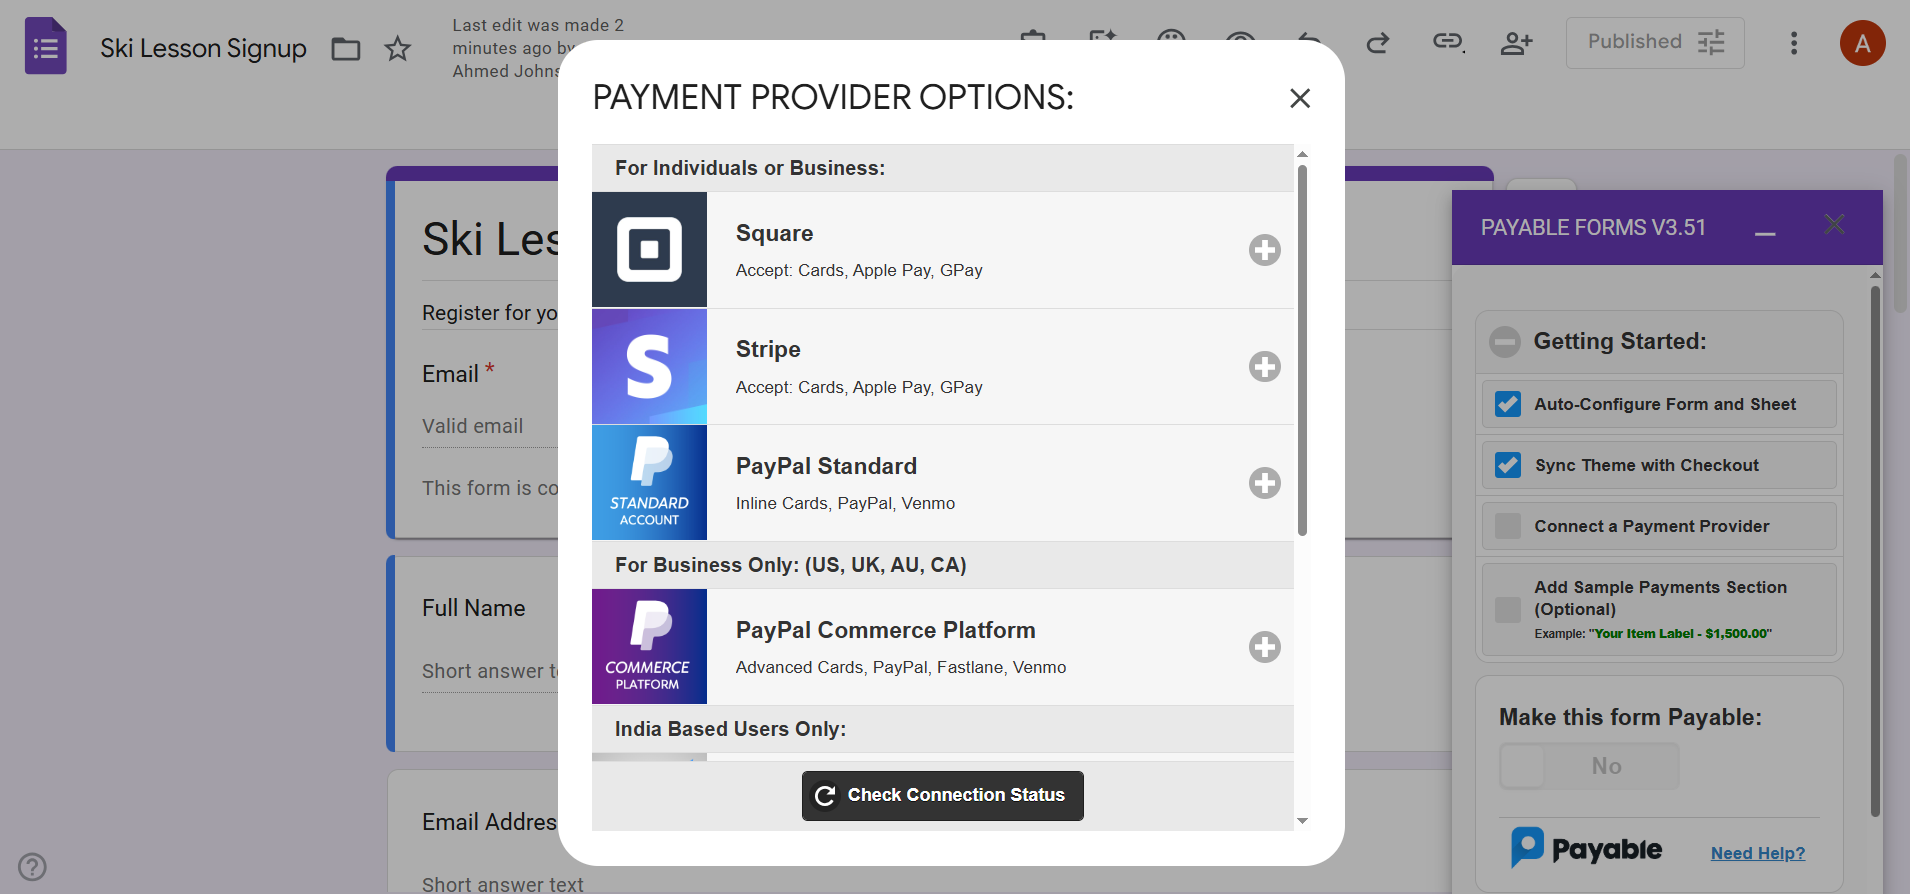
- Choose your payment provider. Click Connect. Follow the prompts and provide the necessary authorization to make the connection. Note that if you don’t have an account with one of the payment providers on this list, you can set one up at this point.
The Payable Forms add-on will then connect to your payment provider. To test whether the connection has been made properly, click Check Connection Status.

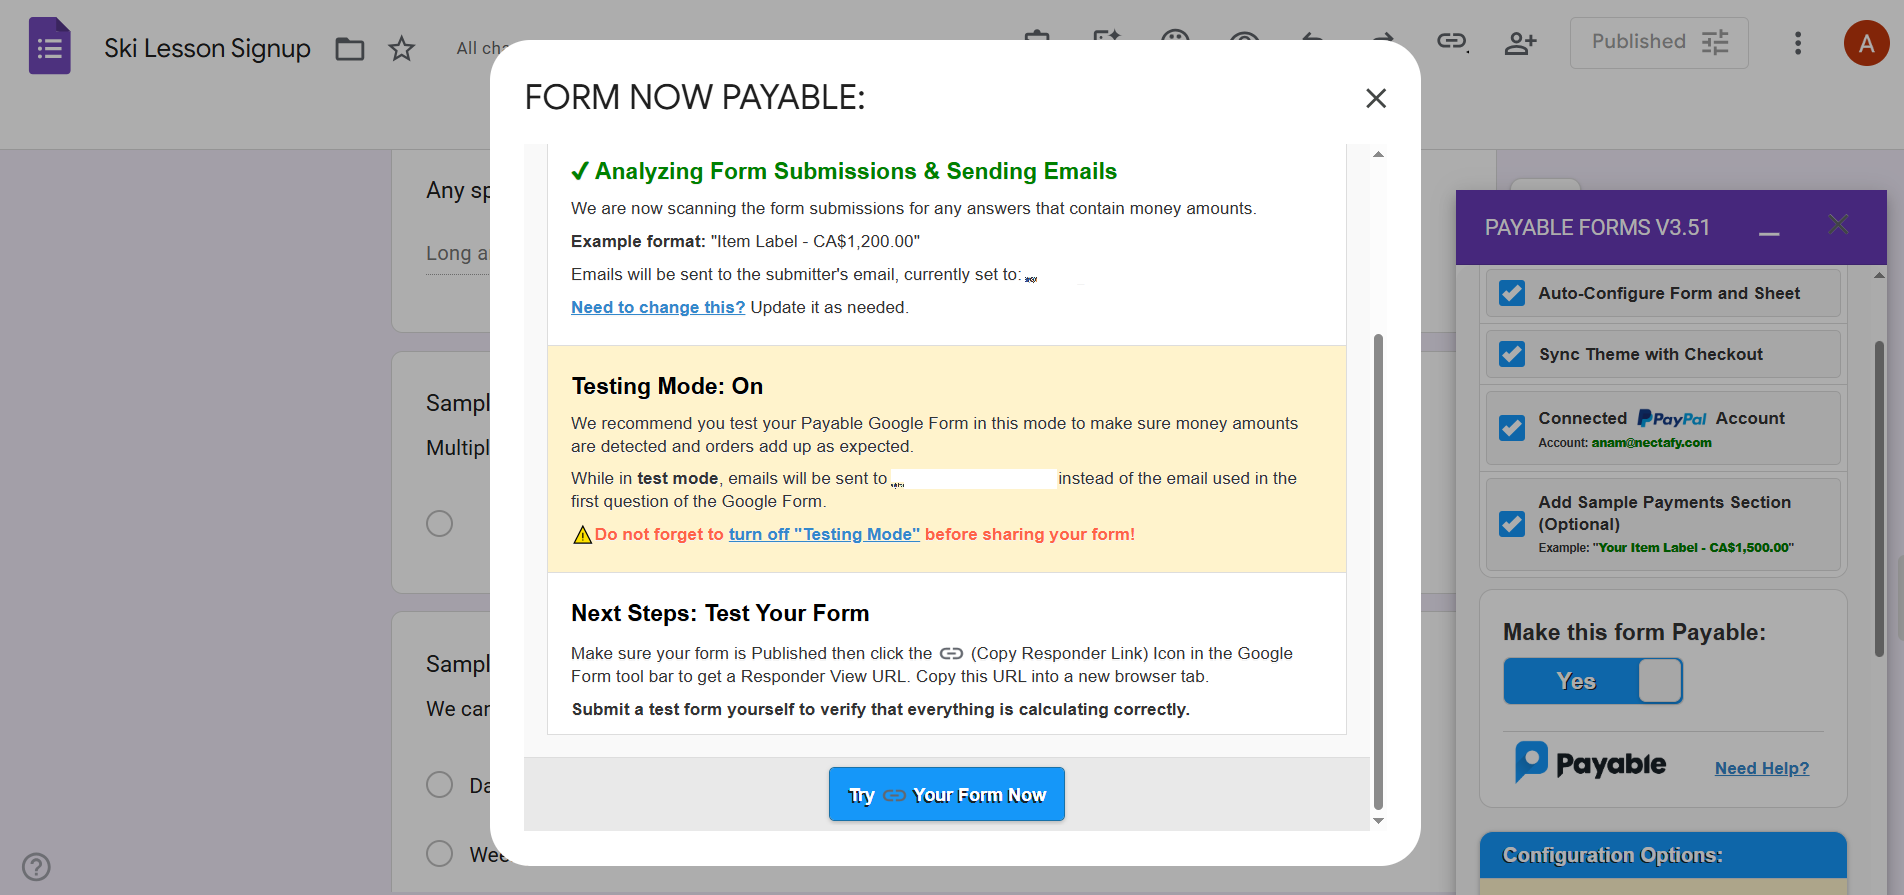
3. Make your Google Form payable
Once you’ve connected the Google Form to your payment processor using the Payable Forms add-on, you have to tell it that you’d like to make the specific form payable.
Here’s what you need to do:
- Scroll down to Make This Form Payable.
- Toggle the setting from No to Yes. Payable Forms will open a pop-up to confirm the form is now payable.
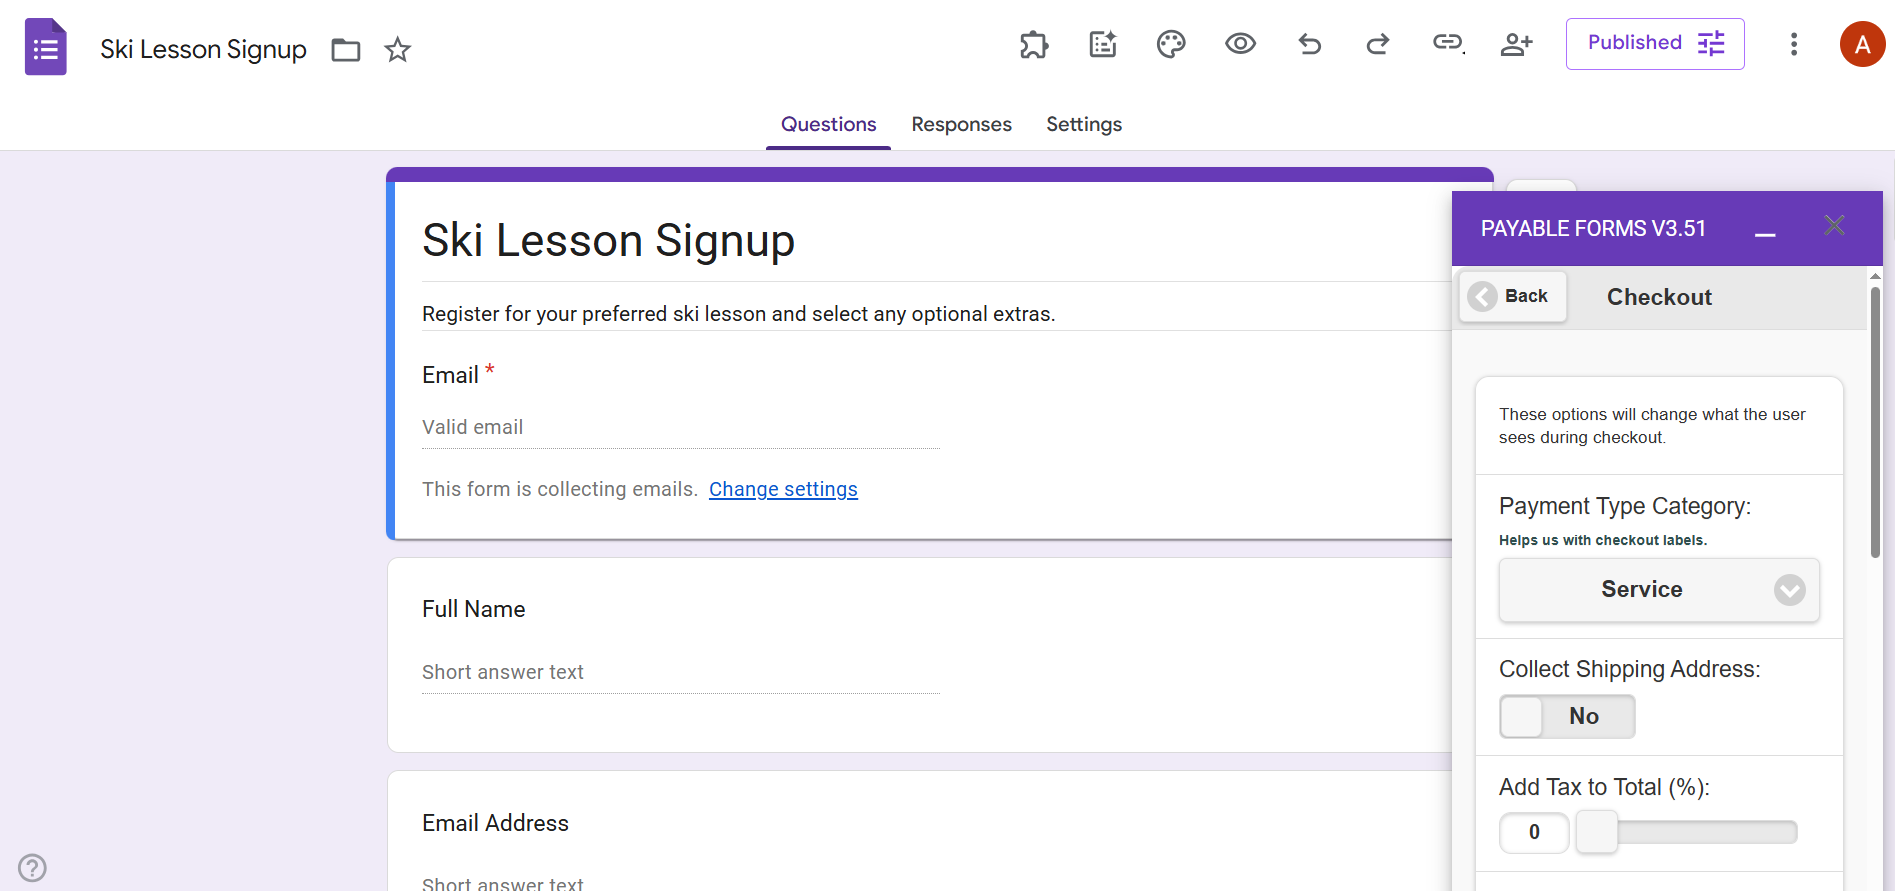
4. Configure your checkout settings
After you’ve made the form payable, you need to configure your checkout settings in Payable Forms.
Follow these steps to complete your Google Forms payment setup:
- Scroll down to and click Checkout settings.
- Configure your preferred settings for
- Payment Type Category
- Collect Shipping Address
- Add Tax to Total
- Add Handling Fee to Total
- Handling Fee Label
- Custom Text on Checkout
- Post Payment Message
5. Share your form and track payments
After you’ve specified all the settings you need in the Payable Forms add-on, it’s time to share the form with your audience.
Here’s how it works:
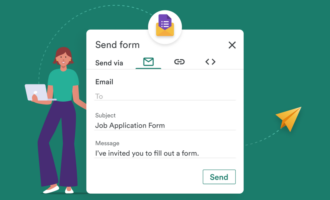
- Click Publish.
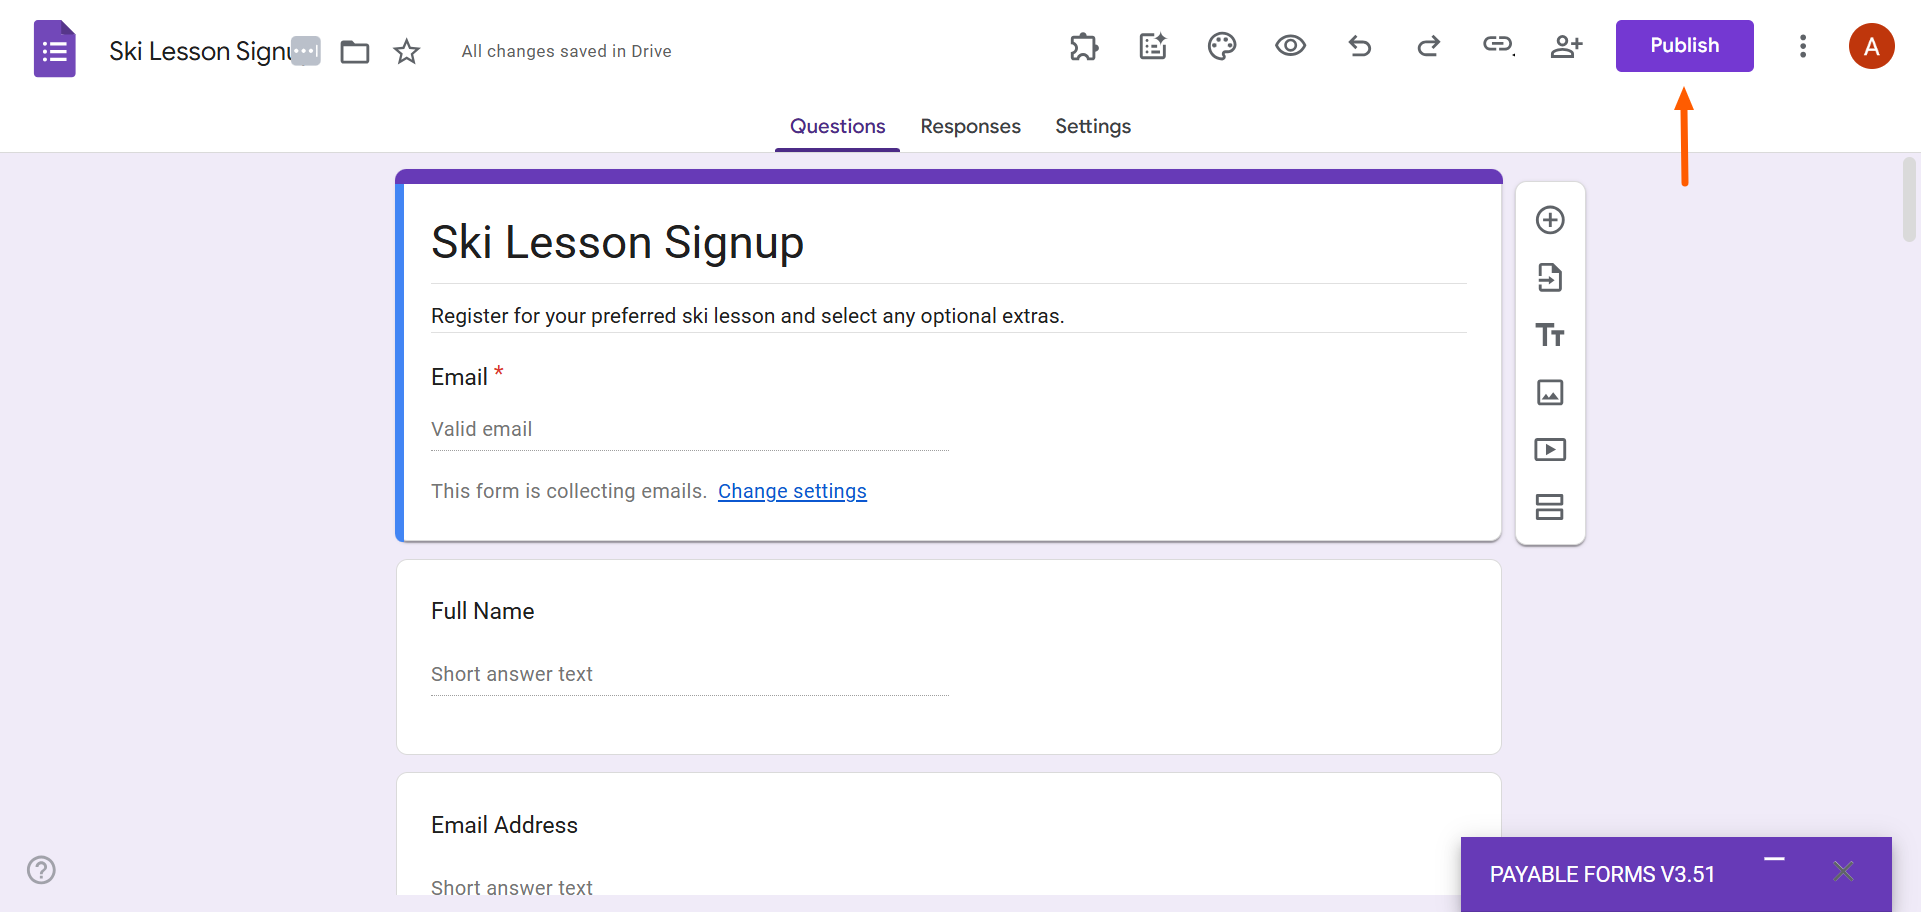
- Share the form with your audience by sending them the link via email or social media. You can also embed your Google Form on your website.
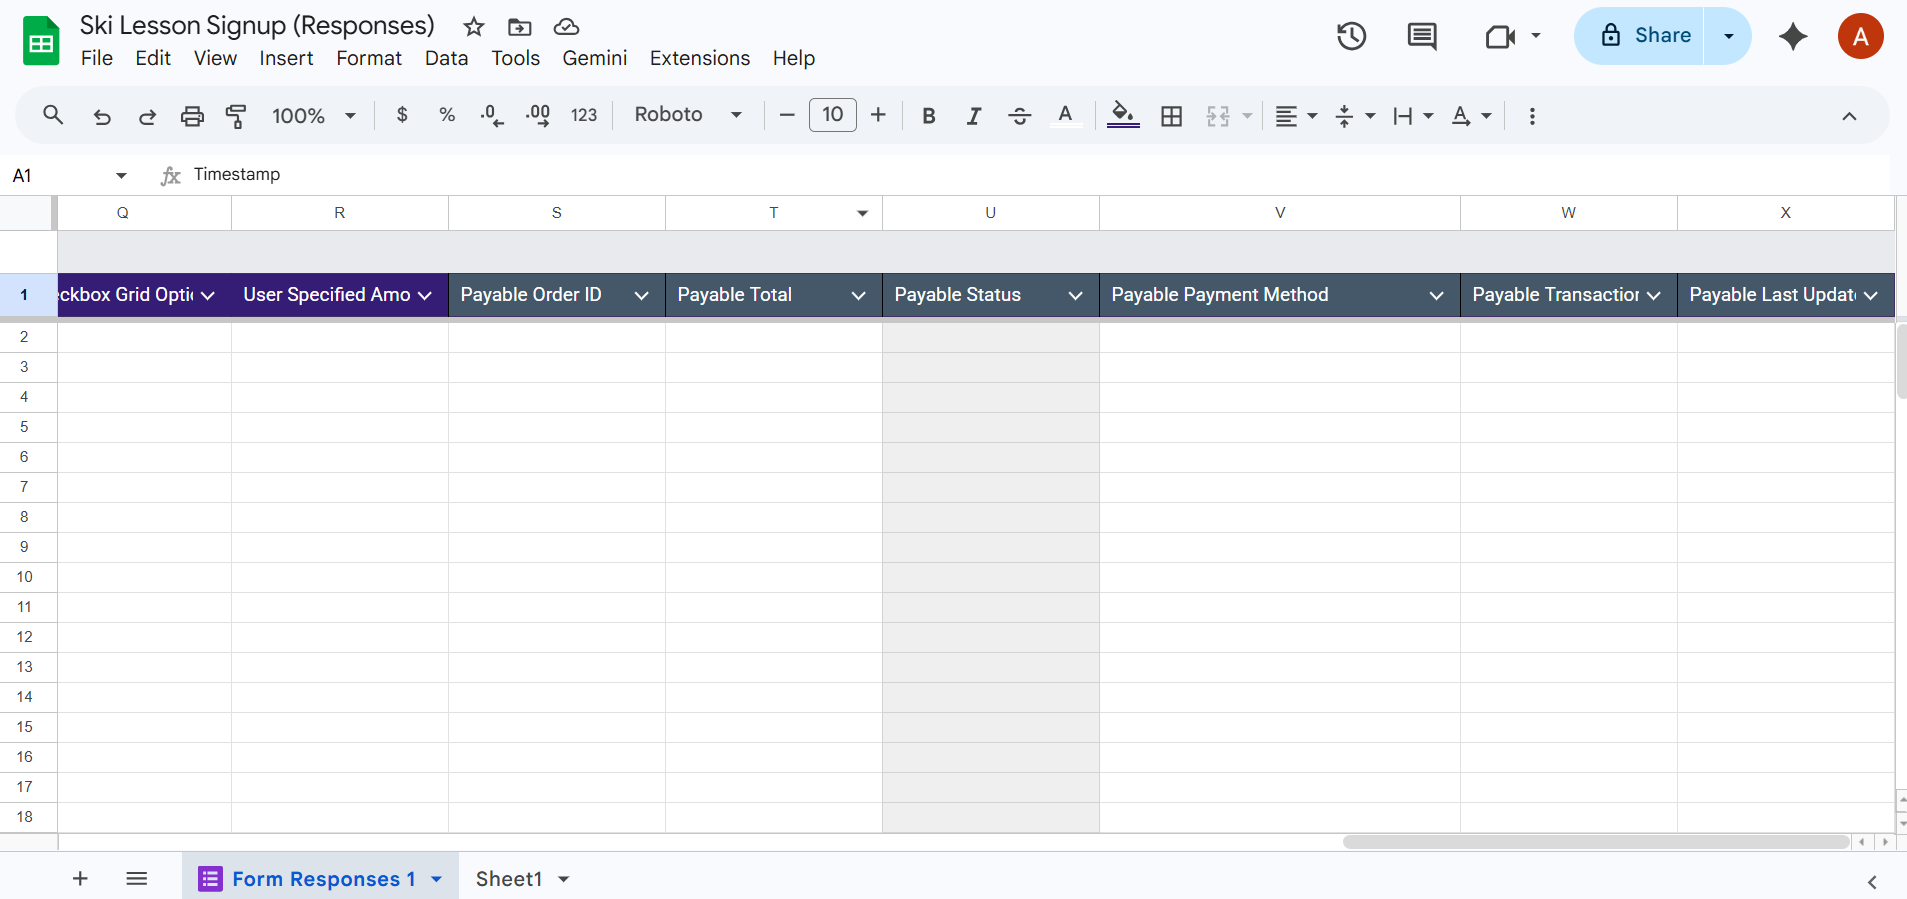
Payable Forms will automatically track your payments for you as they come in on the linked Google Sheet, which you can find in your Google Drive or via the Responses tab in your Google Form.
Payable Forms tips and limitations
Now that you know how to accept payments in Google Forms using the Payable Forms add-on, it’s important to do it right. Keep these best practices in mind:
- Assign prices carefully: You don’t want to end up losing revenue because of a pricing error on your order form. Make sure you’ve put in the correct pricing and haven’t made any formatting typos. Remember to use a consistent pricing format to avoid any confusion.
- Test your form before sharing it with your customers: Payable Forms provides plenty of opportunities for testing your form at every stage. Be sure to test and reconfigure any issues as needed before making it live for customers.
- Follow compliance rules for data sharing: Be aware of strict regulations around the handling, storing, and sharing of personal data, like GDPR. Always get explicit consent when it comes to customer information.
- Provide a clear confirmation message: Customize your confirmation message with Payable Forms, and clearly state that the customer has made a purchase. Provide the next steps, as well as your contact information, in this message.
- Keep branding consistent on your Google Form: It’s important to maintain customer trust when asking for payment. Ensure that the appearance of your Google Form aligns with your brand to provide a seamless experience for customers.
To ensure you don’t run into any major issues, be aware of these limitations of Payable Forms:
- Limited checkout customization: Payable Forms doesn’t offer much in the way of layout and design, so the checkout page will likely not fully align with your brand. This may make customers feel uneasy when making a purchase.
- Basic pricing logic: While Payable Forms can add up totals, the pricing logic is simple at best. If you need to do something more complex, such as using formulas, tiered pricing, bundle pricing, or coupons, you may not be able to with this add-on.
- Full dependence on Google Forms question-answer structure: Payable Forms is limited to the structure in Google Forms. This means that pricing is typically presented as Multiple Choice questions.
- Limited reporting and analytics: Payable Forms will automatically send your payment information to the attached Google Sheet. However, it doesn’t offer any reporting capabilities to help you analyze your sales.
- Doesn’t work for subscription billing: Payable Forms is for one-time payments for products or services. If you sell a subscription, this Google Forms add-on won’t be able to handle it.
- Time-consuming setup: Installing and configuring Payable Forms takes a considerable amount of time. In some cases, installation may not work properly and you’ll need to troubleshoot.
- Costly option: On top of what your payment processor already charges, you’re hit with an additional percentage-based fee on every cent you earn. As your volume grows, these “micro-fees” can snowball and significantly drain your revenue.
Ready for a more powerful payments solution? Try Jotform
If you find the limitations of the Payable Forms add-on frustrating, you’re definitely not alone. Many Google Forms users are ready to migrate to a more sophisticated form builder that offers the advanced functionality they need to make collecting payments simpler and more seamless.
That’s where Jotform comes in. This leading alternative to Google Forms comes with native features that far exceed what other form builders offer:
- No extra transaction fees: You keep what you earn. Jotform doesn’t charge additional fees for receiving online payments or donations through your forms, so you’ll only have to pay the standard rate of your chosen payment processor.
- Over 40 payment integrations: Jotform has built-in connections to payment processors like Square, PayPal, Stripe, and more. There are no complicated and costly add-ons required to create Jotform payment forms.
- Native product and order form fields: Whether you create a form from scratch or use one of the 20,000-plus free form templates, you’ll have access to several product and order form fields to create the perfect form for your business. Jotform also offers more than 1,700 payment form templates.
- Conditional logic and multi-step forms: Make your forms relevant for your users with advanced conditional logic so they only see questions that apply to them based on their previous answers. This improves your form completion rates.
- 150-plus native integrations: Connect Jotform to tools in your tech stack with native integrations to HubSpot, Mailchimp, Google Sheets, and so much more. You don’t need to use third-party workflow automation tools.
- Free AI Form Generator: Don’t want to create your forms manually? No problem. Jotform’s Free AI Form Generator takes care of all the work for you. Just give it a prompt and it’ll create a custom form based specifically on your request.
If that all sounds great but you’re hesitant to switch because your forms are already set up in Google Forms, there’s more good news: You can migrate your Google Forms to Jotform in minutes. With one click, we move your form structure and layout over to Jotform so you don’t need to rebuild your forms.
See how easy it is to migrate to Jotform and use free payment integrations today.
Other resources
This article is for small business owners, event organizers, club administrators, and educators who are already using Google Forms and want to add payment collection without switching to a new tool.


Send Comment: