In this tutorial we will demonstrate how to create realistic Soccer ball in Adobe Illustrator. Creating an illustration like this may seem complicated, but we will try to keep it simple. There are many different ways to create a Soccer ball, but we will use the simplest method – tracing the reference image with the Pen Tool. The main challenge will be to achieve a realistic look of the ball by using simple gradients and just a few details.
Let’s get down to business!
We will be creating this.
Tracing the Reference Image with the Pen Tool
Create a new illustrator document at 500 x 500 pixels in size. Open a reference image and lock the layer. This way the image won’t get in our way during creation process.
Create a new layer. Grab the Ellipse Tool (L) from the Tool Panel and try to draw the circle (don’t forget to hold a Shift key on the keyboard for creating a proportional circle) that will match the shape of the ball. Set the Fill color to white (#FFFFF) and a Stroke color to none. You can make this object invisible in order to be able to draw other parts of the pattern, but don’t forget to make it visible later.
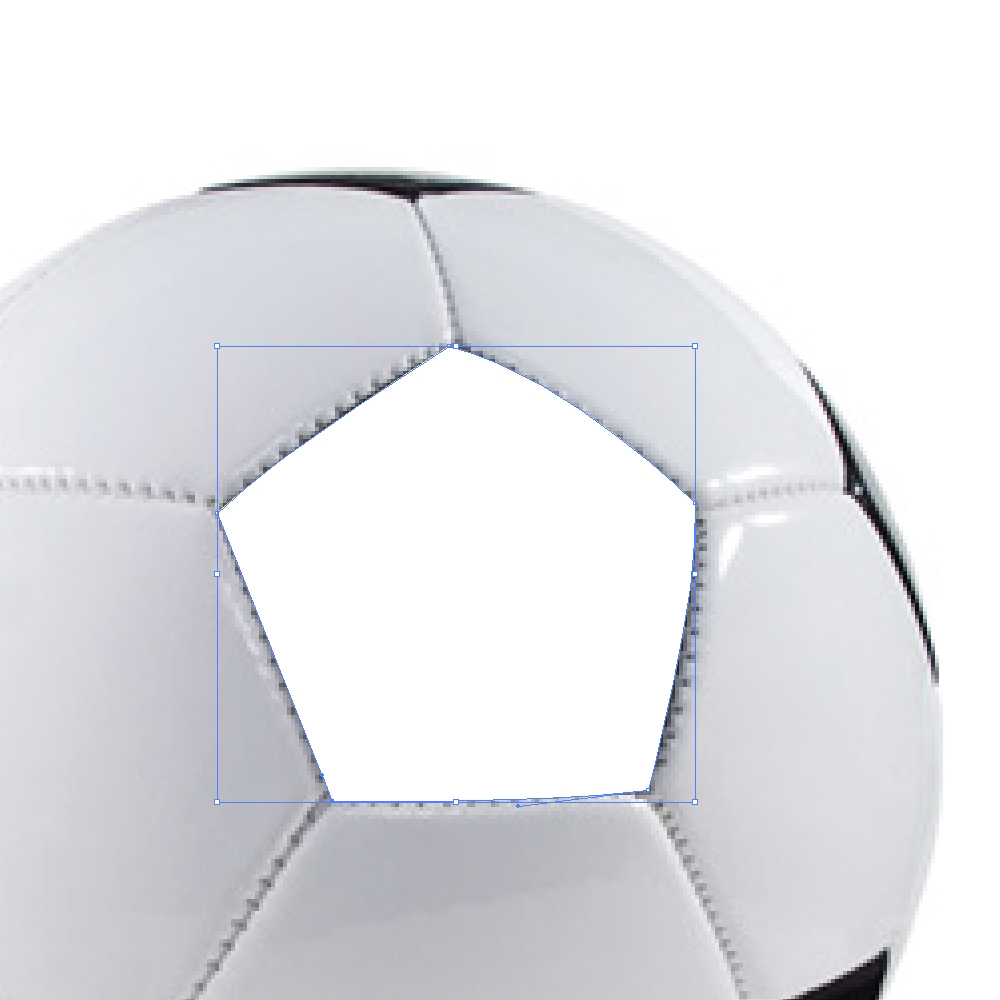
With a Zoom Tool (Z) zoom in for easier drawing. Grab the Pen Tool (P) from the Tool Panel and try to draw each part of the ball pattern. You will notice that the sides of the polygons are slightly curved.
Repeat the previous steps to complete other parts of the pattern as well. Set the Fill color of the each part to black (#00000) or white (#FFFFF) to match the reference image. You should end up with something like this.
Applying gradients
You have to admit that the ball looks quite flat. To be honest, it doesn’t look like a ball at all. To change that we will need to apply radial gradients. It will help us to create an illusion of 3D effects and to simulate the influence of imaginary source of the light. For that purpose we will use white-gray and black-gray radial gradients. Just imagine that the source of the light is above the ball.
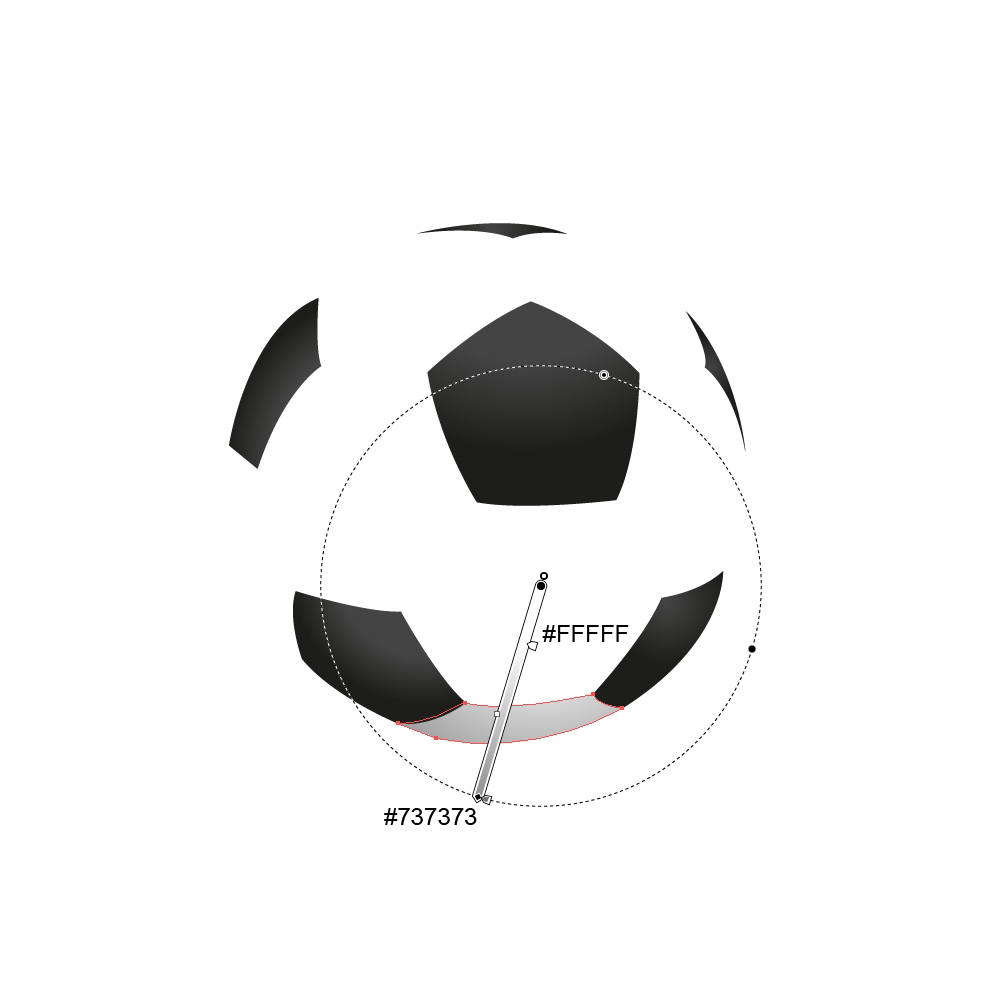
As we have said, for the black parts we will use black – gray radial gradient.
For the white parts create a nice white – gray radial gradient.
The Final Touch
Our illustration begins to resemble a real ball. In this step we will create some details that would let help the ball look even better. Let’s create them.
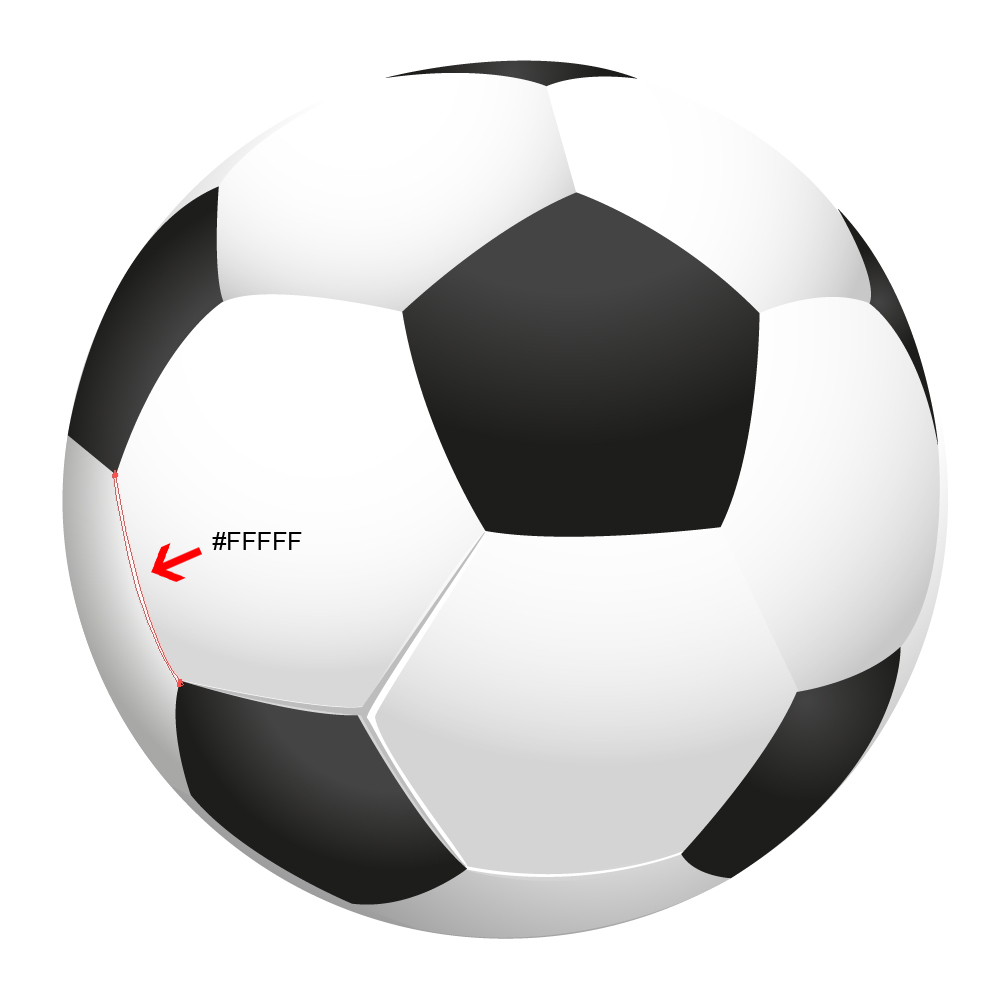
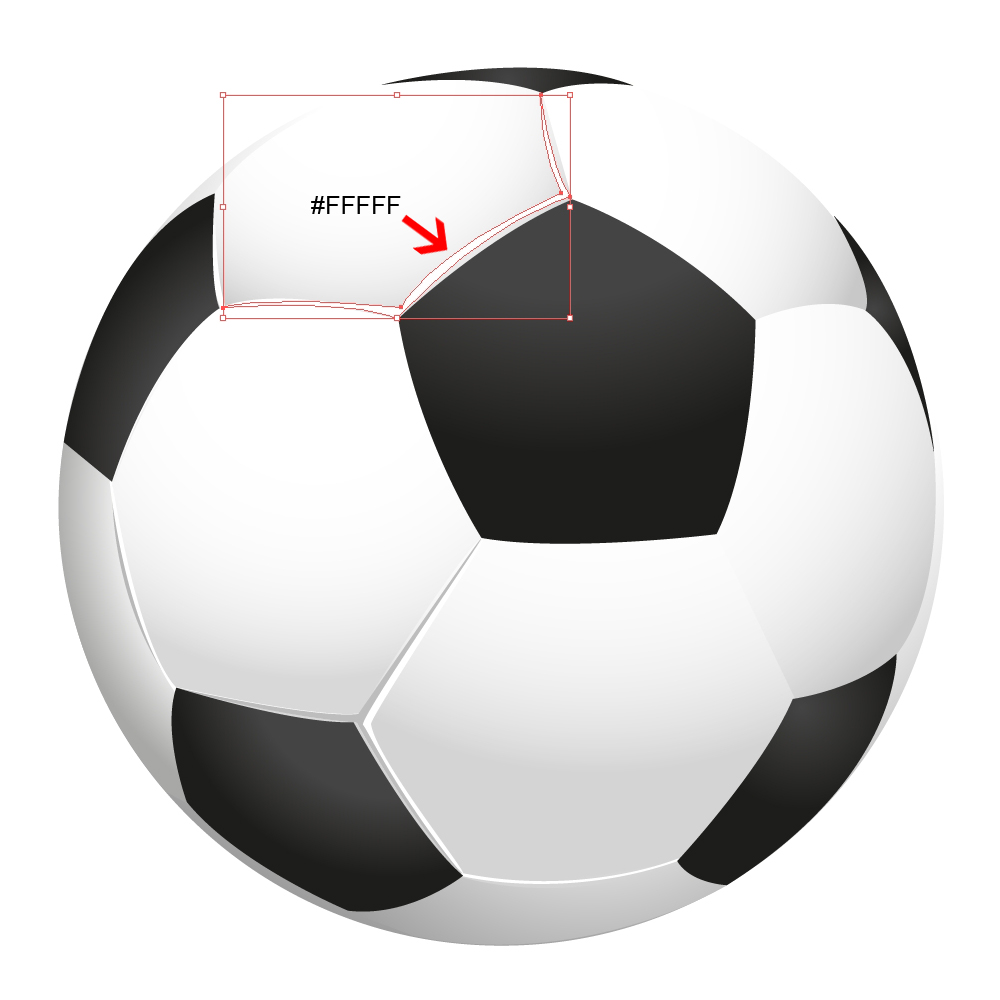
With a Zoom Tool (Z) zoom in the illustration so we can be more precise. Grab the Pen Tool (P) from the Tool Panel and try to draw the shape as it shown on the picture below.
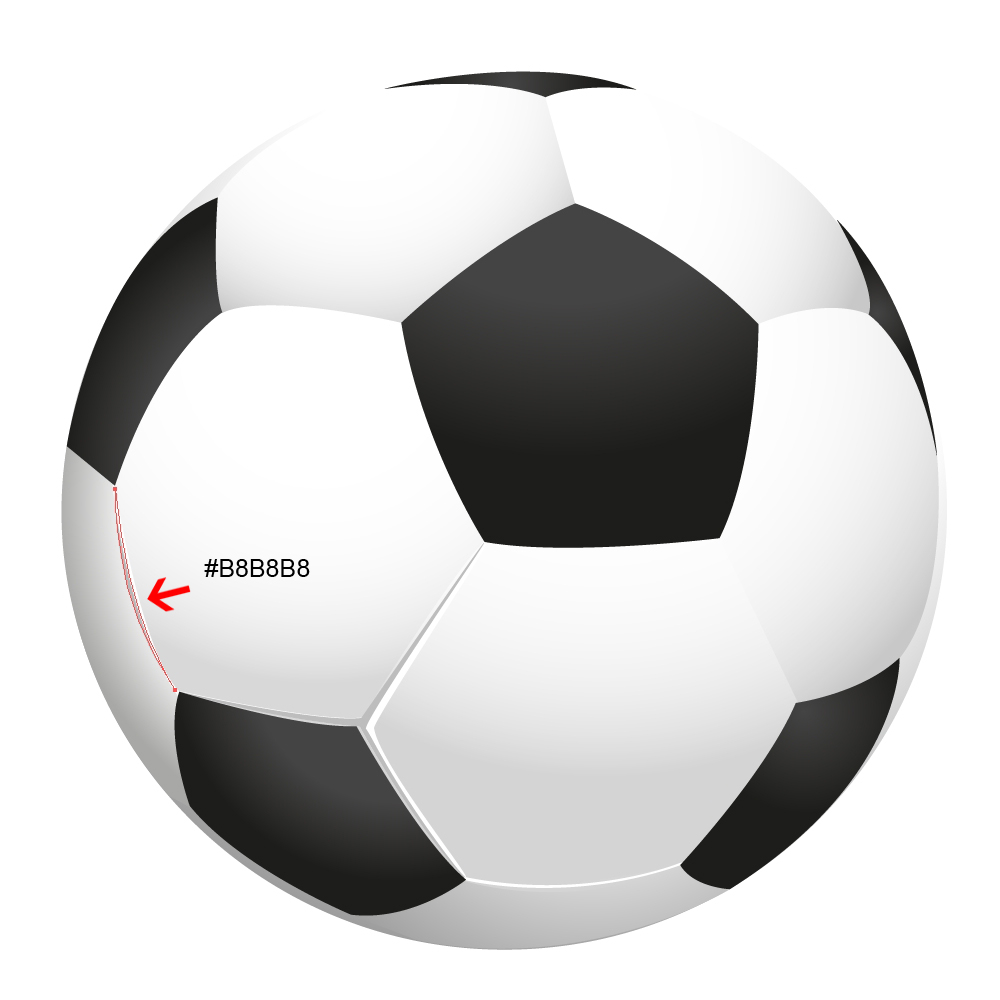
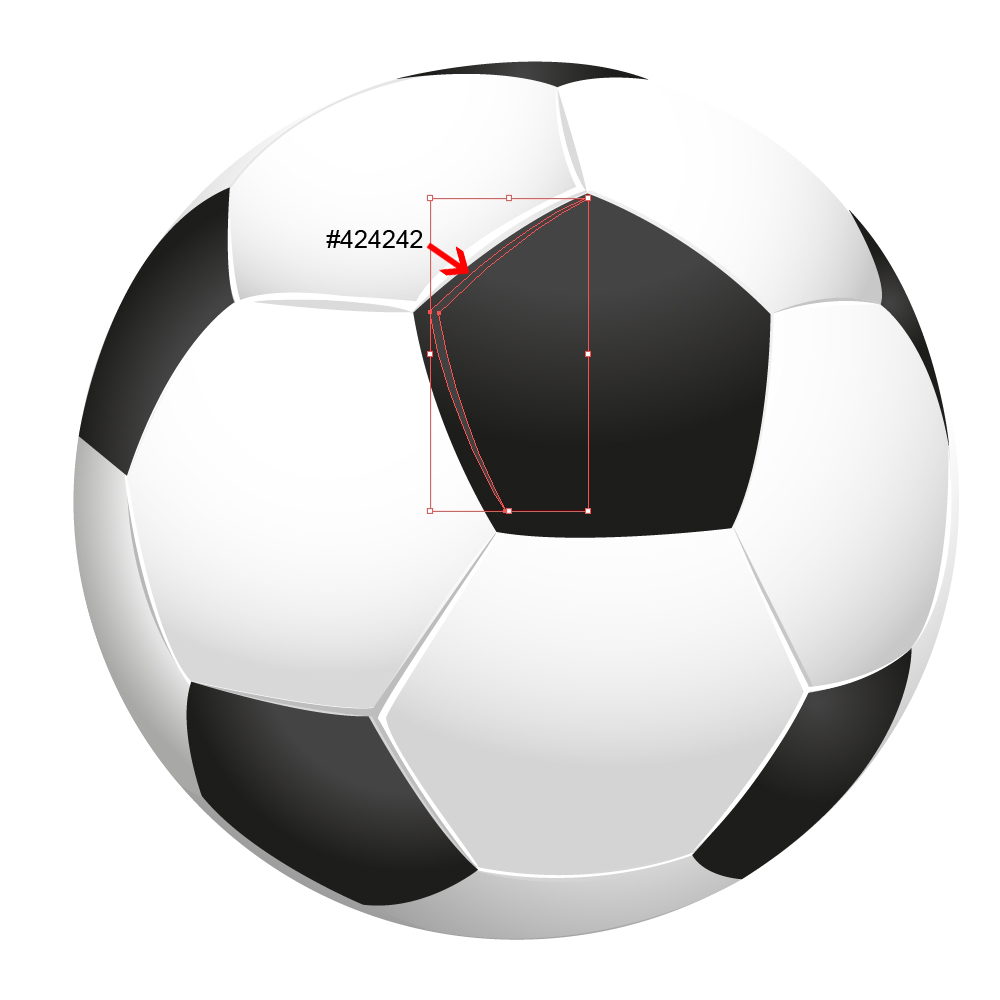
Keep drawing small details for other parts of the pattern as well. It will create a nice depth for our illustration. Feel free to set the Fill color for some of the details to gray. This way it will look like shadows and highlights.
On the following screenshots you can track the process of creating a details.
On the next pictures you can see all of the details we’ve created for the Soccer ball.
There is one more thing to do. Select the Ellipse Tool (L) from the Tool Panel and create an ellipse. Apply gray – white radial gradient. Select the Gradient Tool (G), and drag the anchor point on the top of the ellipse gradient down and in towards the center of the ellipse to skew the gradient. Make sure the gradient smoothly fades from gray to white inside of the ellipse as shown below. Send the ellipse behind the Soccer ball ( Shift + Ctrl / Cmd + [ ) and place it right underneath the ball.
And Voila!
In this tutorial we have shown how to turn a photograph into realistic vector illustration by using very simple techniques such as, tracing a reference image with a Pen Tool and applying nice radial gradients. Feel free to use your creativity and imagination to create other types of sport balls. If you happen to have any questions feel free to post it in the comment section below. I hope you like the tutorial. Thank you for following along!
(rb)
Photo by Aphiwat chuangchoem on pexels










Send Comment:
11 Comments:
More than a year ago
This is cool LB
More than a year ago
support me so that i can draw it on my own send me a short video i am repeating but i am getting stark
More than a year ago
Hi,
Thank you for your link. Your ball look quite nice. I would only suggest one thing.Feel free to emphasize more the shadows. Make them darker. This way you will be able to achieve semi-realistic look of the ball.
More than a year ago
I wanted to show you what I got from following this tutorial. I had to look up some other staff like pressing "Alt" on the anchors to make discontinuous curvs with the pencil tool or dig further about radial gradient because I'm not used to this tools on Illustrator, but the tutorial was helpfull indeed.
My ball:
More than a year ago
Glad everyone is liking the tutorial and finding it helpful. As mentioned above, we have more in store from, Jasmina!!
Noupe Editorial Team
More than a year ago
No fears, Dave, Jasmina has several more AI based tutorials in the queue!
Noupe Editorial Team
More than a year ago
Great tutorial – very well written and with great result.
More than a year ago
Greate tut ,helps a lot
More than a year ago
That is some very impressive work. I really dig this style of vector art - the lighting and shading technique is really nice. Very well done my friend. I hope to see more come from you in the future. I will be trying this tutorial out shortly.
More than a year ago
Great tutorial - very well written and with great result.
More than a year ago
wow... that is some work of art..
seriously, proper use of quality technology also is a work of art...and should be recognized as such
gr8 post man