
Microsoft Word is an excellent option for editing and revising documents since its “Track Changes” and comment features make it easy to highlight revisions and leave notes for others. But if your document includes photos or other images, leaving specific feedback on those elements gets a little more complicated.
If you’re dealing with detailed photos or images, you need the ability to precisely point out key areas to make your feedback effective. Annotating a picture can help you do this, making it easy to mark up photos for others to review later.
Annotating images in Word isn’t difficult once you’re familiar with the process, and it saves you the hassle of having to use another platform to provide feedback on images. The following steps can help you annotate a picture in the most recent version of Microsoft Word.
To start, you’ll need to insert a picture in a document.
- Open a new Microsoft Word document.
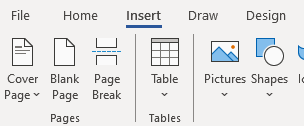
- Find the Insert option on the ribbon at the top of the screen and select Pictures.
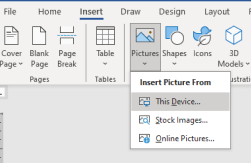
- From the options that appear, select the source of your image. If it’s from your computer, select This Device.
- Once the dialog box opens, you’ll need to locate the folder containing the image you want to use.
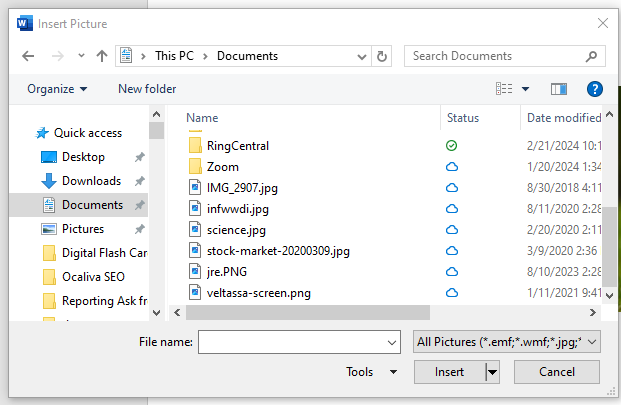
- Click on the photo and select Insert.
Once you’ve inserted your photo into the document, you can start the process of annotating the picture.
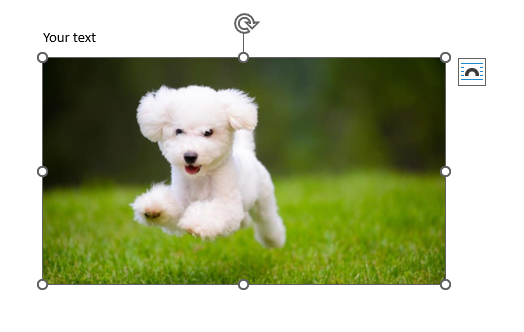
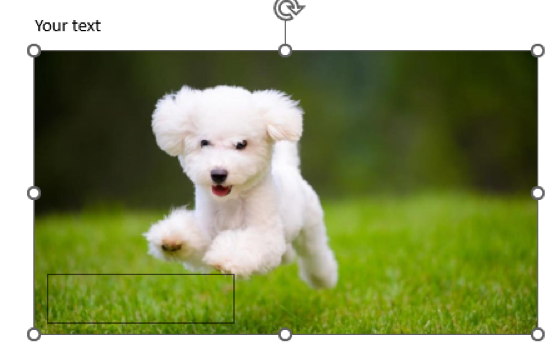
- Click on the photo to make handles (circles around the edges of the image) appear.
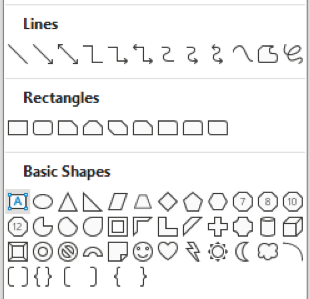
- In the ribbon at the top of the screen, select Insert and look for the Shapes option.
- When the Shapes menu expands, the first option under Basic Shapes is the Text Box.
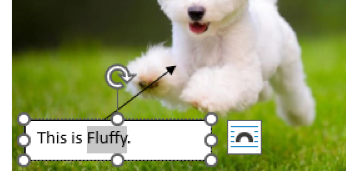
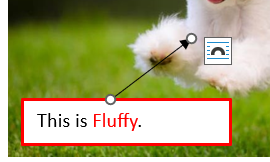
- Click, drag, and drop your text box on your image where you’d like it placed.
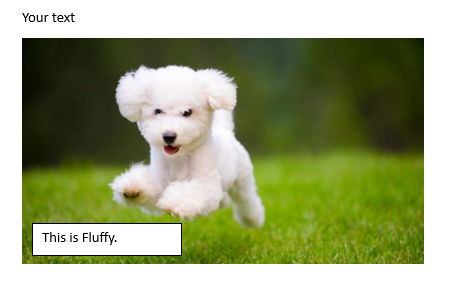
- Once your text box is in place, you can type your comment in the box.
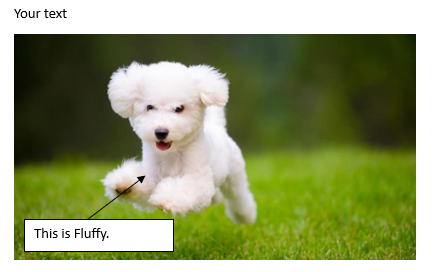
- You can also select other shapes like arrows (to the right of the text box) to further clarify your notes.
How to edit your annotations
In Microsoft Word, you can position your callout text box to draw attention to your comments and indicate which photo or area of a photo you’re referring to. It’s also possible to edit the annotation’s appearance. You can use styles, sizes, colors, and formatting of fonts, borders, and shapes to create a more customized look.
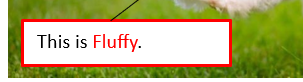
For example, to place more emphasis on Fluffy’s name in our example, simply click on the text box to highlight it and select the text you want to emphasize.
By right-clicking on the highlighted text, you can use the popup menu with the text color selector to select a different text color.
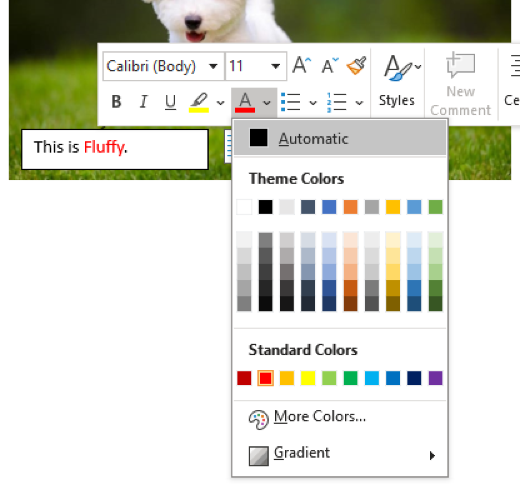
This option is also available on the ribbon at the top of the screen.
You can also change the text box border and fill colors to make your annotations pop. To do this, just highlight the text box by clicking on it.
Then right-click on the text box and select Format Shape.
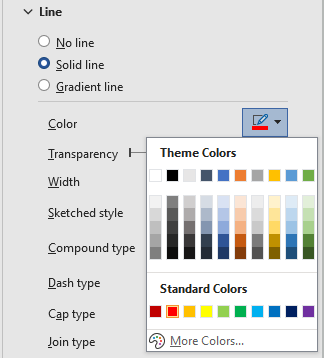
Once you select Format Picture, your formatting options will appear to the right of your Word document.
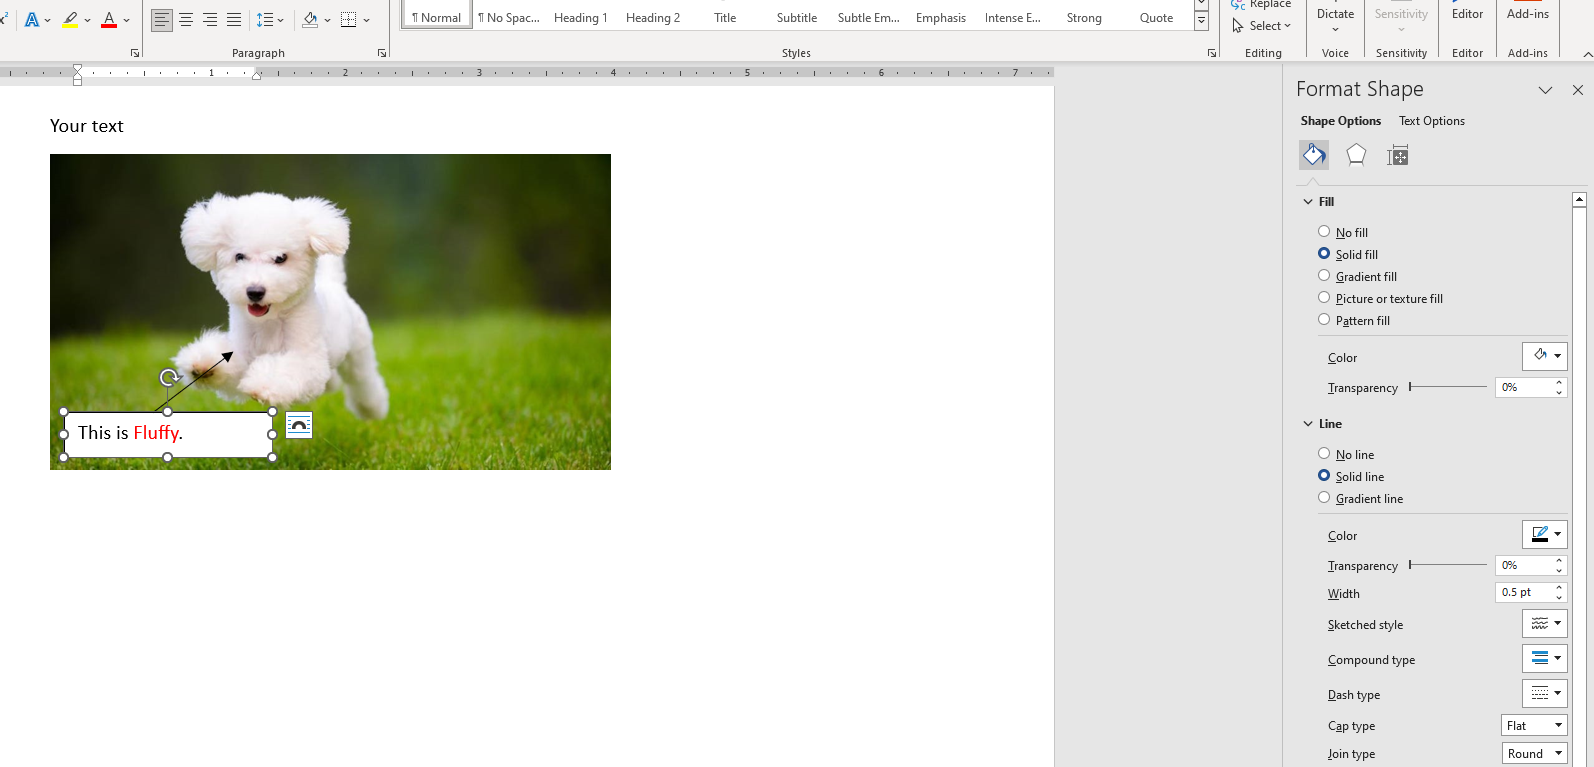
By selecting Solid line under the Line options and adjusting our Width settings, you can put a thick, solid red border around your text box.

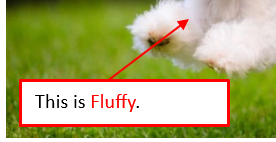
You can also adjust your arrow style using similar settings. By selecting the arrow, the Format Shape settings to the right now apply to the arrow instead of the text box.
By using the same Color and Width settings and changing the End Arrow size, you can make the arrow match the text box.


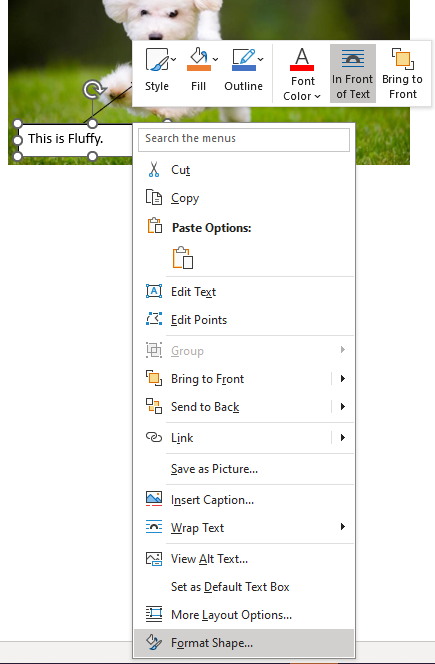
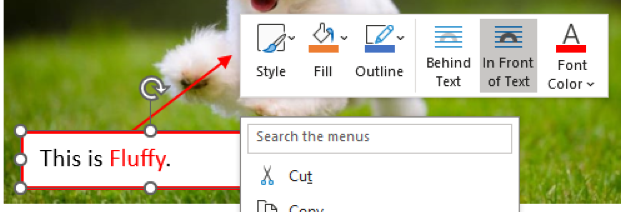
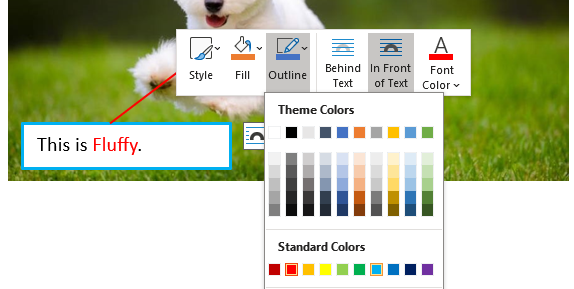
You can also easily update the borders and fill colors of annotations by using a shortcut in the right-click menu. By right-clicking the text box, you’ll see four options at the top of the menu: Style, Fill, Outline, and Font Color.
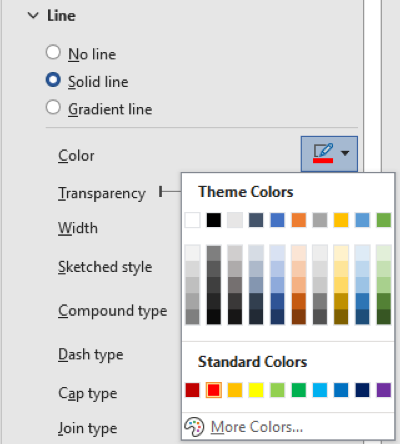
These can help you quickly change settings in your annotation without having to jump to the Format Shape options at the right of the screen. To change the border color of our text box, just right-click on the text box and select Outline from this menu.
A menu will appear that will allow you to select a new color for your text box.
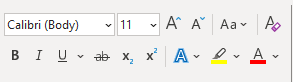
If you want to change fonts to add emphasis to annotations, just select the text in the text box.

By right-clicking on the text, you can use the menu to select a different font to make the text stand out.
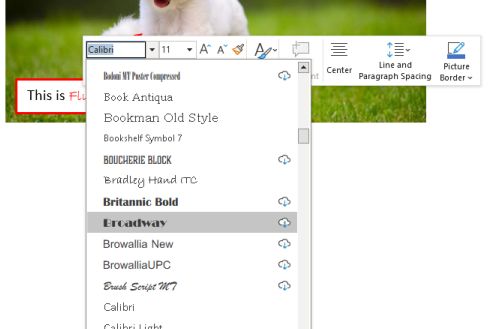
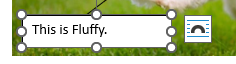
The result is text that pops.

How to use Jotform’s Annotate Picture widget
Microsoft Word isn’t the only platform that makes it easy to annotate images and illustrations. You can also annotate images right in Jotform. By equipping your forms with the ability to annotate pictures, you can quickly gather feedback and input from a variety of audiences. For example, you can
- Ask your design team for feedback on a new ad design
- Get feedback from your customers about a new product idea or layout
- Have your team collaborate on rebranding and logo design
- Use photos as part of a quiz or test for students
Jotform’s Annotate Picture widget makes it easy for users to write on your pictures right within your forms. Users can leave notes about an image or even draw on it to point out something.
The Annotate Picture widget is a user-friendly tool. It features control buttons that are clear and intuitive, allowing users to add text, arrows, and shapes to a picture. Users can also change the color palette to create the exact look they want.
To use the Annotate Picture widget, all you have to do is select it from the list of widgets in the Jotform Form Builder and drag and drop to add it to your form. You can add other form elements like e-signature fields, file uploads, and more, customizing the form to your needs.
Once you’ve added your form elements, you can design the form for the exact look you want. Change the colors or even add custom CSS to match your company branding.
After you’ve set up your form just like you want it, you can share it with a link, embed it into your website, or email it to your email lists. The form will include the Annotate Picture widget, allowing followers to comment on your images as needed.
What makes Jotform a powerful option for annotating images
Annotating pictures can be a helpful way to edit photos and collaborate with others. Keep in mind that if you’re working with multiple versions of Word documents, you’ll need to open each document to review the feedback.
By using Jotform instead, you can make that process a bit easier. You’ll receive all of your form responses in a single location, thanks to Jotform Tables, which functions like a database for all of your form responses. This centralized spreadsheet will make it easier to organize and review feedback, so you’ll be less likely to overlook something important.
This guide is ideal for professionals, educators, designers, and students who need a simple way to give clear, visual feedback on images within their documents


Send Comment:
2 Comments:
More than a year ago
I can also confirm this information is incorrect, dont work in 2016 or 365 versions.
More than a year ago
I don't get a "draw and annotate" option on right click