How to add fonts to Canva
- Prepare your font file
- Log into your Canva Pro account
- Go to ‘Brand Hub’
- Upload your font
- Use your font in Canva
Fonts are more than just text styles — they’re a core part of your brand’s personality. Canva’s built-in font library is already robust, but having your own font gives you full creative control and consistency across all your projects. Whether you’re creating social media graphics, business cards, or presentations, having access to your brand’s custom fonts in Canva is essential. It’s a skill that can even help you become a web designer by strengthening your understanding of visual identity and typography.
Let’s explore how to make the most of custom fonts in Canva — from uploading them to troubleshooting issues and using them like a pro.
Frequently asked questions
Yes, custom font uploads require a Canva Pro or Enterprise subscription.
You can find high-quality fonts on reputable platforms like Google Fonts, Adobe Fonts, Creative Market, and Font Squirrel.
Can you add custom fonts to Canva?
Yes, you can. Canva allows users with Pro and Enterprise subscriptions to upload their own fonts, expanding the existing Canva font library. Unfortunately, this feature isn’t available for free Canva users, who are limited to the platform’s built-in font library.
Step-by-step: How to add fonts to Canva
Adding your custom fonts to Canva is straightforward. Here’s how you do it:
1. Prepare your font file
- Ensure your font is saved in one of the following supported formats: .OTF, .TTF, or .WOFF.
- Double-check the font licensing — especially if it’s a commercial project. Canva requires you to confirm that you have the rights to use the font.
2. Log into your Canva Pro account
- Head to Canva and sign in with your Pro, Teams, or Education account credentials.
3. Go to ‘Brand Hub’
- From the left-hand menu on the homepage, click on “Brand” under the Tools section.
- Inside Brand Hub, you can manage logos, brand colors, and fonts.
4. Upload your font
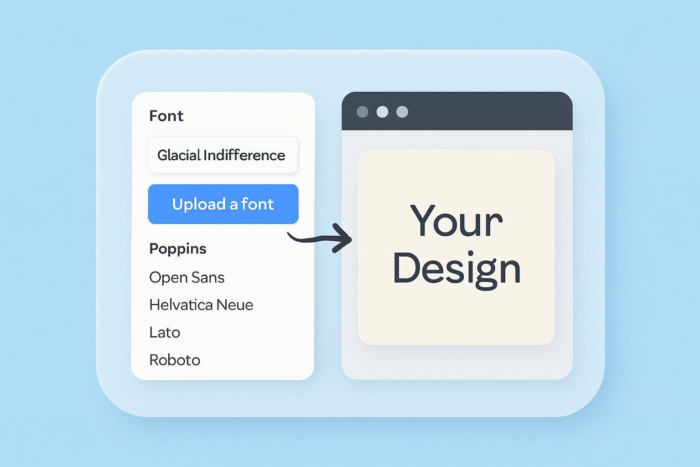
- Scroll to the “Brand Fonts” section.
- Click “Upload a font” and select your font file from your device.
- A prompt will appear asking you to confirm that you have the license for the font. Click “Yes, upload away!” to proceed.
5. Use your font in Canva
- After the upload is complete, your font will be available in the text dropdown menu in the Canva editor.
- You can now use your custom font just like any other.
That’s it. You’ve added your own custom style to Canva’s toolkit.
Troubleshooting font upload issues
Sometimes, you may encounter issues when uploading fonts to Canva. Here are some common problems and quick solutions:
- Problem: Canva rejects your font file
- Fix: Make sure the file format is .OTF, .TTF, or .WOFF. Fonts in .ZIP files or other formats won’t upload.
- Problem: Upload button is missing
- Fix: Check your account type. If you’re on a free plan, the option to upload fonts won’t be available. You’ll need to upgrade to Canva Pro to access this feature.
- Problem: Font doesn’t appear in editor
- Fix: Refresh the page. If it still doesn’t show, re-upload the font and make sure the file isn’t corrupted.
- Problem: Licensing error
- Fix: Only upload fonts that you have permission to use. Canva requires users to confirm they hold a license or own the font before uploading. If your font is restricted, look for an alternative or purchase the correct license.
Pro Tip
Always download fonts from trusted sources like Google Fonts, Font Squirrel, or Adobe Fonts, and double-check licensing terms.
Best practices for using custom fonts in Canva
Once you’ve uploaded your custom fonts, here are tips to maximize their impact:
- Pair thoughtfully: Match custom fonts with Canva’s extensive built-in font library for a professional look. Balance serif and sans-serif fonts for clarity.
- Consistency is key: Use your custom fonts across all branding elements, such as social media posts, presentations, and print materials.
- Legibility matters: Ensure your chosen fonts are readable at various sizes, particularly when designing logos or social media graphics.
- Use the Brand Kit: Canva’s Brand Kit feature allows you to pre-define fonts and color palettes, so your team doesn’t have to choose them manually every time.
Jotform for Canva: Enhance your design workflow
For an even smoother design experience, consider Jotform for Canva. This integration allows you to effortlessly embed forms directly into your Canva designs without switching platforms. Whether you’re designing an event flyer, feedback survey, or order form, Jotform offers
- Over 10,000 pre-designed templates: Speed up form creation with ready-to-use templates.
- Advanced features: Securely process payments with PayPal, Stripe, or Square, and set up automated workflows.
- Conditional logic: Create dynamic, responsive forms tailored to user responses.
- Centralized data: Effortlessly manage and analyze form submissions in one place.
Integrating Jotform with Canva not only simplifies your workflow but also boosts user engagement and streamlines data collection.
Adding custom fonts to Canva enhances your designs, ensuring brand consistency and creativity. With Canva’s straightforward upload process available to Pro and Enterprise users, you can effortlessly elevate your projects. Ready to start experimenting? Consider upgrading to Canva Pro and watch your designs flourish.
Pro Tip
This article is aimed at Canva Pro and Enterprise users who want to upload custom fonts to enhance brand consistency and creativity in their designs.


Send Comment: