-
 heidireichert
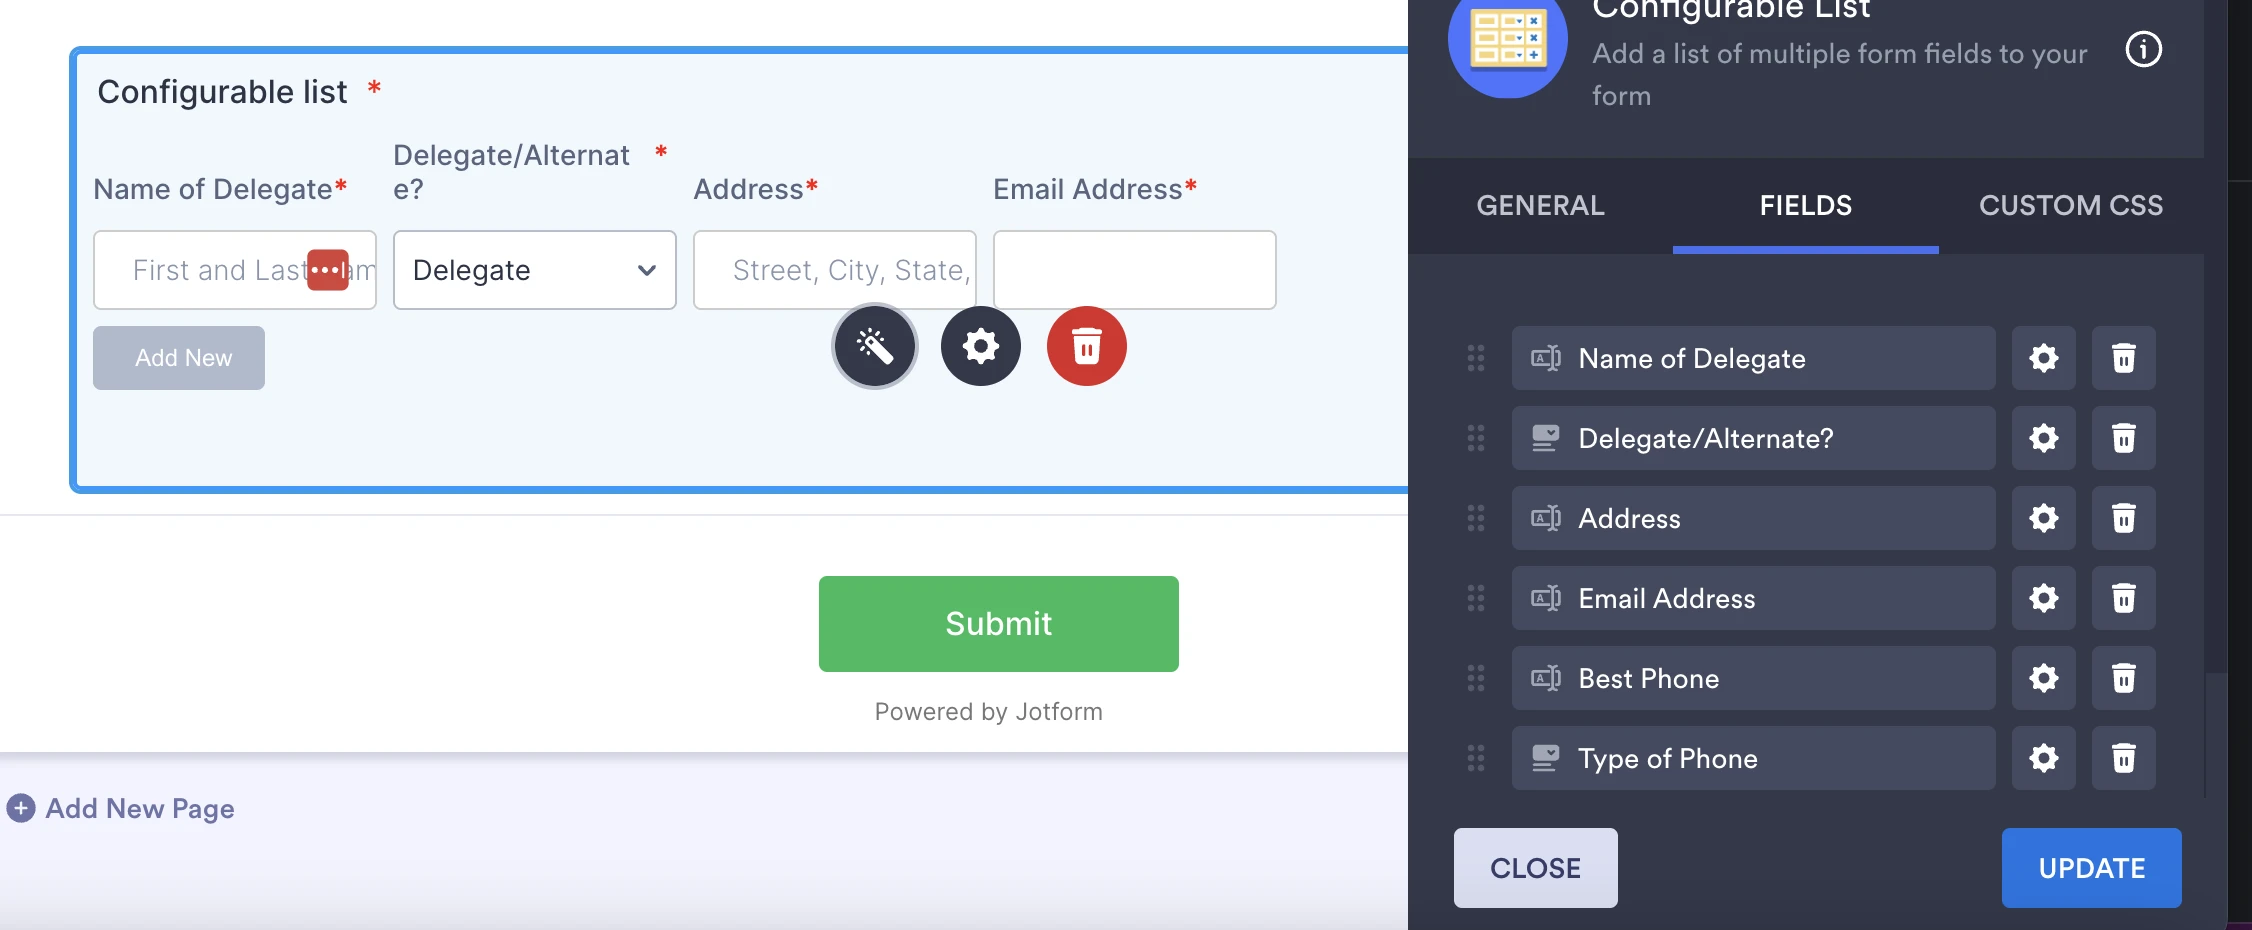
The Configurable Table Widget is only showing four of my six columns. Online searches show it may need CSS coding to do this. I am not sure where that is to fix it. The CSS field block is empty.
Form is here. I left in the original table (from the PDF) to show my ultimate goal. But I want the responder to add delegate lines. (Some will only have 4 where others may have 20 delegates.)
Heidi
 Page URL: https://form.jotform.com/261034159085051
 -
 Podo: Support Specialist
Hi Heidi,
Thanks for reaching out to Jotform Support. I'm an AI assistant here to assist you.
Let me help you with that:
The Configurable List widget supports custom CSS, and the CSS is added inside the widget settings in Form Builder.
- Click the Configurable List widget in Form Builder.
- Click the Wand icon on the right side of the widget.
- Open the Custom CSS tab and paste your CSS code there.
- Click Update to save the changes.
For layout changes, the knowledge base says you can use custom CSS to adjust the widget layout. For example, to create a multi-column layout, you can use the widget’s Custom CSS setting. The knowledge base also says each field declaration must be placed on a new line for it to work correctly.
If you want, I can also help you interpret the widget setup based on the field configuration you are using.
Give it a try and let us know how it goes.
-
 Kyle JotForm Support
Hi heidireichert,
You can easily adjust the Configurable List widget's fields width by Injecting CSS Codes into your form. Let me walk you through it:
1. In Form Builder, click on the Configurable List widget and select the Gear icon.
2. In the Question Properties menu that opens on the right side of the page, change the Width to 900 px.
3. Then, copy this code:
.configurable-list-field-row {

display: grid !important;

grid-template-columns: 21% 12% 25% 20% 12% 10%;

}

.configurable-list-field-wrapper {

min-width: unset !important;

max-width: none !important;

}
4. In Form Builder, click on the Paint Roller icon on the right side of the page to open Form Designer.
5. Now, in the Form Designer menu, click on the Styles tab, scroll down and paste the code into the Inject CSS Code box. That’s it. The code is automatically saved.
-
heidireichert
Thank you that worked!
Your Reply
Something Went Wrong
An error occurred while generating the AI response. Please try again!