AI chatbot for WordPress websites
Jotform’s AI Agents allow businesses to engage visitors, guide them through forms, and streamline communication whenever and however they need. Agents empower organizations with fewer resources or smaller staffs to engage their customers in a personal way, at scale, by providing seamless, on-brand, real-time assistance.
Many business websites — 43 percent of all websites on the internet in fact — run on WordPress, an open-source content management system.
Today, those WordPress sites can directly integrate Jotform AI Agents into their websites via a new AI-powered plugin, the WordPress Agent. The plugin is a faster, friendlier way to support site visitors, answer questions, and increase conversions.
A better WordPress solution
An AI Agent connected to the Jotform ecosystem of data management products is a fitting solution to the pain points many WordPress users have voiced.
The WordPress Agent combines a native AI plugin with Jotform’s solutions to save you time, boost conversions, and provide 24-7 support. It solves several problems, like missed lead opportunities from static forms, repetitive customer questions that cause more busywork, and technical issues from third-party chatbots.
Here are just a few of the benefits the WordPress Agent offers:
- Always-on, 24-7 visitor support
- Instant answers to business/organization FAQs in multiple languages
- More consultative onboarding, bookings, and purchases
- WooCommerce support to improve the customer experience
- Seamless form integration, reducing errors and increasing submissions
Demo it on your site
Enter your domain and see Jotform AI Chatbot for WordPress live on your website in seconds.
How to set up your WordPress Agent
Setting up your WordPress Agent is pretty straightforward. In fact, you can go from installation to monitoring the conversations your agent is having with customers in six quick steps!
Anyone can do it, no technical experience needed. The WordPress Agent is a no-code plugin available in the WordPress plugin directory (in the directory, it’s called the Jotform AI Chatbot plugin).
The agent auto-trains itself on your existing website content, so it can help customers and site visitors instantly after setup. (Note that you can also enhance the agent’s training by uploading content to its knowledge base.)
Let’s get started!
1. Install the Jotform AI Chatbot Plugin
In the sidebar of your WordPress dashboard, click Plugins, then click Add Plugin.
In the search bar of the next page, search for Jotform AI Chatbot.
Select the plugin called AI Chatbot for WordPress – Jotform, then click Install Now. After it’s installed, click Activate. Once activated, you’ll see Jotform AI Chatbot listed among your installed plugins.
2. Connect your Jotform Account
Now you’ll need to connect your Jotform account. In the sidebar of your dashboard, click Jotform AI Chatbot to open the plugin. Then click Let’s start to begin the authorization process.
From there you’ll be prompted to log into your Jotform account or sign up if you don’t currently have an account with Jotform. You’ll see a screen asking you to authorize the plugin with your Jotform account.
3. Set up and style your agent
The next step is to set up your agent. First, describe your agent, or select one of the preset options for frequently used agent types to auto-generate a description. Or, if you’re already using Jotform AI Agents outside of WordPress, you can click Select from My AI Agents to link an existing agent to your WordPress site.
Then click the Create AI Chatbot button. It may take a minute for your agent to generate.
Once the agent is generated, you can configure your agent’s look and vibe in the AI persona tab, including how it welcomes visitors and how it matches the branding of your website.
For instance, I’ve chosen a stylish avatar with a propensity for witty banter and a little fun sarcasm.
In the Agent style tab, you can coordinate the color scheme of your chat, fonts, and buttons.
In the Visibility tab, you can customize the size and positioning of your agent on the screen.
You can also specify which site pages or sections you want your agent to appear in. Below, for example, I’ve excluded the agent from the “Style” page of my site using the Advanced Visibility field.
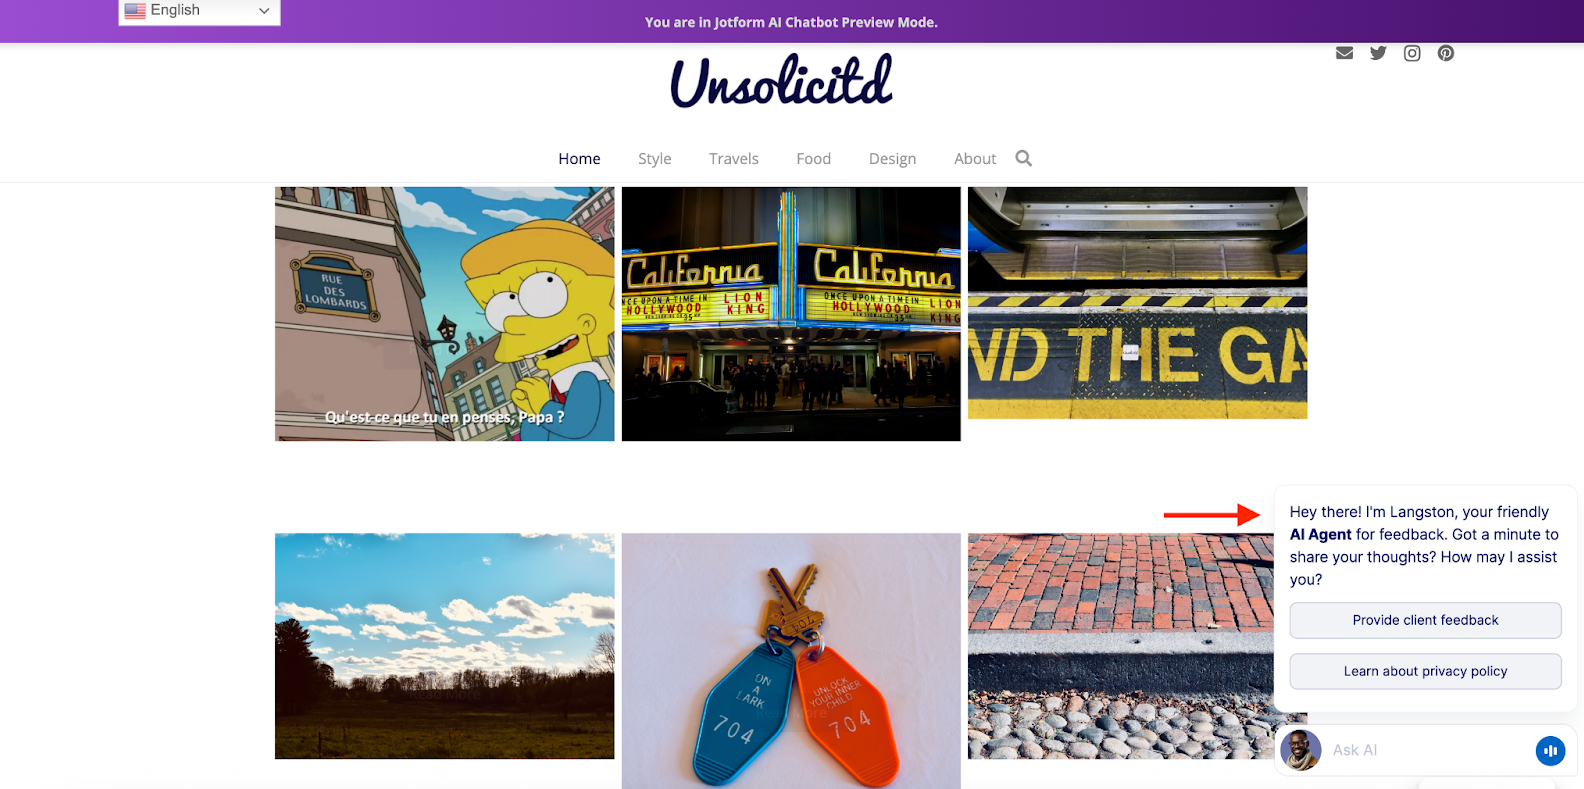
Click Preview to preview what your chatbot will look like on your website. In my case, you can see the agent appears on my homepage (and every other page of the site) . . .
. . . but does not appear in the Style section I excluded.
4. Train your agent
Your agent will automatically train itself on your site’s content, but we encourage you to add knowledge to your agent manually. Doing so lets you ensure your agent has the information it needs to serve your customers and answer questions, increasing engagement and keeping your customers coming back.
By adding text, URL links for your agent to crawl, documents, and FAQs, you can ensure your agent gives your customers and site visitors accurate and relevant responses.
5. Add the agent to your website
We mentioned earlier that you can preview how the agent looks on your site before you make it live. Just click the Preview button to check that the agent is appearing the way you want.
When everything looks good, simply click the Publish button to enable your agent.
6. Manage and monitor conversations
Even after your agent has been published on your site, you can still go into your WordPress plugin at any time to adjust the agent’s style or update its knowledge base.
As your agent has conversations with your site visitors, you can monitor those exchanges directly from WordPress.
In the sidebar of your WordPress dashboard, click Conversations beneath the plugin.
Here, you’ll see all the conversations your agent has had. You also have the option of viewing those conversations in Jotform’s dashboard (which allows you to take over a conversation yourself) by clicking See conversations on Jotform.
As you use the WordPress Agent, we’d love to hear about how the agent is fitting your business needs. We always encourage you to provide feedback on how things are going — just click the Give Feedback button.
Did you know?
The same WordPress software powers both the WordPress.com and WordPress.org sites. The main difference is hosting: While WordPress.com includes managed hosting (taking care of many technical aspects of your site for you), WordPress.org is free source code you can upload with the hosting provider of your choice (you pay for separate hosting and are more involved on the technical side to maintain your website). The plugin behaves the same way for both .org and .com, except the .com system installs and activates the plugin in one action.
WooCommerce + WordPress Agent: Smarter e-commerce
Let’s face it, cart abandonment, unanswered product questions, and delayed responses to customer inquiries have a tendency to bite online store owners.
Luckily, WooCommerce’s integration with the WordPress Agent helps you handle these issues — as if you had hired a dedicated customer service assistant.
Here’s how the WordPress Agent can combine with WooCommerce to benefit your online store:
- Answering product questions instantly (e.g., sizing, shipping, stock availability)
- Real-time order tracking directly in the chat — no need for customers to find old emails
- Assisting during checkout by guiding users through forms
- Reminding visitors about abandoned carts to boost conversions
- Adding items to carts for customers
Accessing WooCommerce in the plugin
To open the plugin’s WooCommerce interface, in the sidebar of your dashboard, click Settings beneath the plugin. Then in the Settings page that opens, click WooCommerce.
To sync your WooCommerce account with your agent, enter your Consumer Key and Consumer Secret, then click Connect Store.
Now your agent can act as your de facto customer assistant and help answer most customer inquiries. Here’s an example of order tracking.
The WordPress Agent gives your online business a jumpstart by creating a seamless shopping experience for your customers and freeing you up to focus on your business’s growth.
So whether you’re a tour operator selling packages or a spa owner offering bookings and selling gift cards, you stand to benefit from integrating WooCommerce with your WordPress Agent.
Jotform’s WordPress Agent drives positive business outcomes
The WordPress Agent has a wide range of uses across different industries. Let’s look at how it can effectively improve outcomes for everyone.
| Industry | Role | WP Agent assists by… |
|---|---|---|
| E-commerce (WooCommerce) | Any online retail or service provider | Answering real-time questions and assisting in cart sell-through/upsell |
| Education | Teacher or tutor | Ensuring faster student onboarding and less email back and forth |
| Healthcare | Physicians and office staff | Reducing patient and administrative call volume for a better customer experience |
| Travel & hospitality | Tour guides and agents | Providing instant pricing and logistics information to complete bookings |
| Beauty & personal care | Spa owners | Booking services and answering FAQs, leading to more appointments |
Learn how SeniorThrive — an SaaS platform with a mission to help elders age in place — created an ecosystem of tailored guides that add value to its platform and strengthen user retention with Jotform’s AI Agents.
Final word: The WordPress Agent extends your workflow ecosystem
The WordPress Agent is built to help take the manual work off your plate while simultaneously helping your business improve customer trust by providing a better, more assistive customer experience.
The agent offers always-on visitor support (24-7), instant answers to business/organization FAQs, and WooCommerce support to improve the customer experience.
It also offers an added advantage by linking with the Jotform suite of products. The autonomous conversations the agent has are synced with your forms, other agent tools, and payment processors, ensuring data flows smoothly across your workflow.
The same AI Agent you add to your WordPress site can serve your customers in Gmail, Instagram, and WhatsApp, giving you cross-channel consistency and scale without needing to retrain.
For example, a real estate agent can use the WordPress Agent on their site to qualify leads. They can sync those leads into Jotform and continue conversations that start on their website in Gmail. The agent could even automatically set up an appointment with Google Calendar or Calendly for follow-up.
There are multiple ways your WordPress Agent can help your business reach new heights, and we’re excited to help you get there.


Send Comment:
1 Comments:
21 days ago
J'ai pas reçu de code ni de payement