Jotform Sign Templates help you create signing documents faster by giving you ready-made layouts that you can customize for your own workflow. Instead of building a document from scratch, you can start with a template and update it based on the information and fields you need.
In Sign Builder, you can customize template fields and elements, edit field settings, and add new elements directly to your document. This makes it easier to prepare signing documents that match your workflow while keeping everything organized in one place.
In this guide, you’ll learn how to:
- Use a Sign Template in Sign Builder
- Customize template fields and elements
- Add new elements to your Sign Template
Creating a Sign Document From a Sign Template
You can start with a ready-made Sign Template and customize it based on your workflow and document needs. Here’s how to set it up:
- On your Workspace page, click on Create on the top-left side of the page.
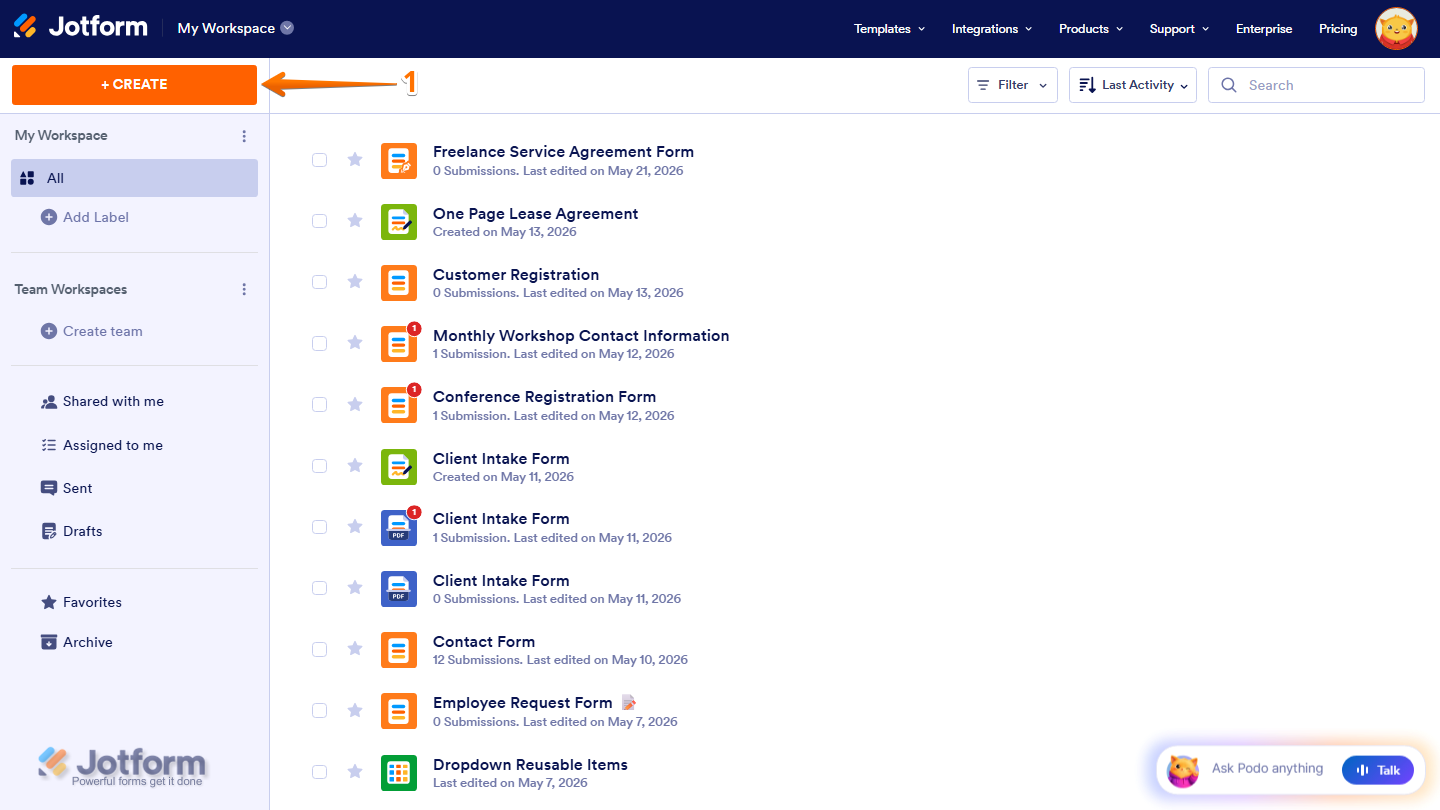
- Then, in the Assets menu that opens, select Sign.

- Now, click on Use Template.

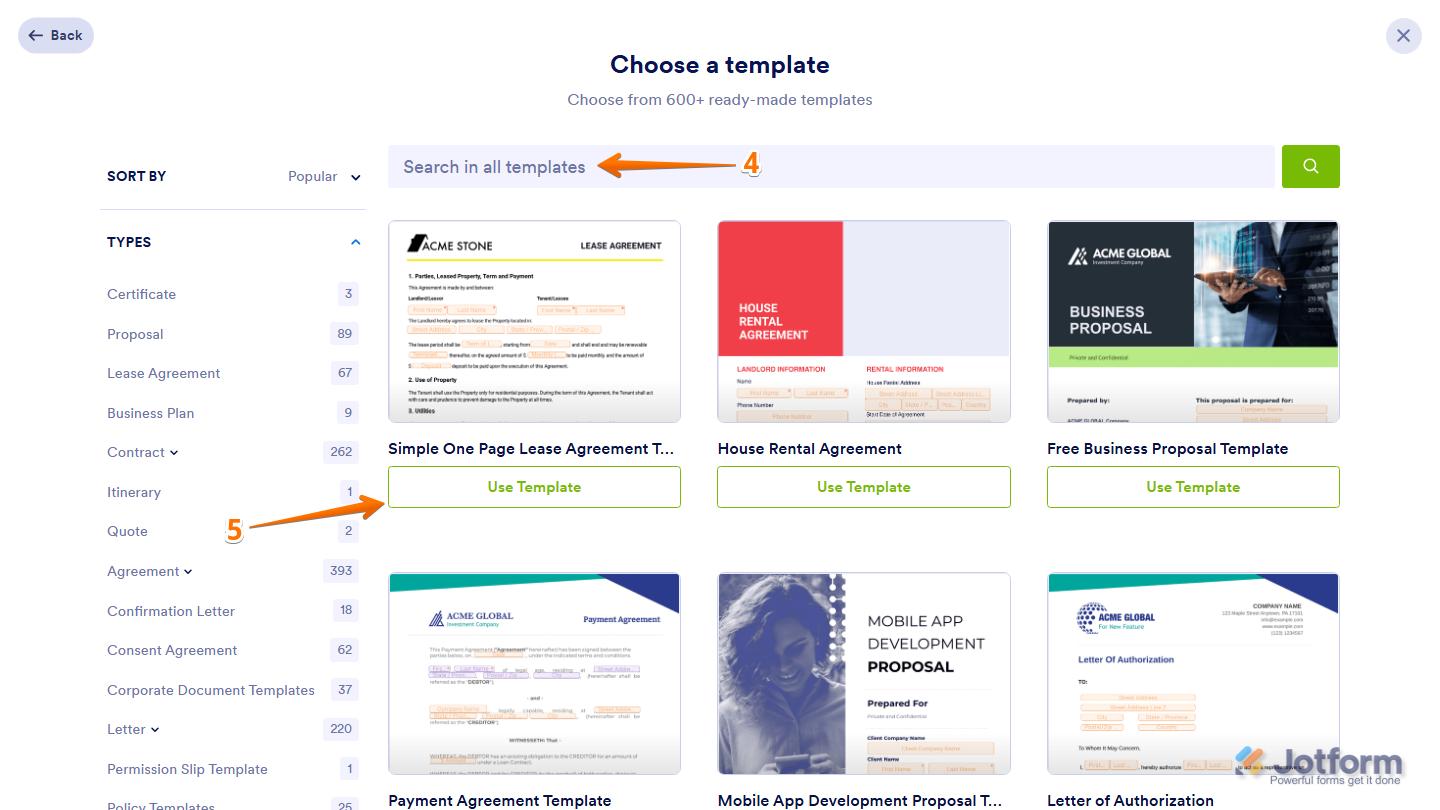
- Next, search for the template you want to use in the Search Bar, or browse the available categories.
- Once you find the template you want, click on Use Template. For example, Simple One Page Lease Agreement Template.
That’s it. The template will automatically open in Sign Builder.
Customizing Sign Template Elements and Fields
After opening your template in Sign Builder, you can update the fields and settings to match your signing workflow and document requirements. Here’s what to do:
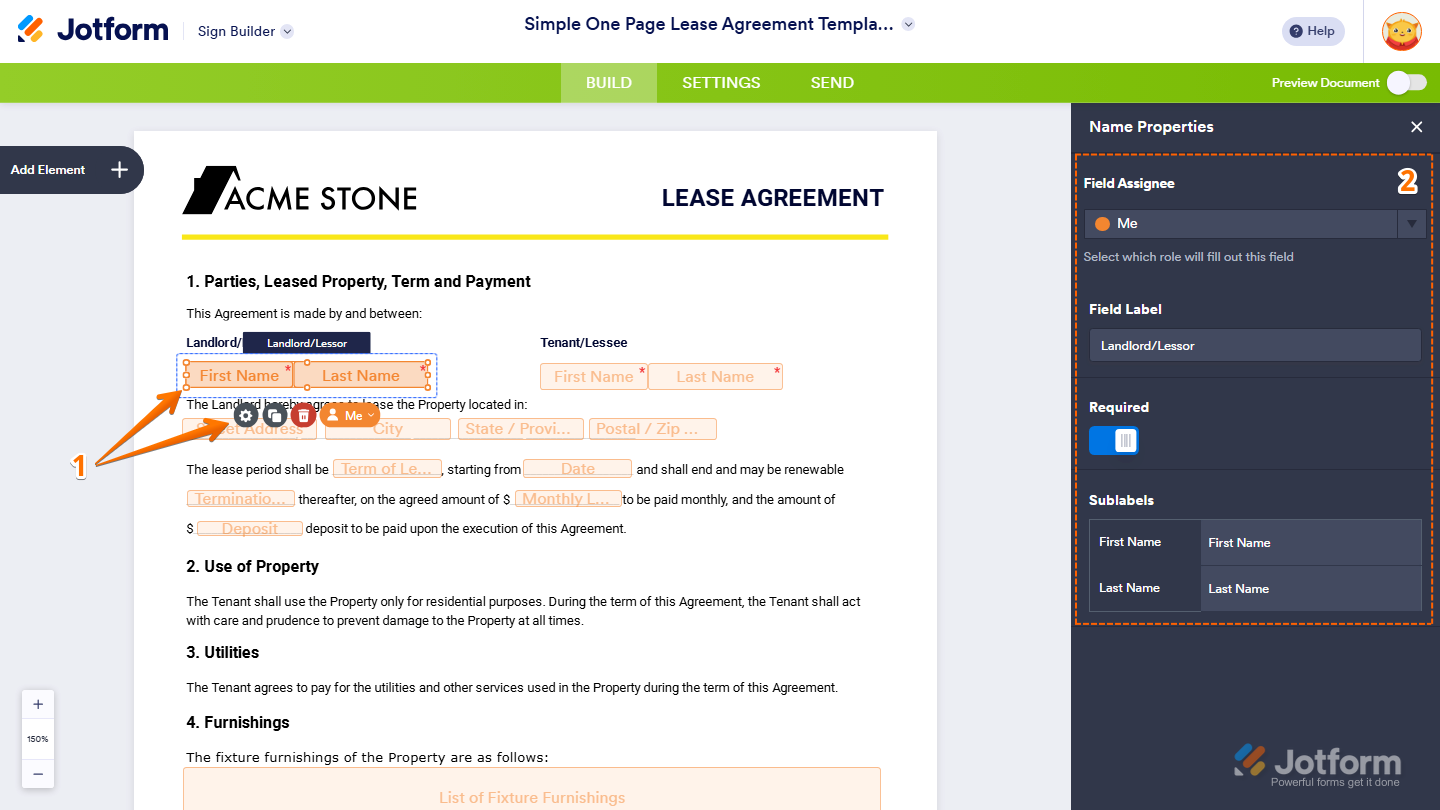
- In Sign Builder, click on the field you want to customize and then click on the Gear icon.
- Now, in the menu that opens on the right side of the page, customize the available field settings depending on the selected field type. For example, in the Name field, you may be able to customize these settings:
- Field Assignee — Select which signer or recipient can fill out the field.
- Field Label — Change the name or label of the field.
- Required — Make the field mandatory before submission.
- Sublabels — Edit the labels for grouped fields, such as First Name and Last Name.
Adding New Elements to Your Sign Template
Additional elements can be added anytime to expand your document layout and signing workflow. Here’s the quick way to do it:
- In Sign Builder, click on Add Element on the left side of the page.

- Then, in the Document Elements menu that opens, click on the element you want to add, or drag and drop it into your document.

Pro Tip
After adding an element, you can move and resize it directly in the document layout.
Looking for more ways to manage your Sign documents? Check out these helpful guides:

Send Comment:
2 Comments:
March 21, 2024
Is it possible to connect a sign document to a submission table so that data from a form populates into it? we need to send agreements out to multiple people and would want organization name, address, date, approved amount etc to automatically pull into the agreement so they can sign it.
January 22, 2024
So when this is signed there's a simple request for people to sign up. If we have a paid for service why does this branding show up? And how can we get rid of it?