To find the top talent in today’s rapidly changing job market, you need cutting-edge tools and techniques. One of the best ways to find reliable talent is with small, niche job boards. Creating your own with Jotform is easy and doesn’t require any coding knowledge. Here’s how to do it.
Creating the website
The platform you build the website on is up to you. Three of the most popular options are WordPress, Wix, and Squarespace. WordPress is the world’s most popular platform for websites, making it the most well-paved way to get started.
Regardless of the solution you choose, you’ll need a minimum of two pages. One page is for the job listings, and the other is to let companies create new listings.
To make this work, create a Jotform for each listing. Then use Jotform Tables to display the entries as a job board.
Creating the new listing form
To create the job listing form, start by signing up for Jotform, if you haven’t already. Then create a new form.
Creating a basic form in Jotform is easy and only involves adding a few elements. However, if you want some help getting started, check out this short video.
Once you have the hang of things, make a form similar to the one below.
The last element in the form is a product list, which you can use to collect payments for your listings. You can learn more about setting this up here.
Embedding the form
After you create the form, select Publish in the orange toolbar. The first page that opens after you publish the form is the Quick Share option. The Quick Share link should work for most situations, including WordPress. Just click Copy Link and paste it into your new listing page.
If the quick share doesn’t work for some reason, there are several more options available from the Embed option in the left menu.
Creating the listings view
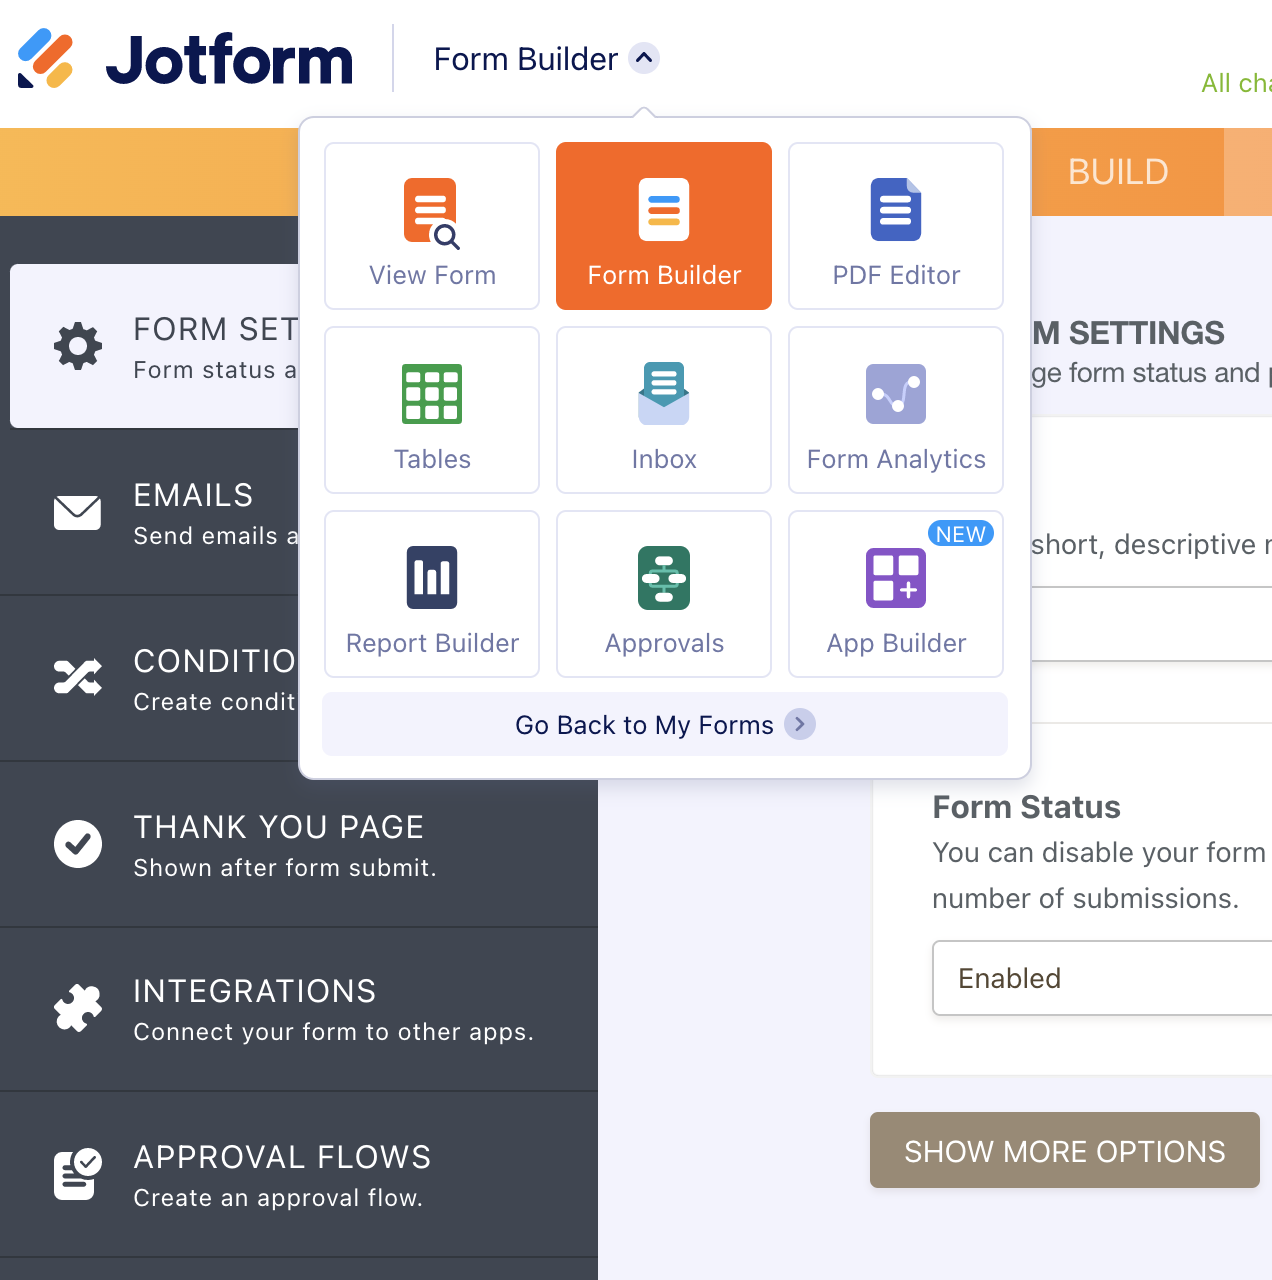
This part is almost done for you already. Every time you create a form, Jotform creates a matching table. Each column in the table matches a form question. It’s a feature that’s baked into JotForm. To access the table for this form, switch to Tables from the dropdown in the upper left-hand corner.
Now create a new tab by clicking the plus sign next to Add Tab.
Then select Cards view from the dialog box and hit Next. Choose Connect to Form. Select the Job Listing entry form and choose the fields you want to show your job seekers.
Now you have a new way to view your data. It’s a good idea to drag the new tab to the first position to make it the default for your form.
Embedding the listings
Now that the view is set up correctly, it’s time to embed it into your web page. Start by clicking the Share button in the upper right-hand corner of Jotform’s Tables view.
The table data isn’t usually meant to be public, so you’ll need to make it public before you can share it on your website. You can do that by clicking the Share Settings gear. Then select Public Table and click Go back.
Now switch to the Embed tab in the dialog. The best way to embed a table is by copying the embed code.
From there, you’ll need to paste the code wherever your site builder lets you edit plain HTML. For example, you would use the code editor in WordPress.
Wrapping it up
Once you have a listing page for job seekers and a page for employers to post jobs, all you need to do is create a link from one to the other. You can also include the listings on the main page or move them into their own page. You can also adjust the height and width of the listing in the embed code to better fit your page.
Technology photo created by ArthurHidden – www.freepik.com


Send Comment:
1 Comments:
179 days ago
Thank you so much to Lee and the platform for this service, i follow during this week these instructions and create a 'replica' or something pretty similar to this to the job field i want to launch in the digital world my biz to practice how it would work, it has been awesome. I will see how this will end hehehe, thanks